Two-Factor Authentication (2FA)
Overview
Two-Factor Authentication (2FA) adds an additional security layer to your InterLIR account.
This guide explains how to enable and disable 2FA.
Enabling Two-Factor Authentication (2FA)
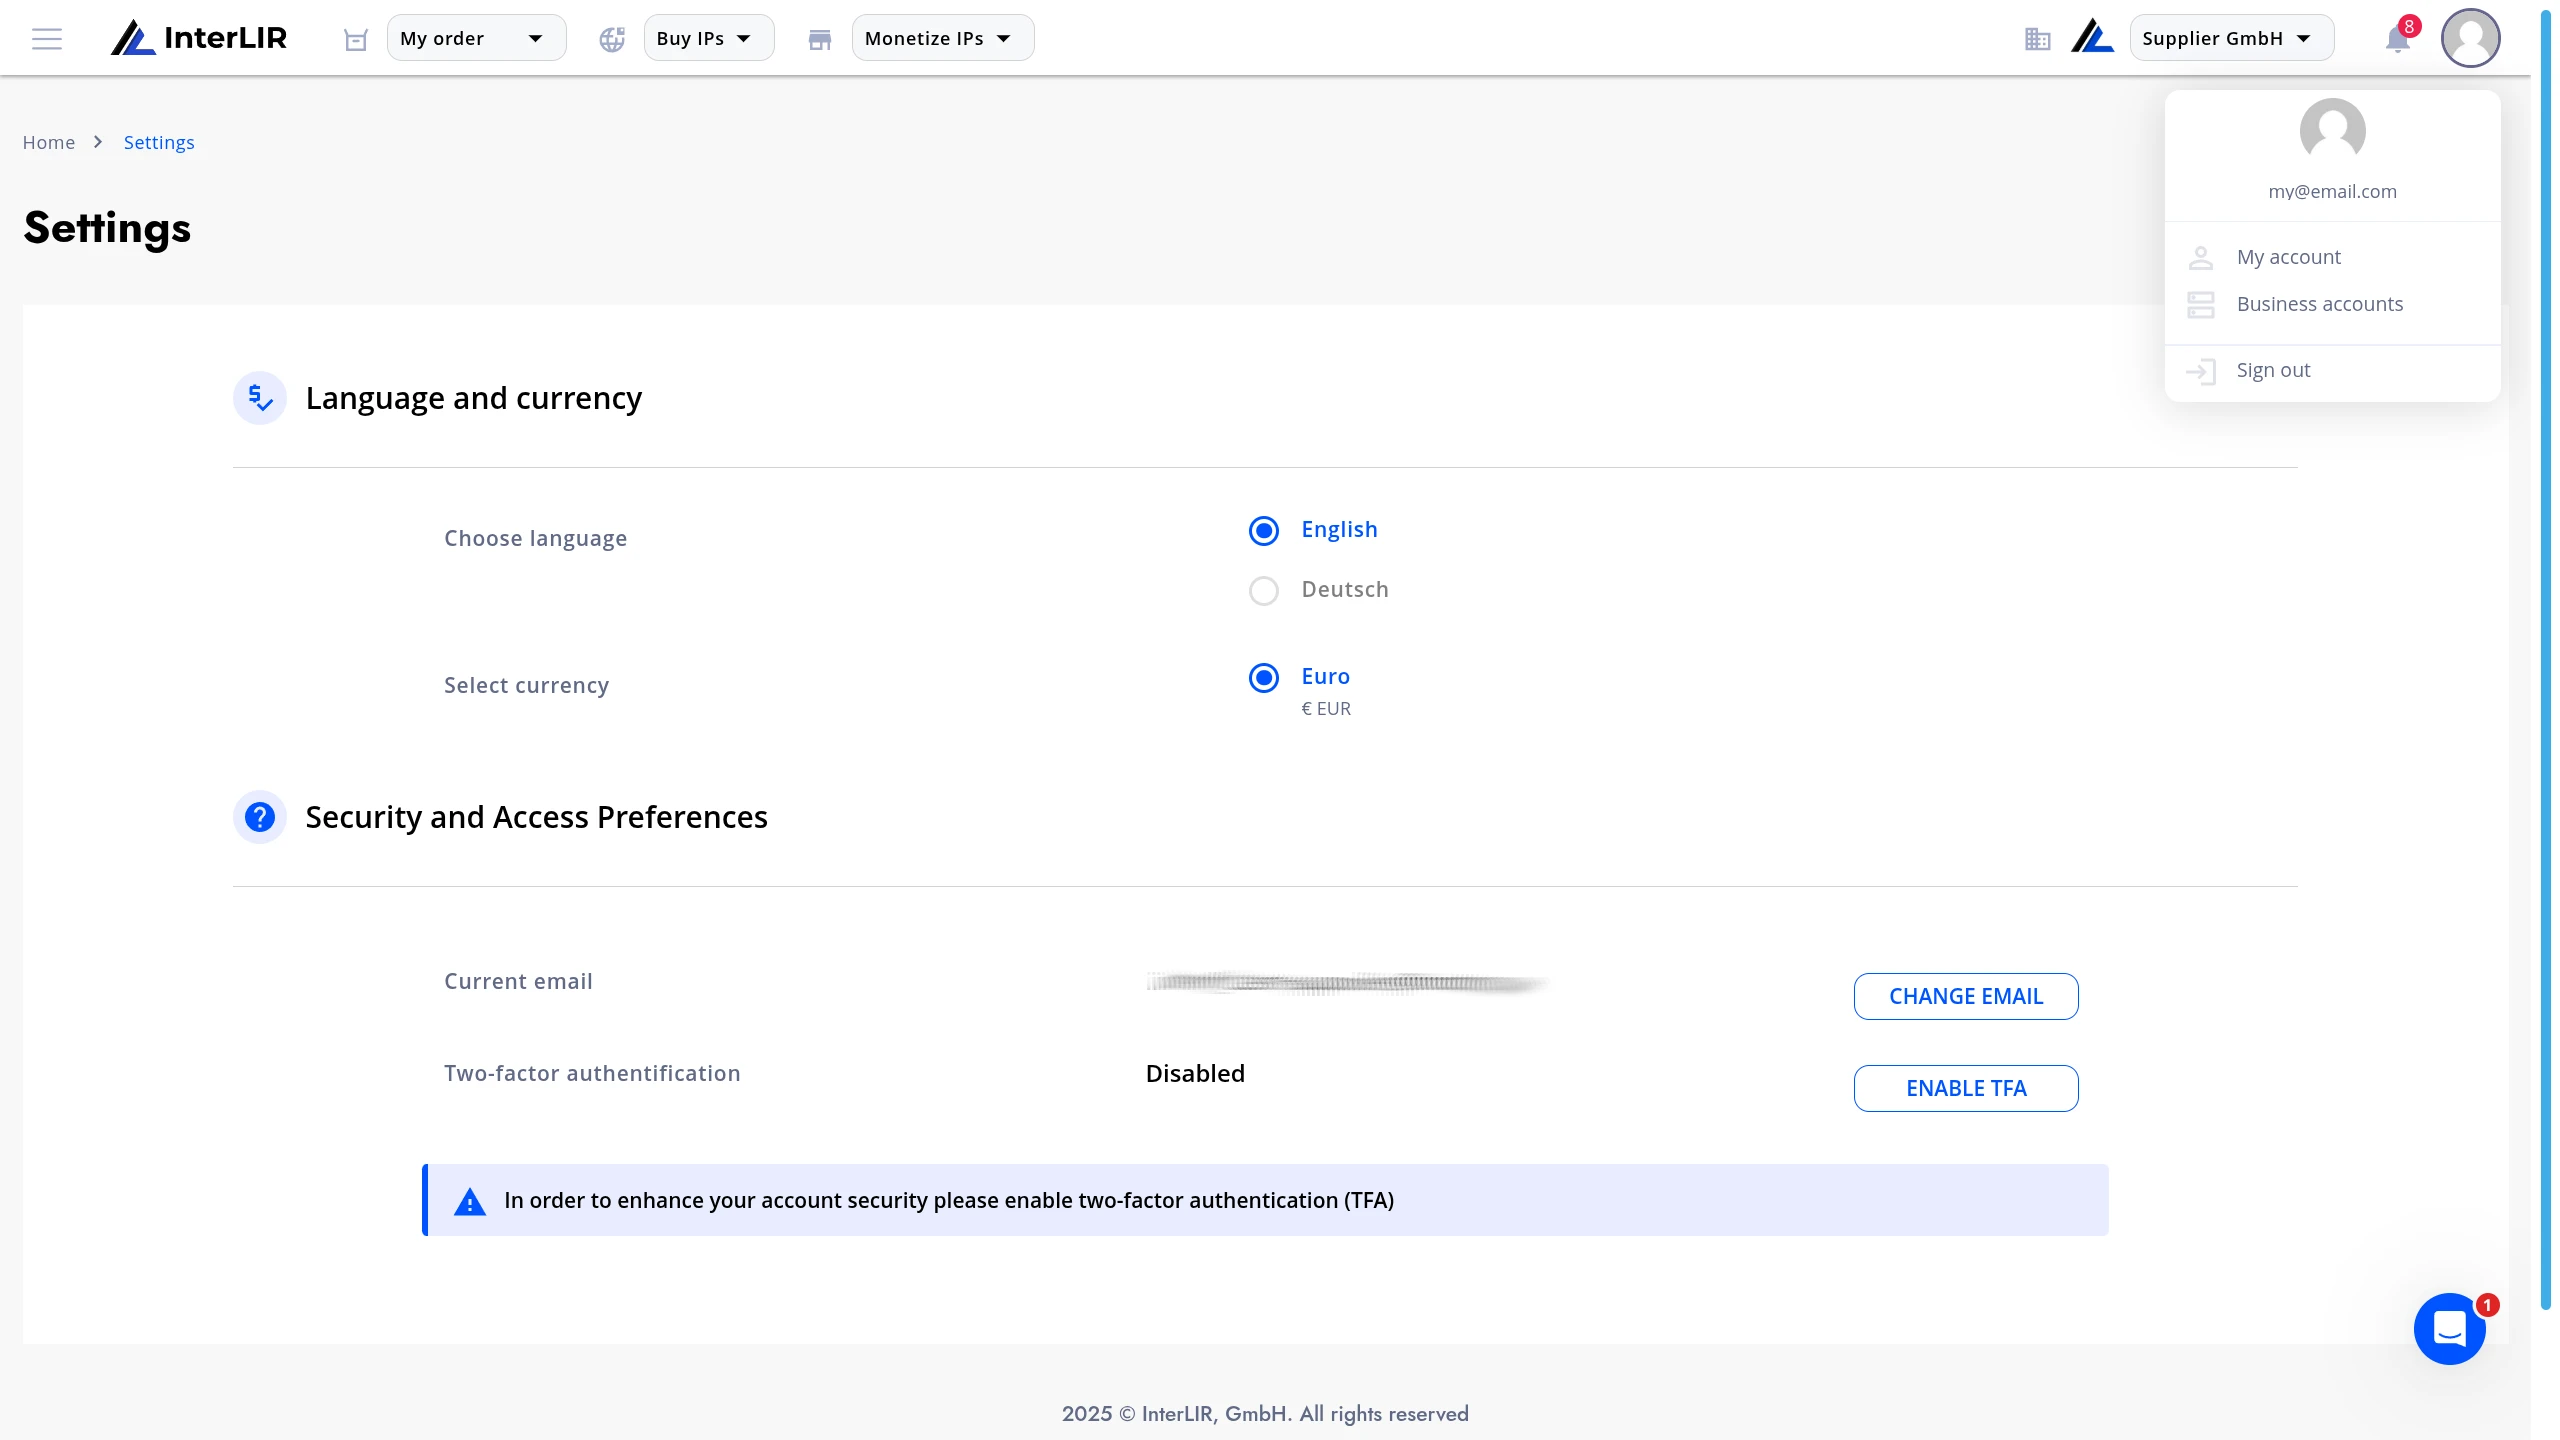
1. Open Account Settings
- Log in to your InterLIR account.
- Click your profile icon in the top-right corner.
- Select My account.
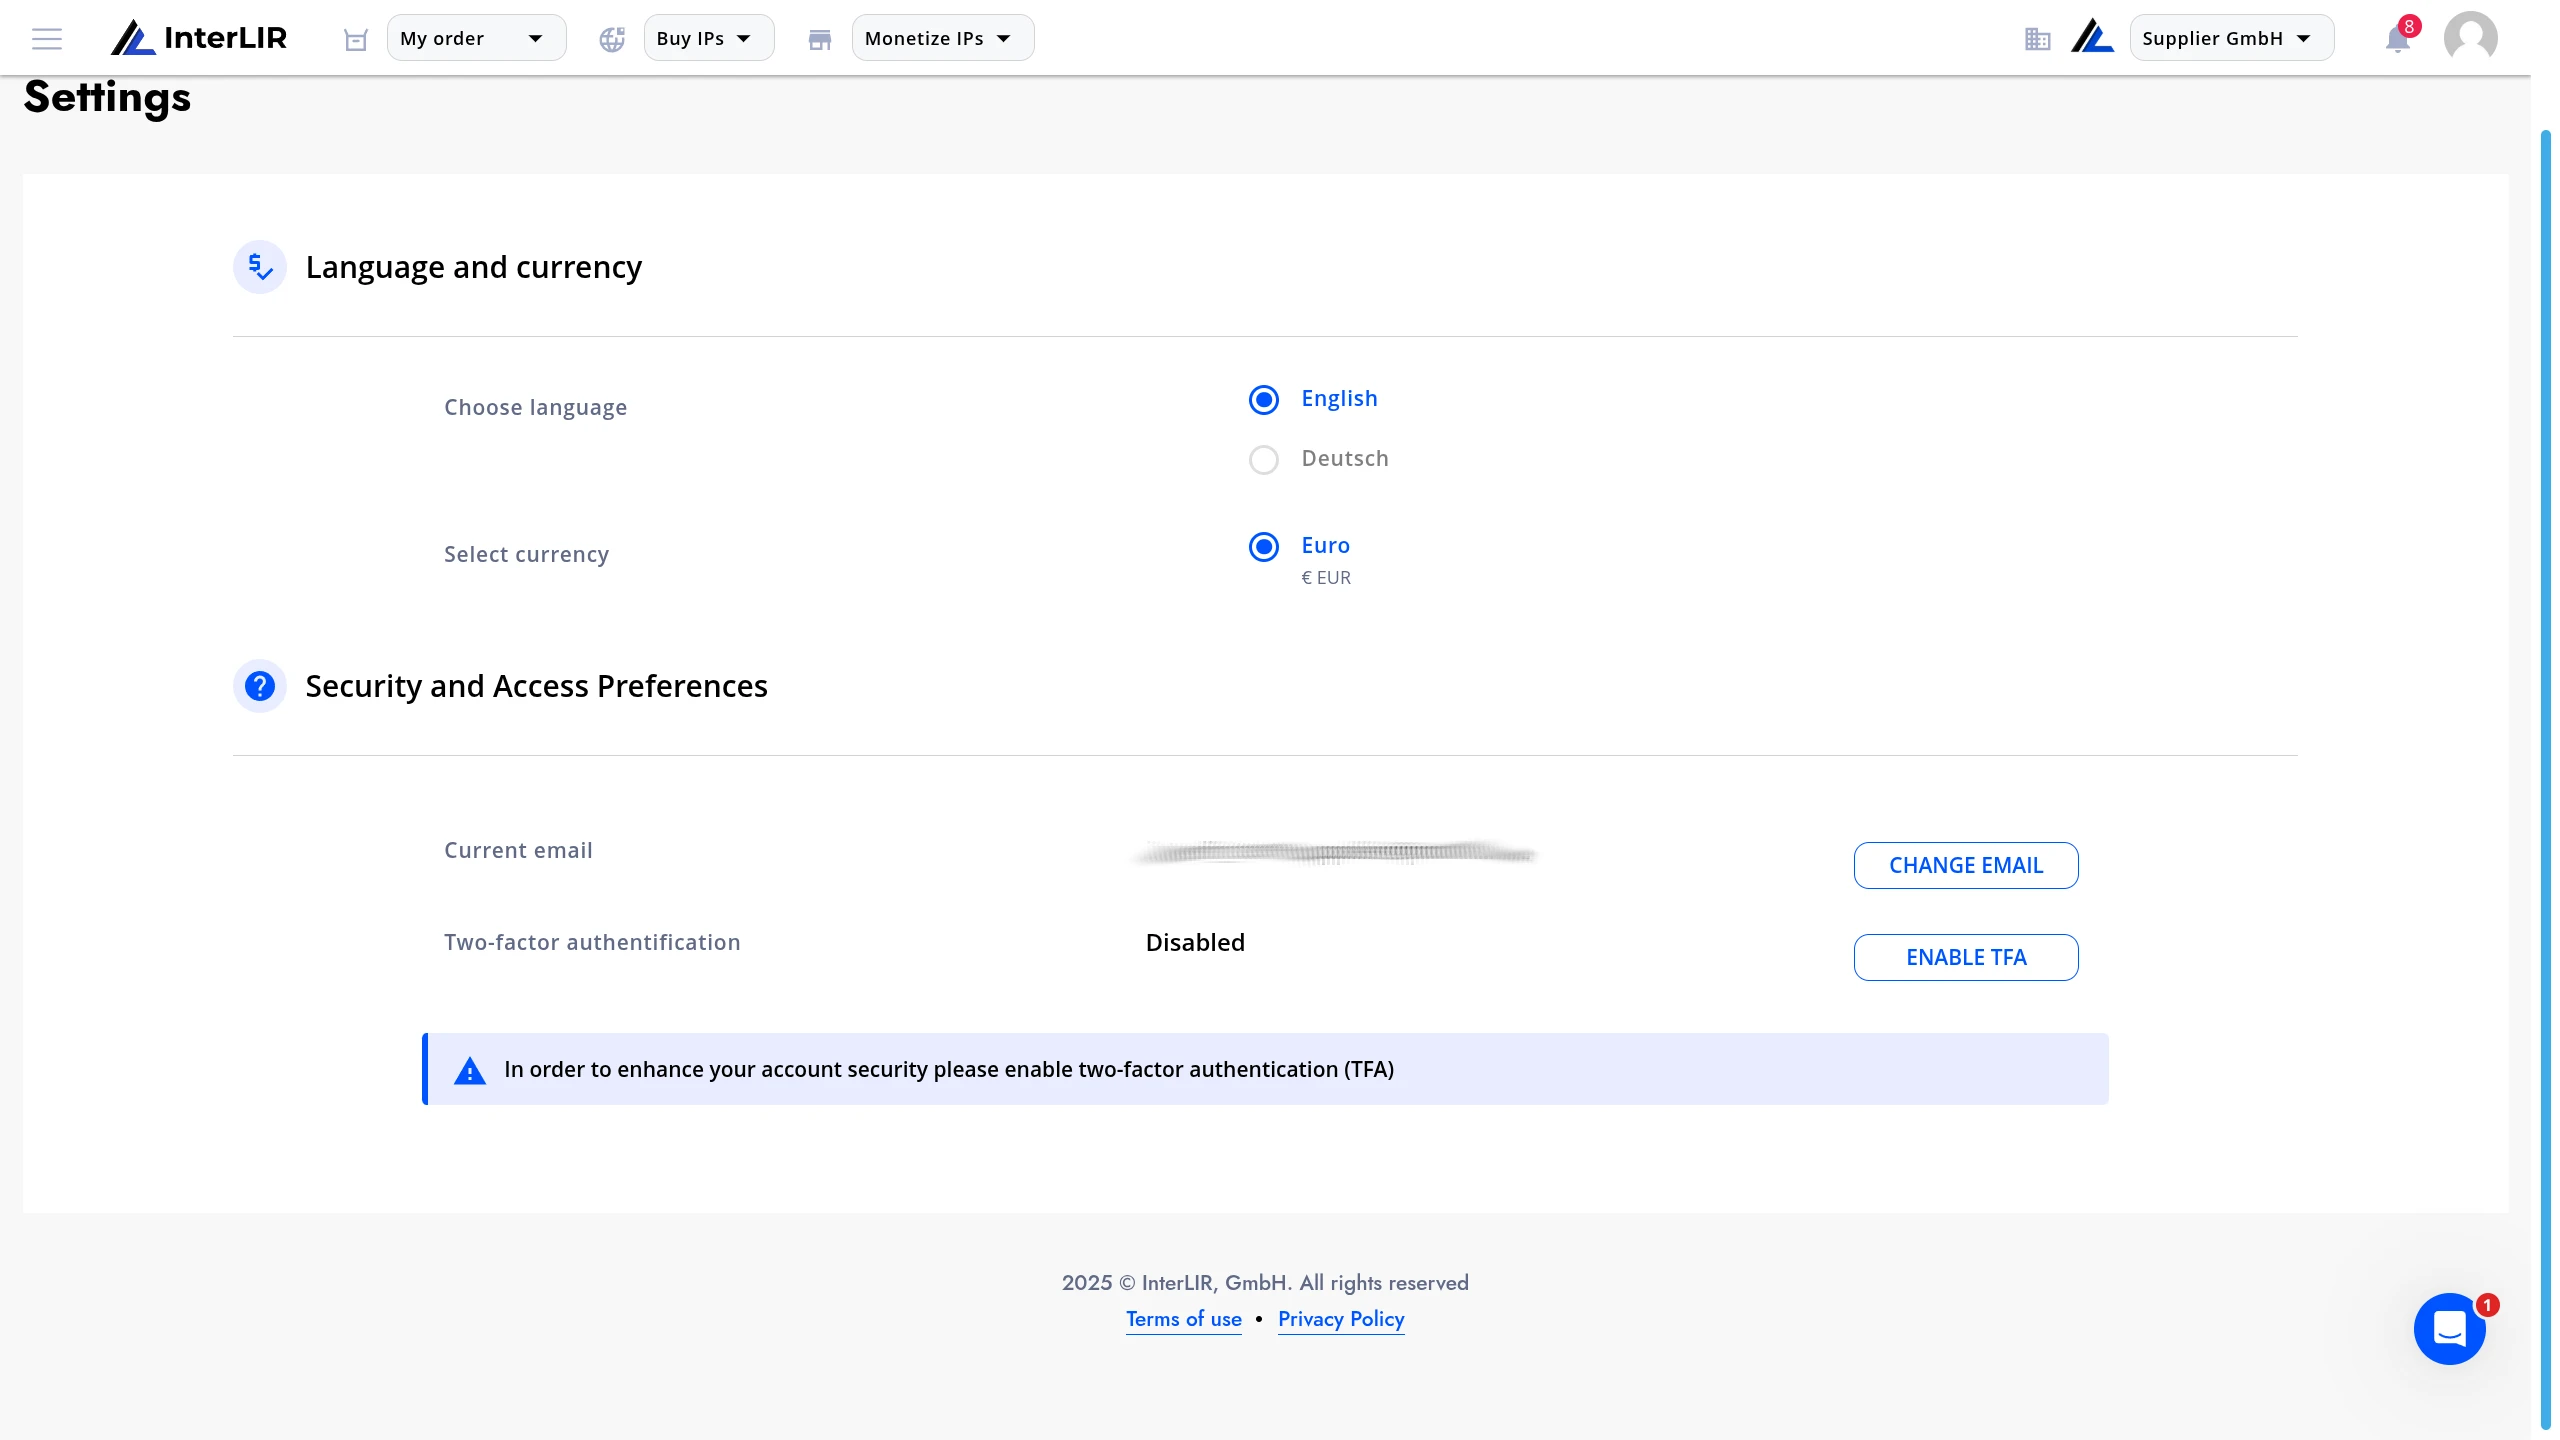
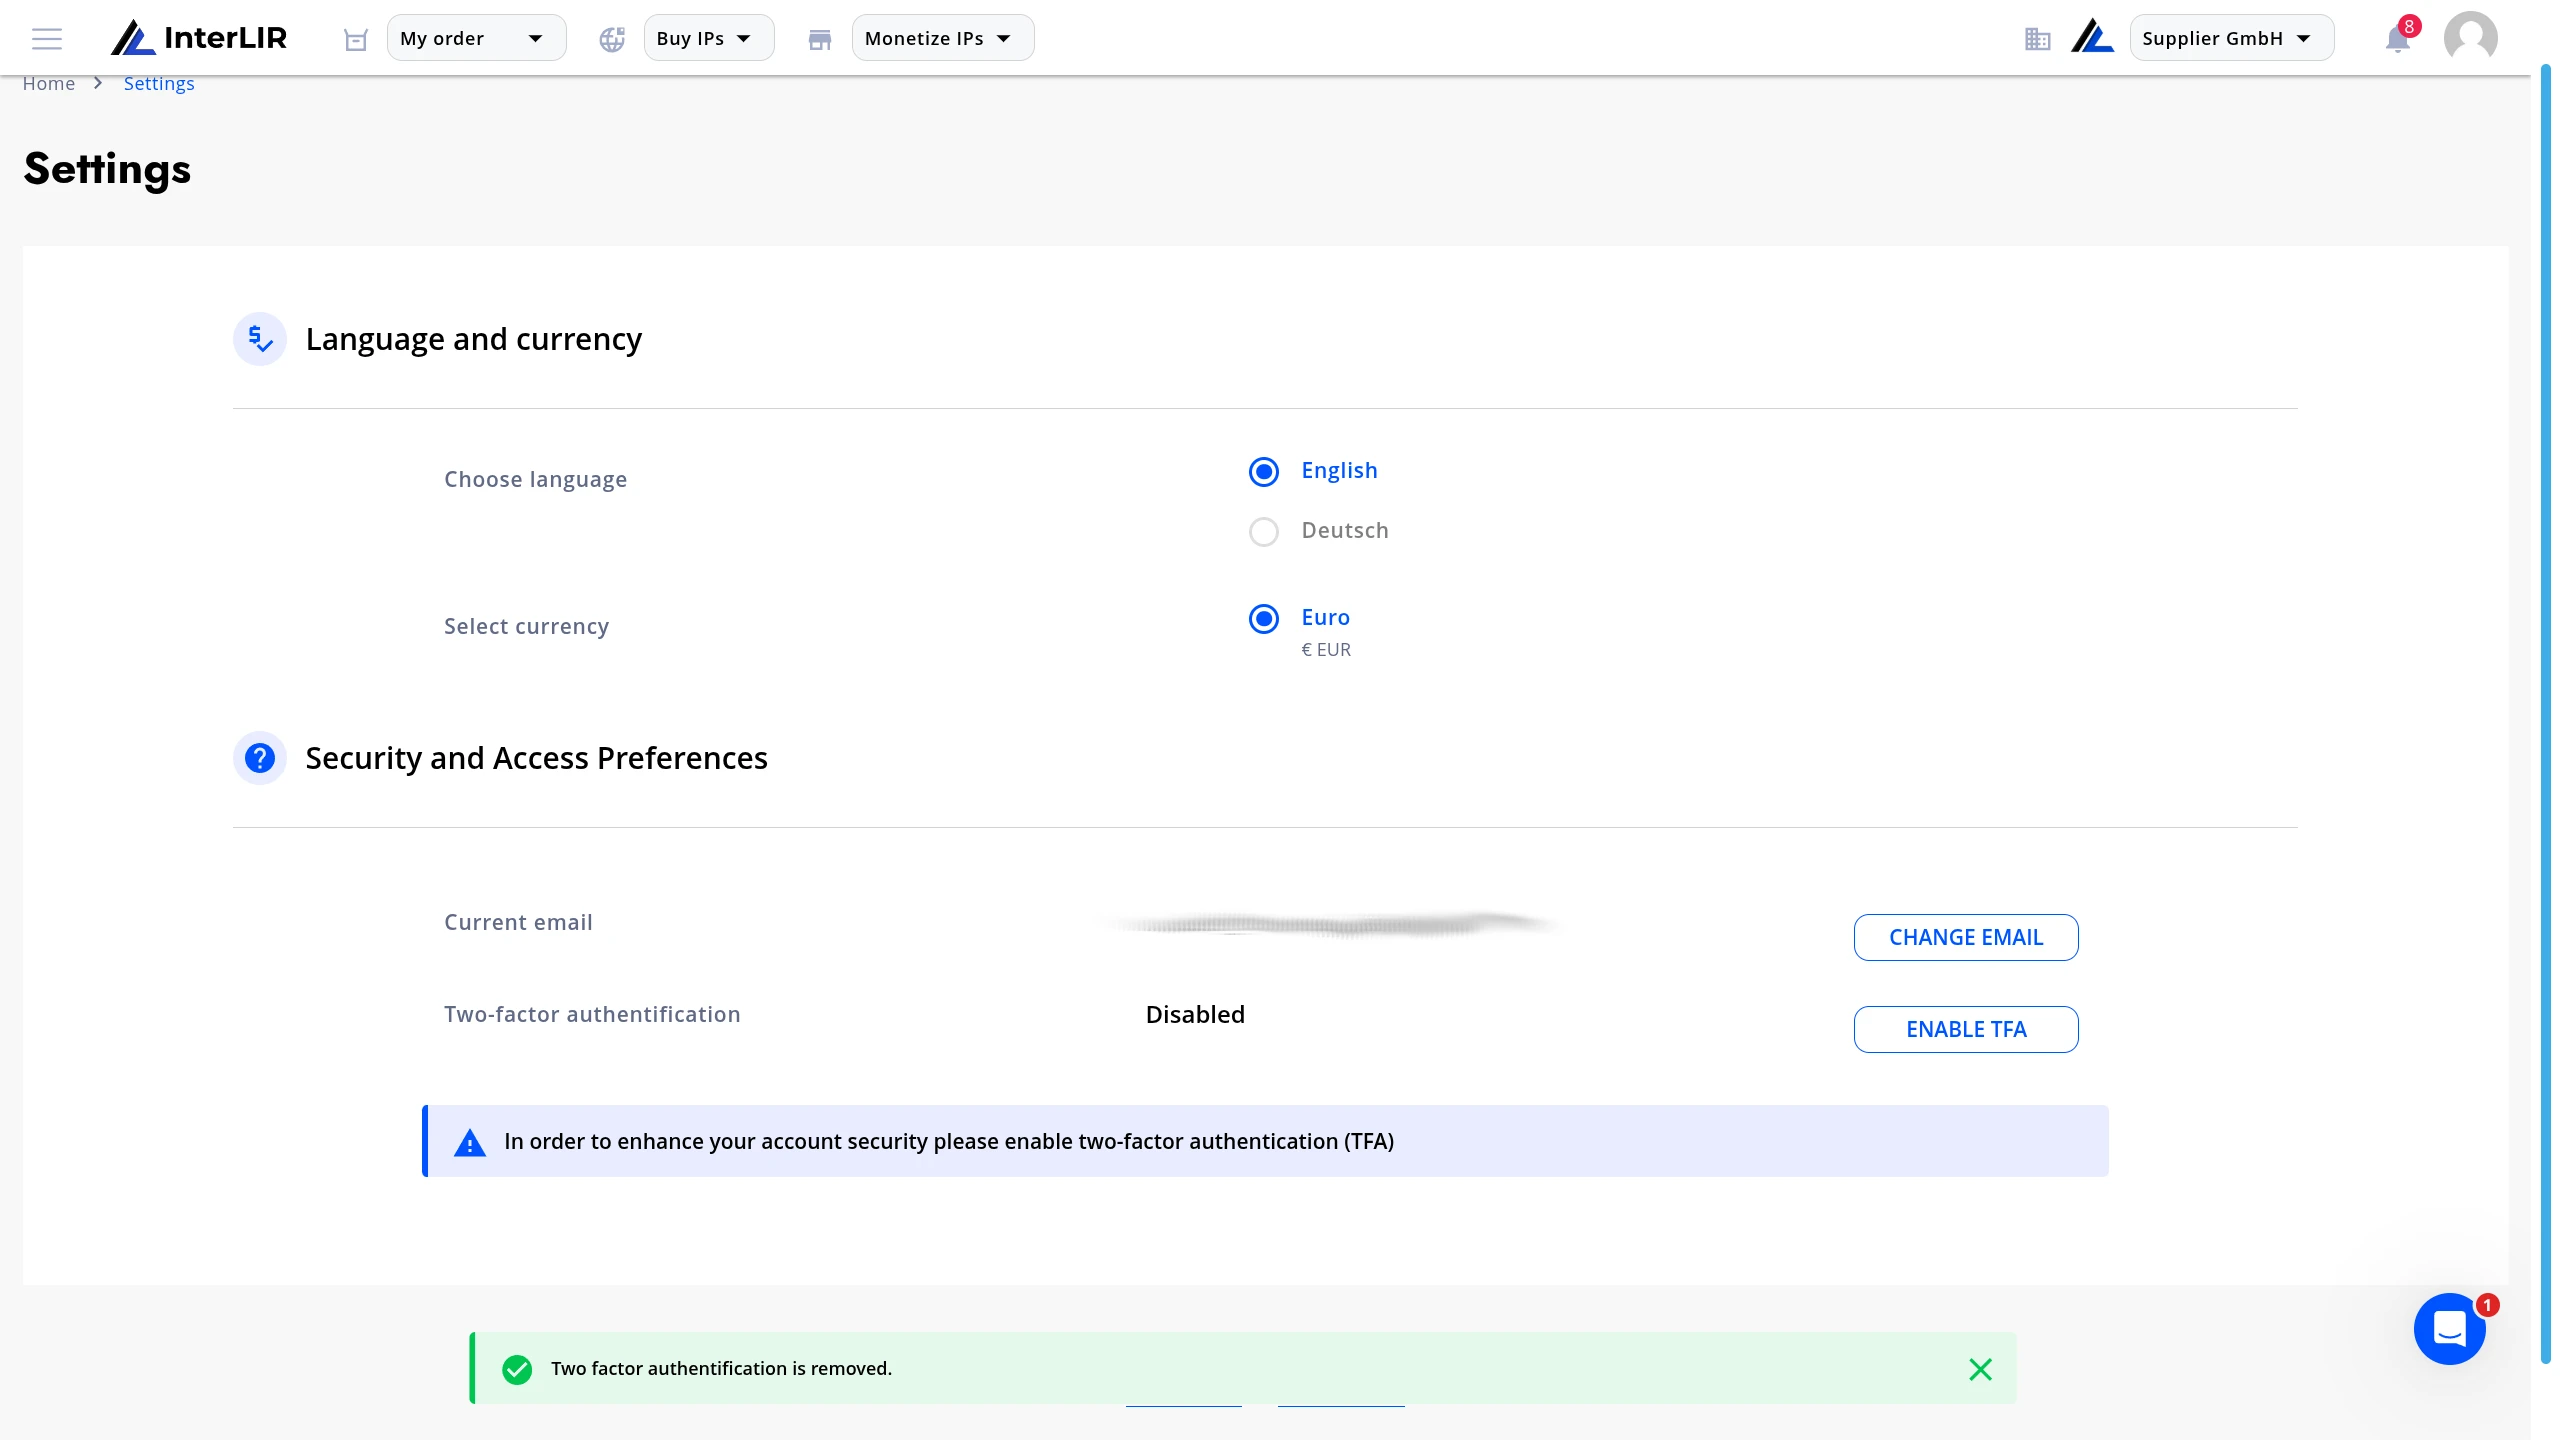
2. Navigate to Security and Access Preferences
Scroll to the Security and Access Preferences section.
You will see your current email and 2FA status (Disabled).
Click ENABLE TFA.
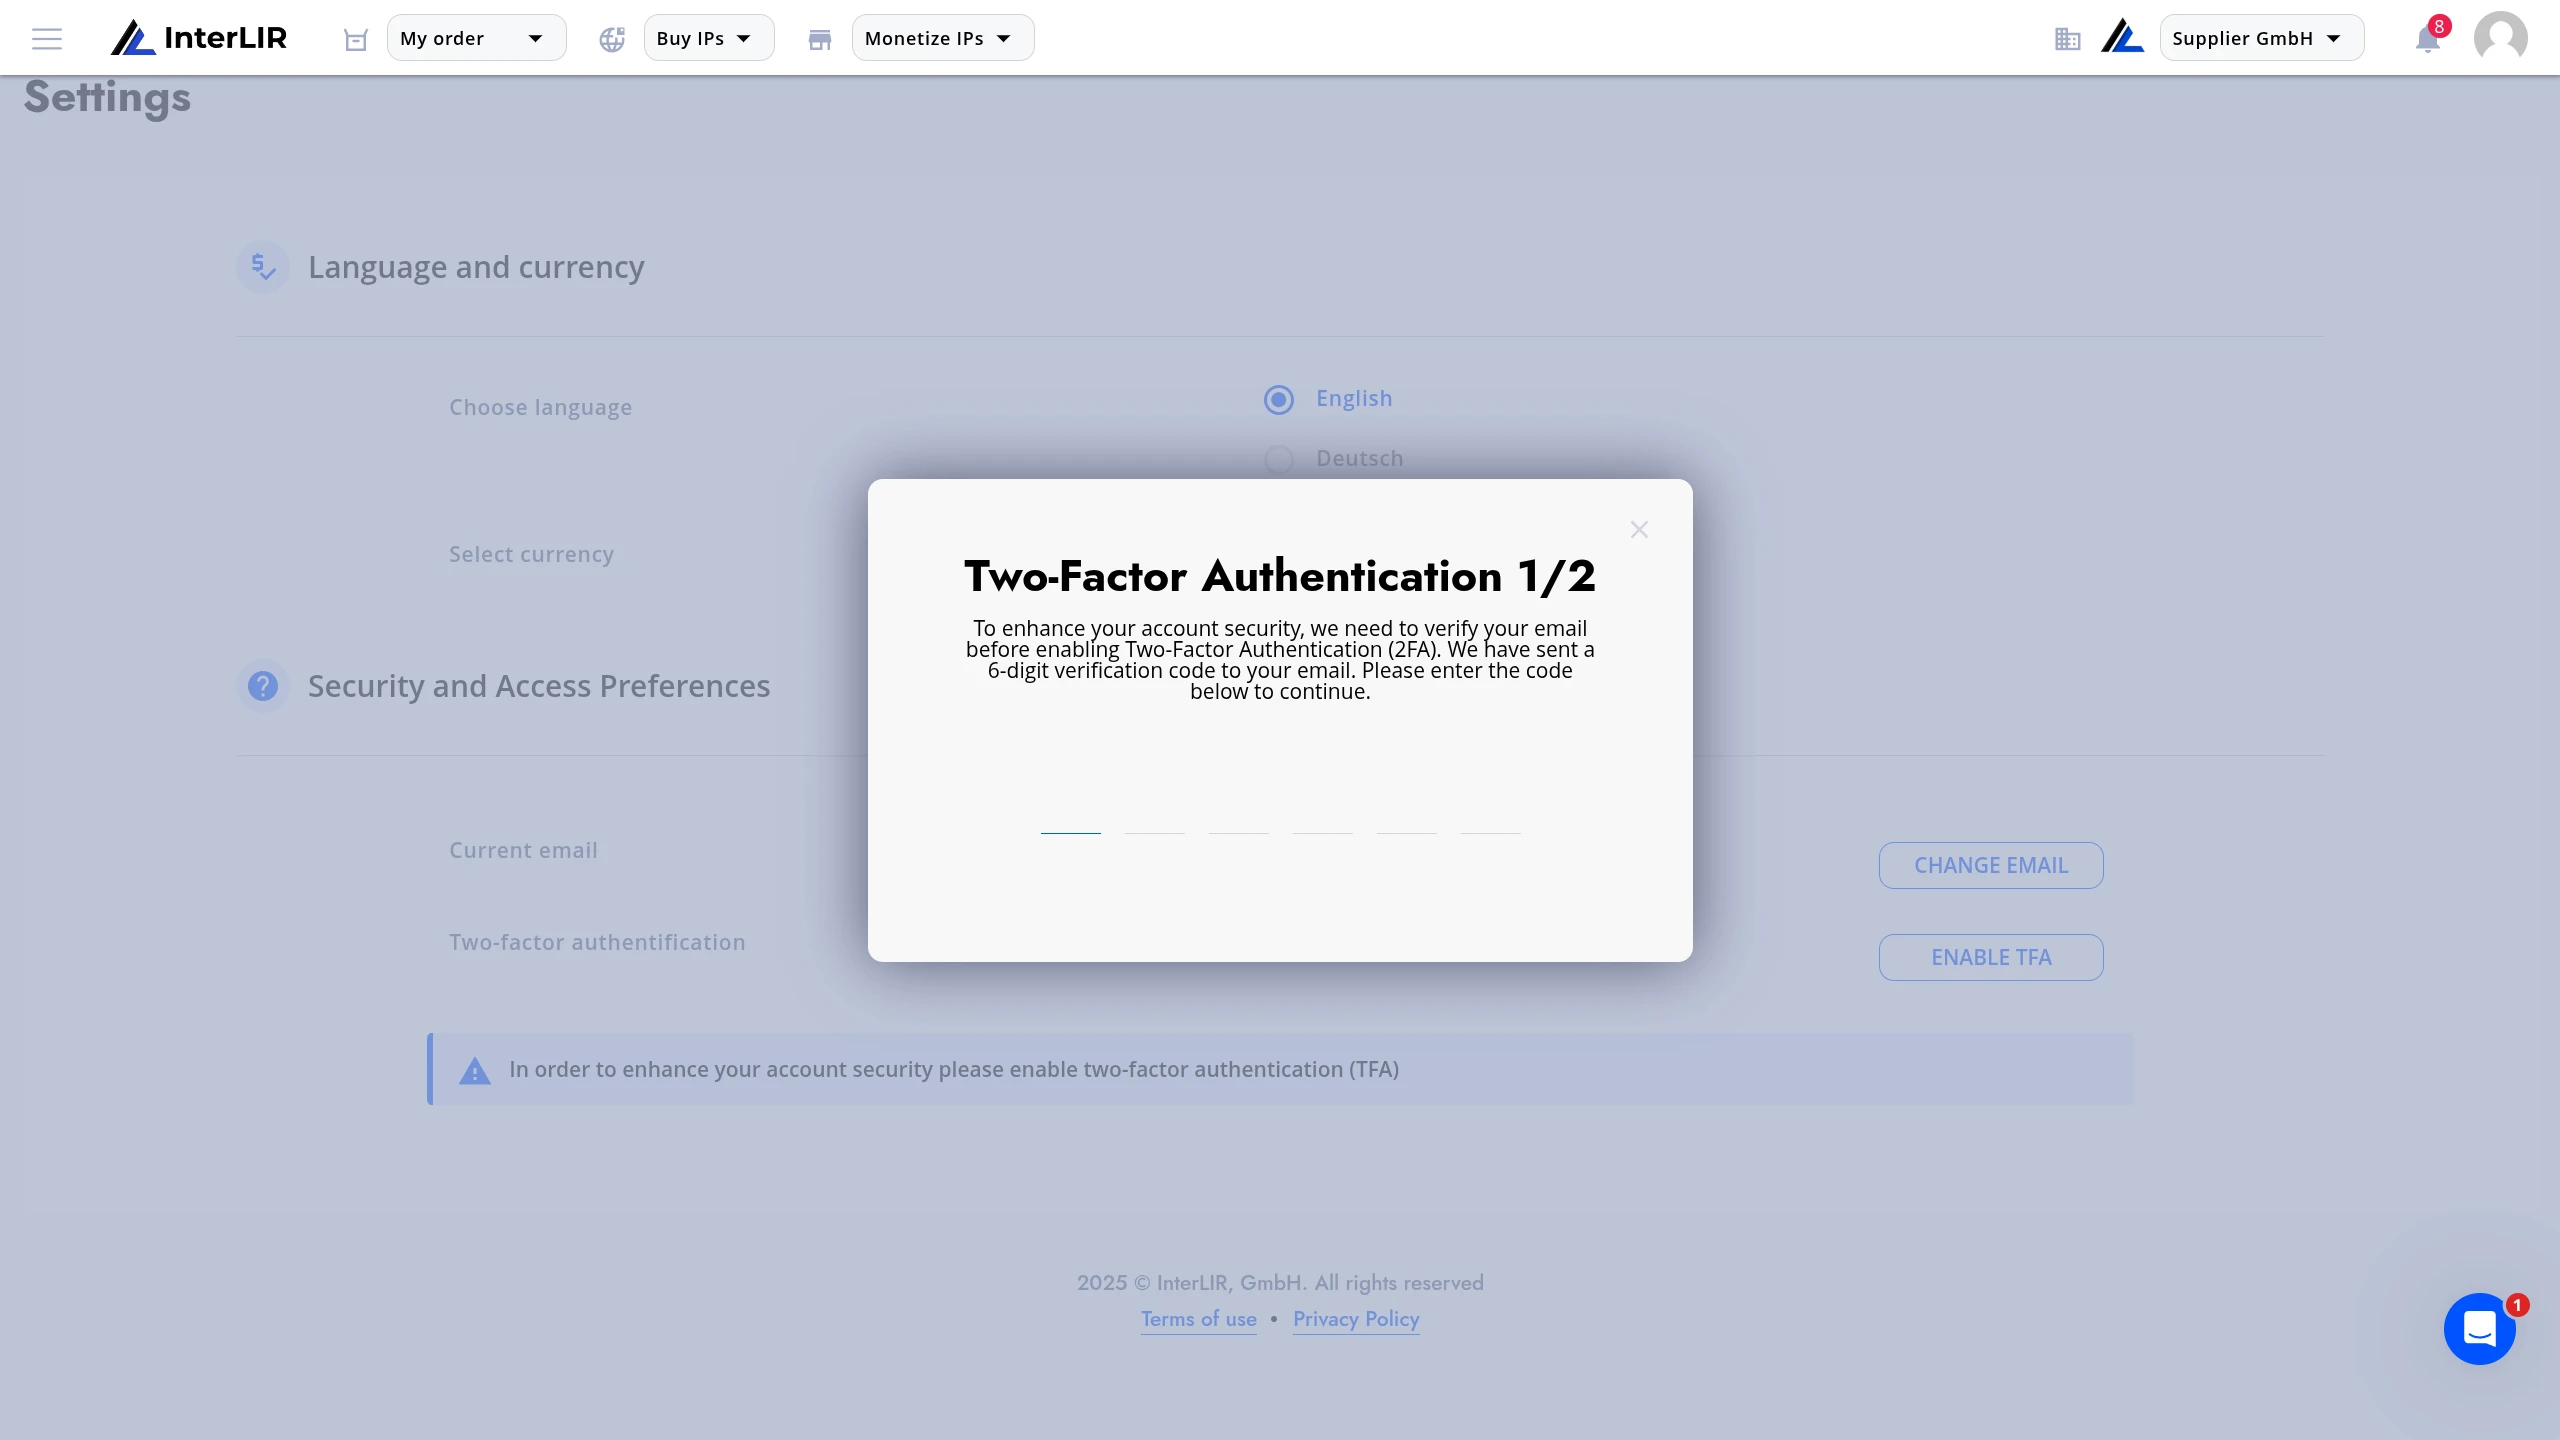
3. Two-Factor Authentication — Step 1/2
Before enabling 2FA, your email must be verified.
- Check your email inbox for a 6-digit code.
- Enter the code in the modal window.
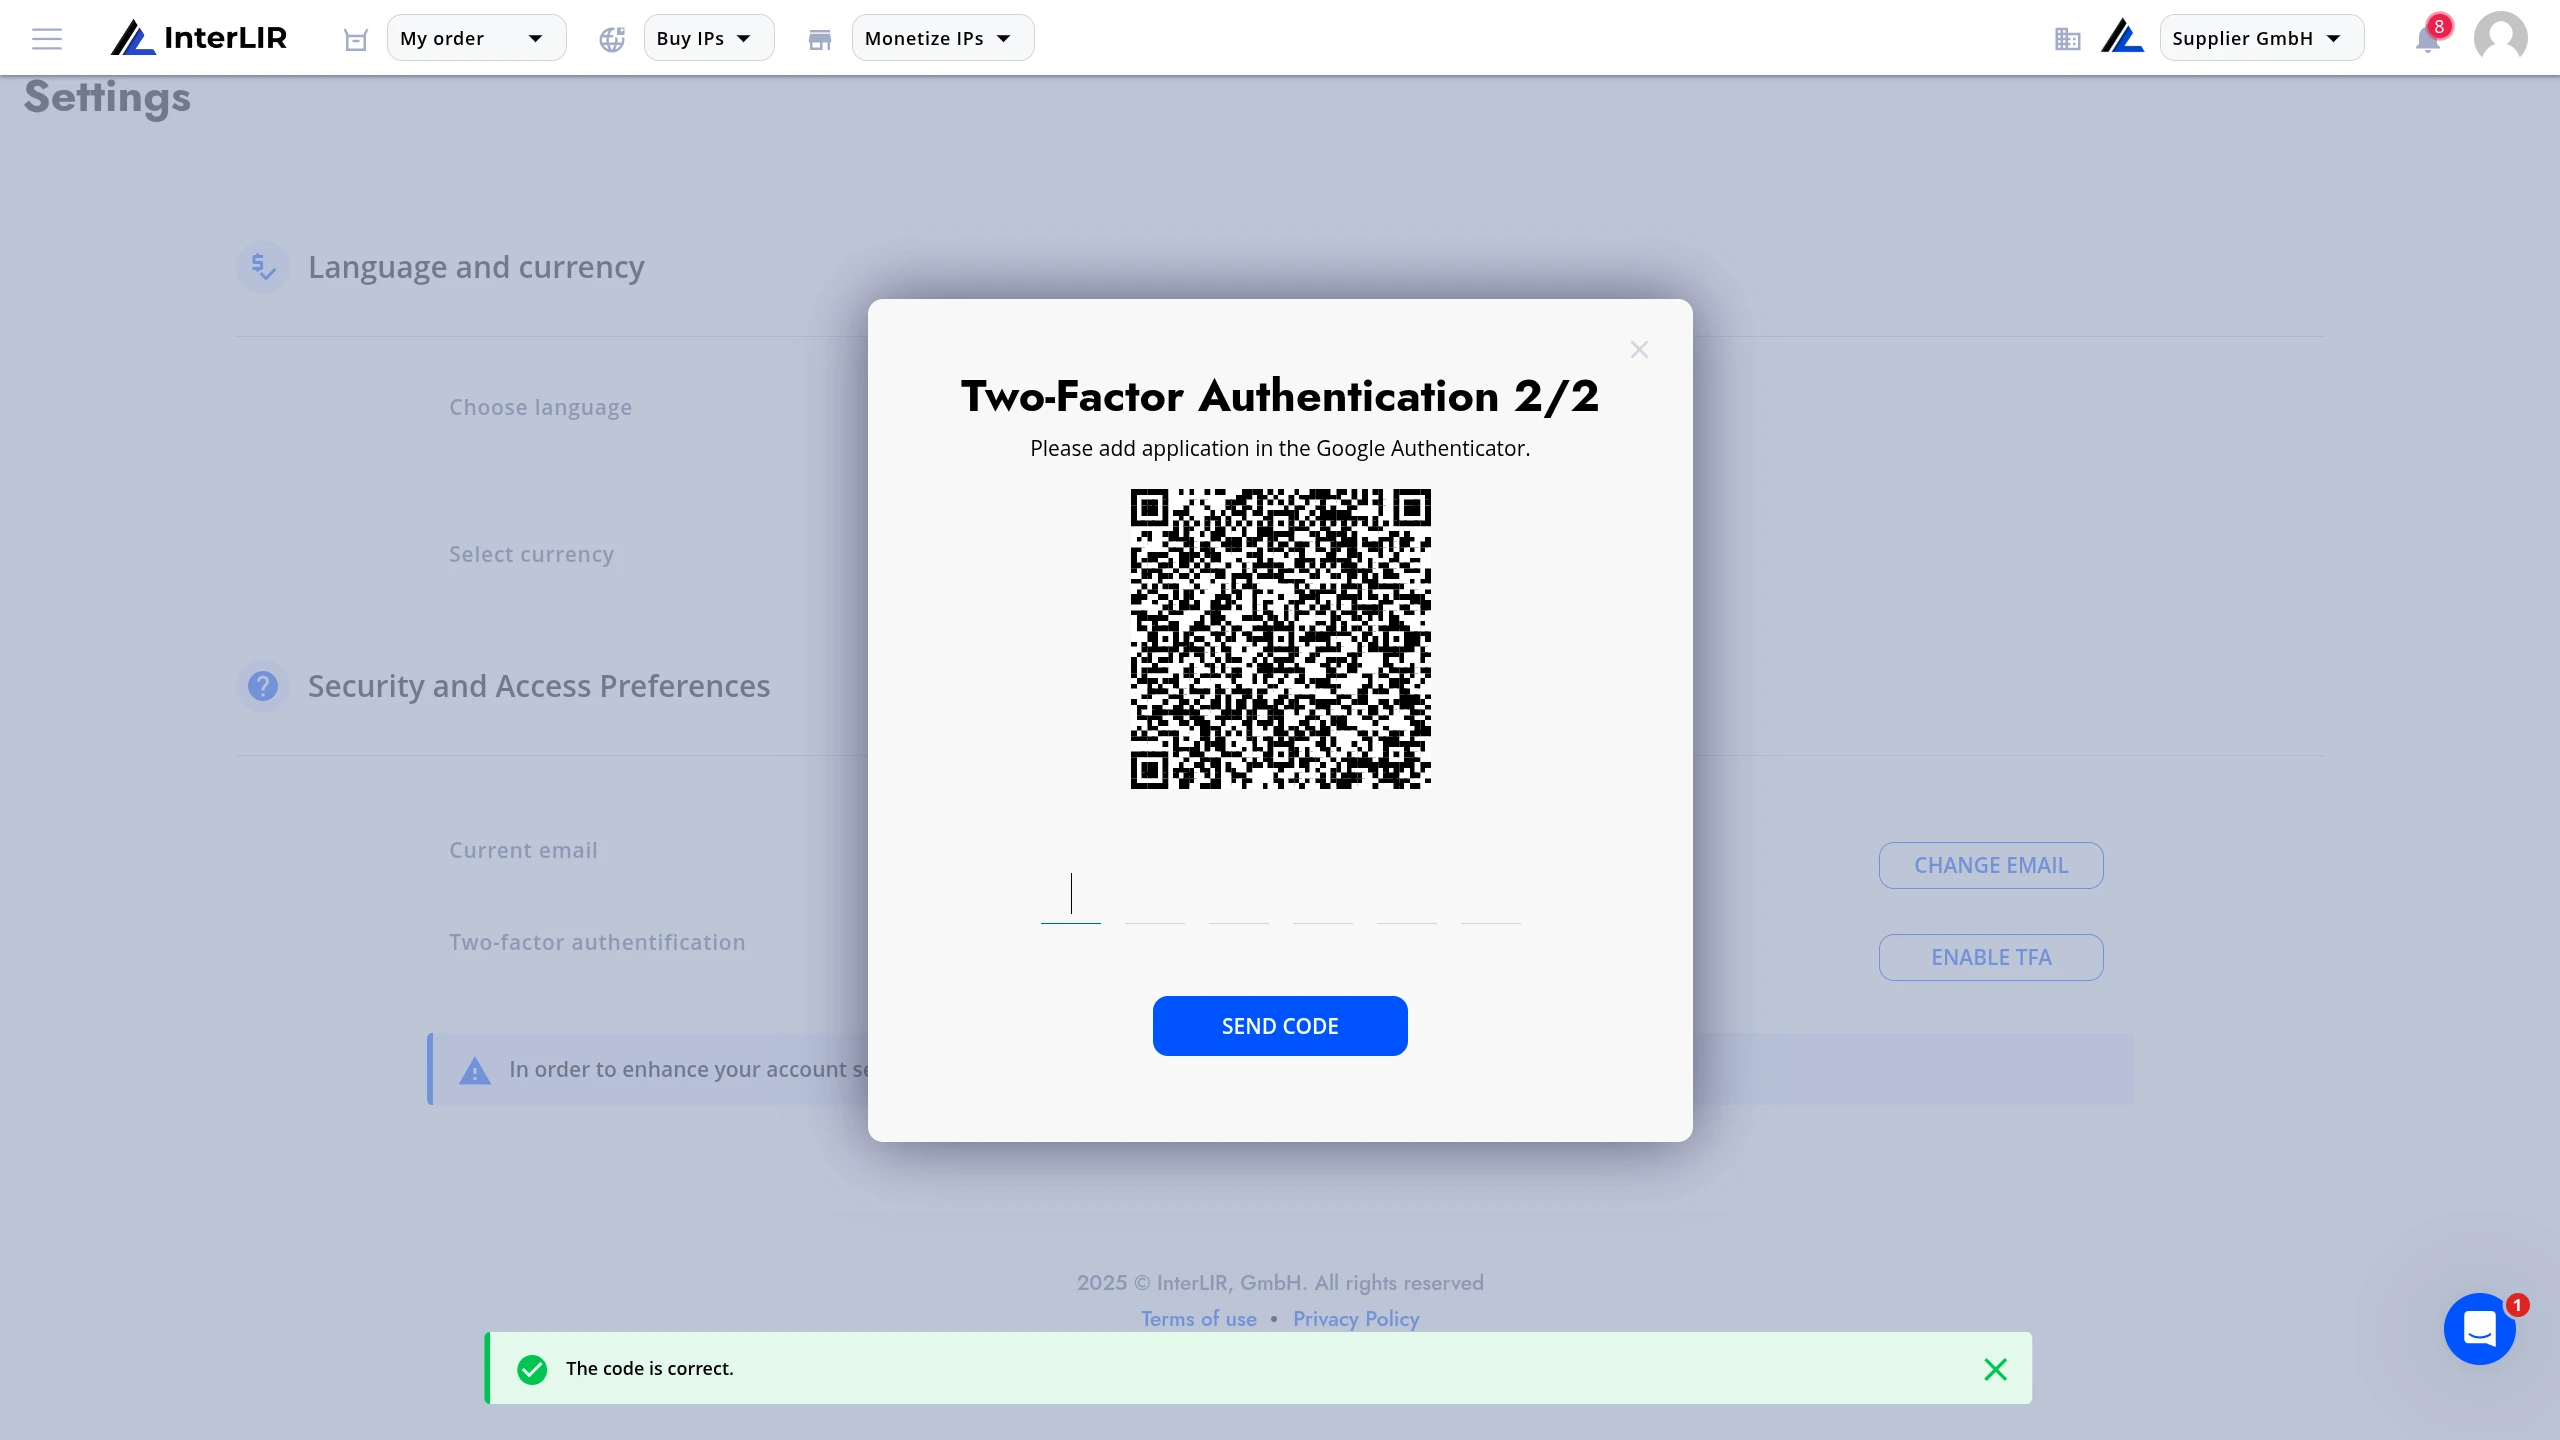
4. Two-Factor Authentication — Step 2/2
After email verification, you will see a QR code.
- Open Google Authenticator, Authy, or another TOTP application.
- Scan the QR code.
- Enter the 6-digit code from your authenticator app.
- Click SEND CODE.
If the code is correct, a success message will appear.
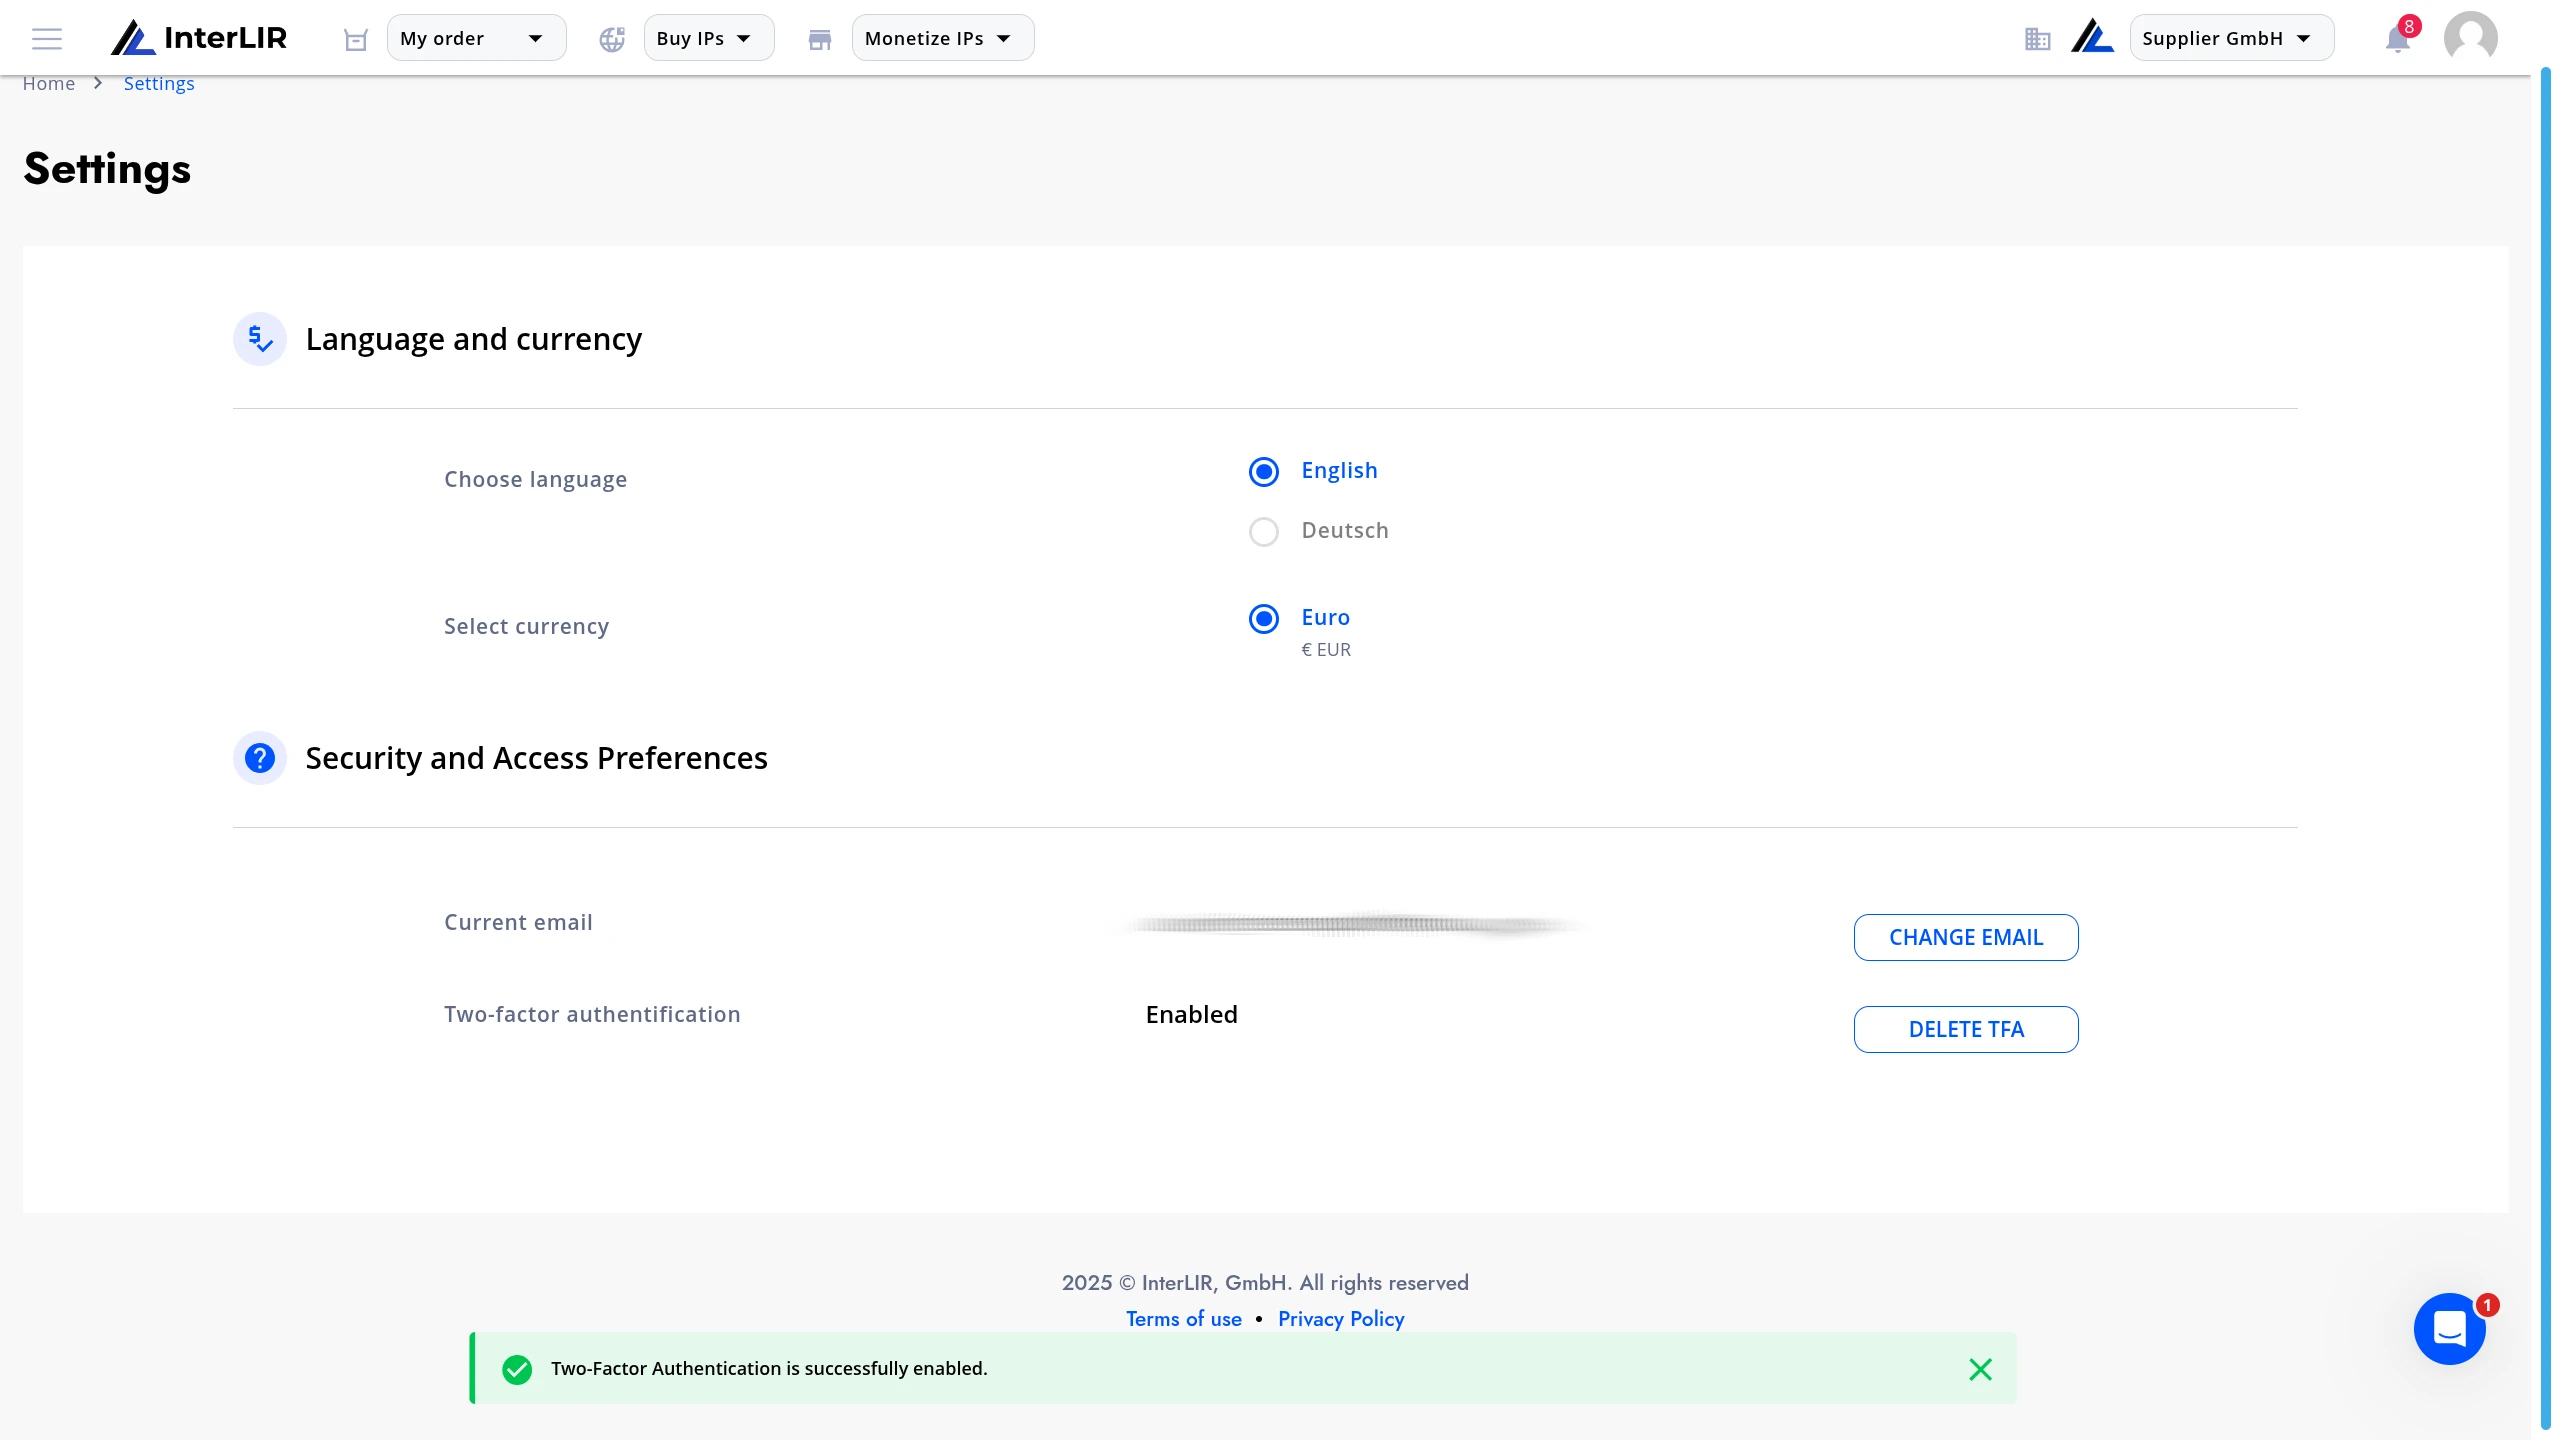
5. 2FA Enabled
After activation, the status will change to:
Two-factor authentication: Enabled
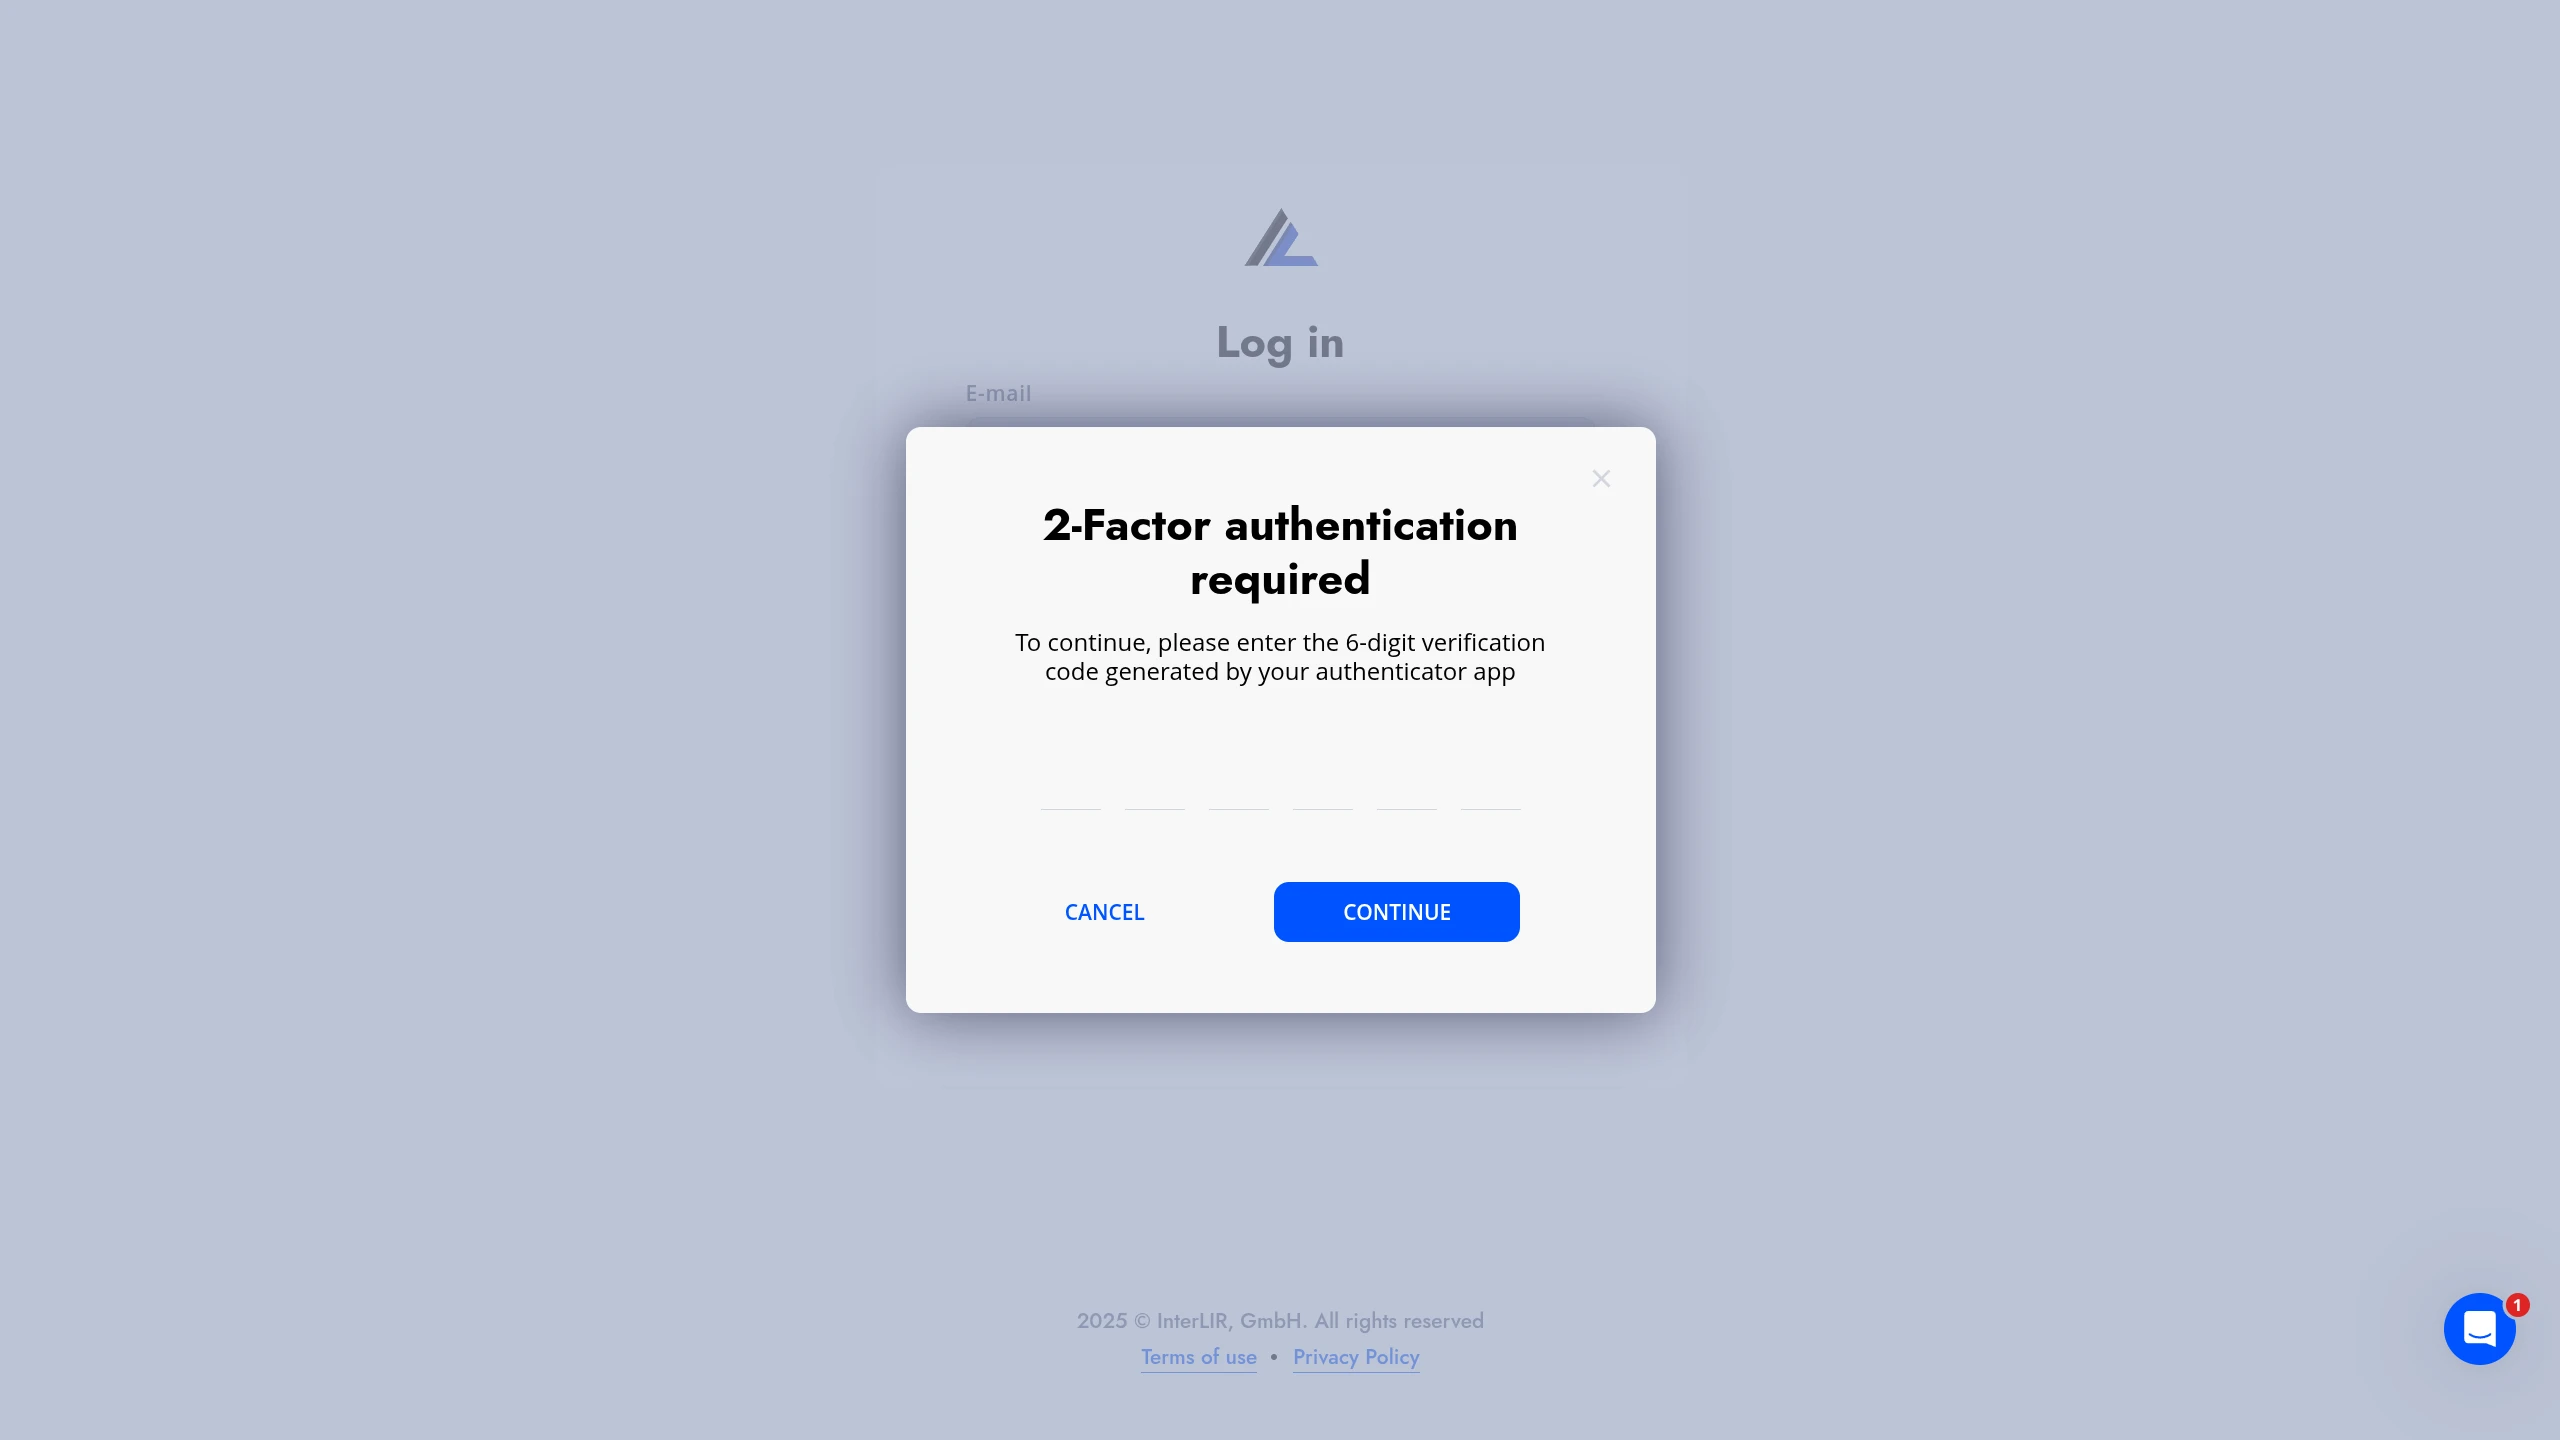
At each login, the system will request a 6-digit code:
Disabling Two-Factor Authentication (2FA)
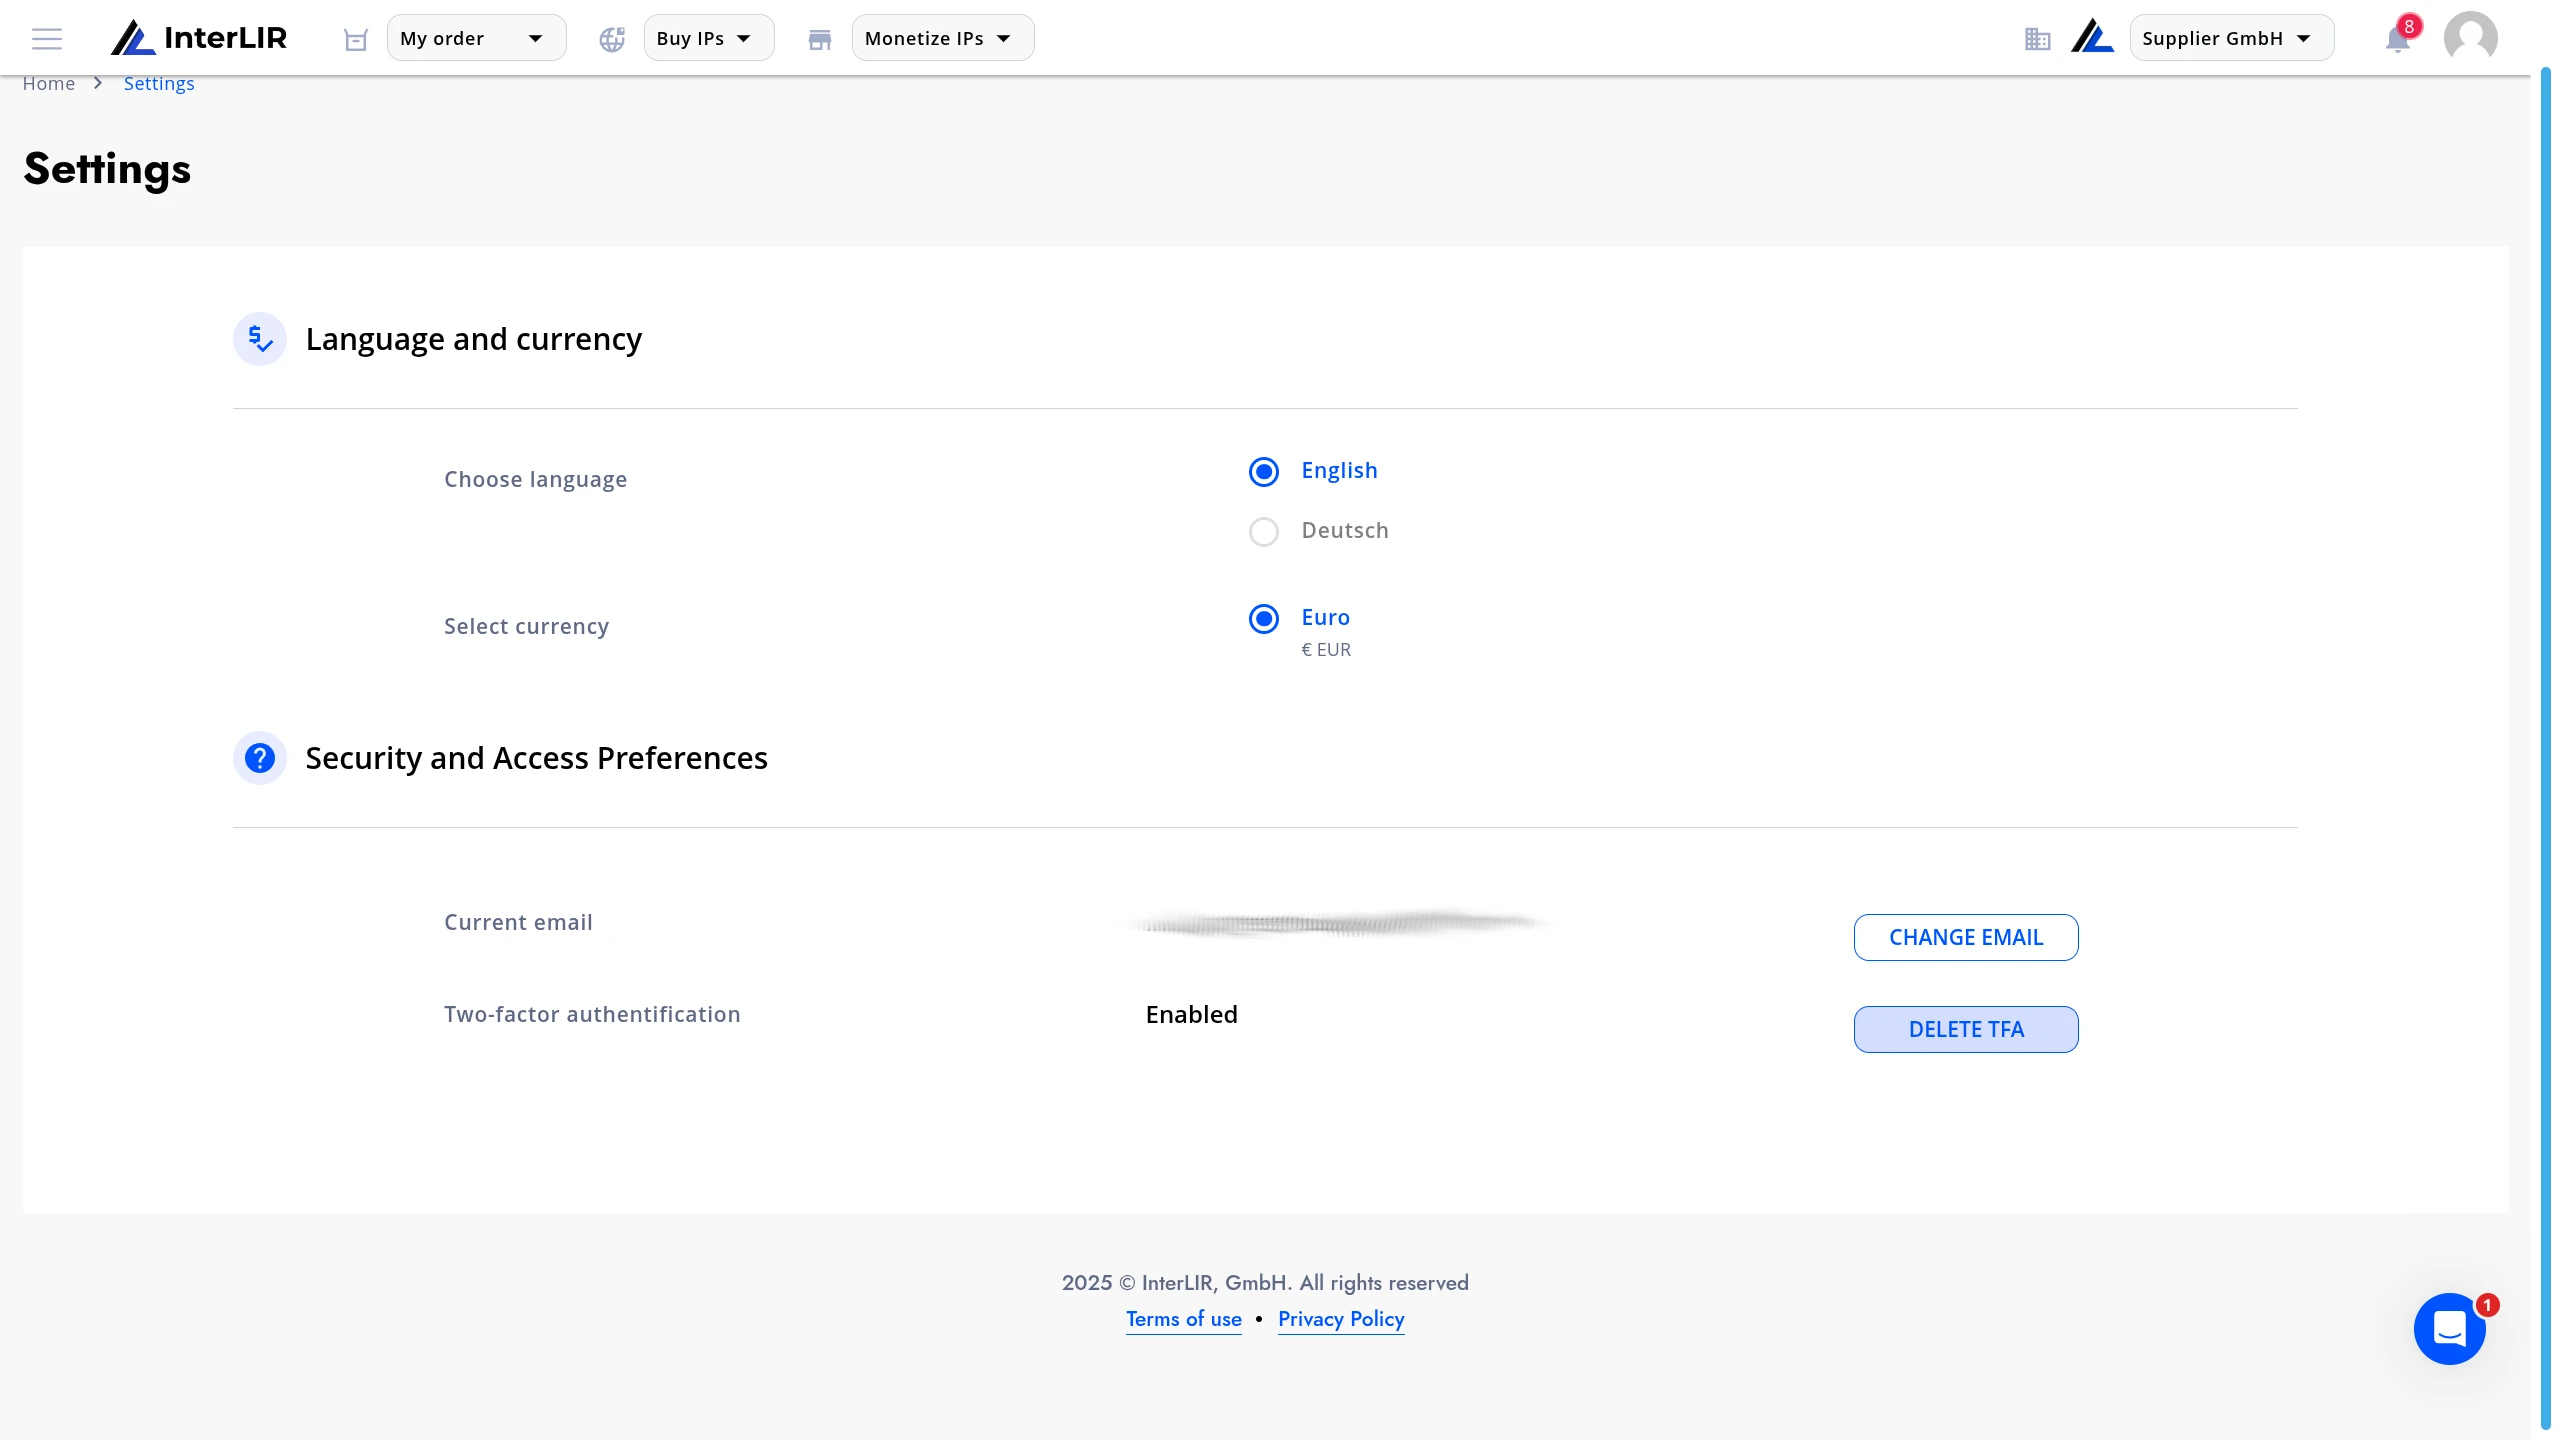
1. Open Security and Access Preferences
Navigate to:
My account → Security and Access Preferences
Under the 2FA status (Enabled), click DELETE TFA.
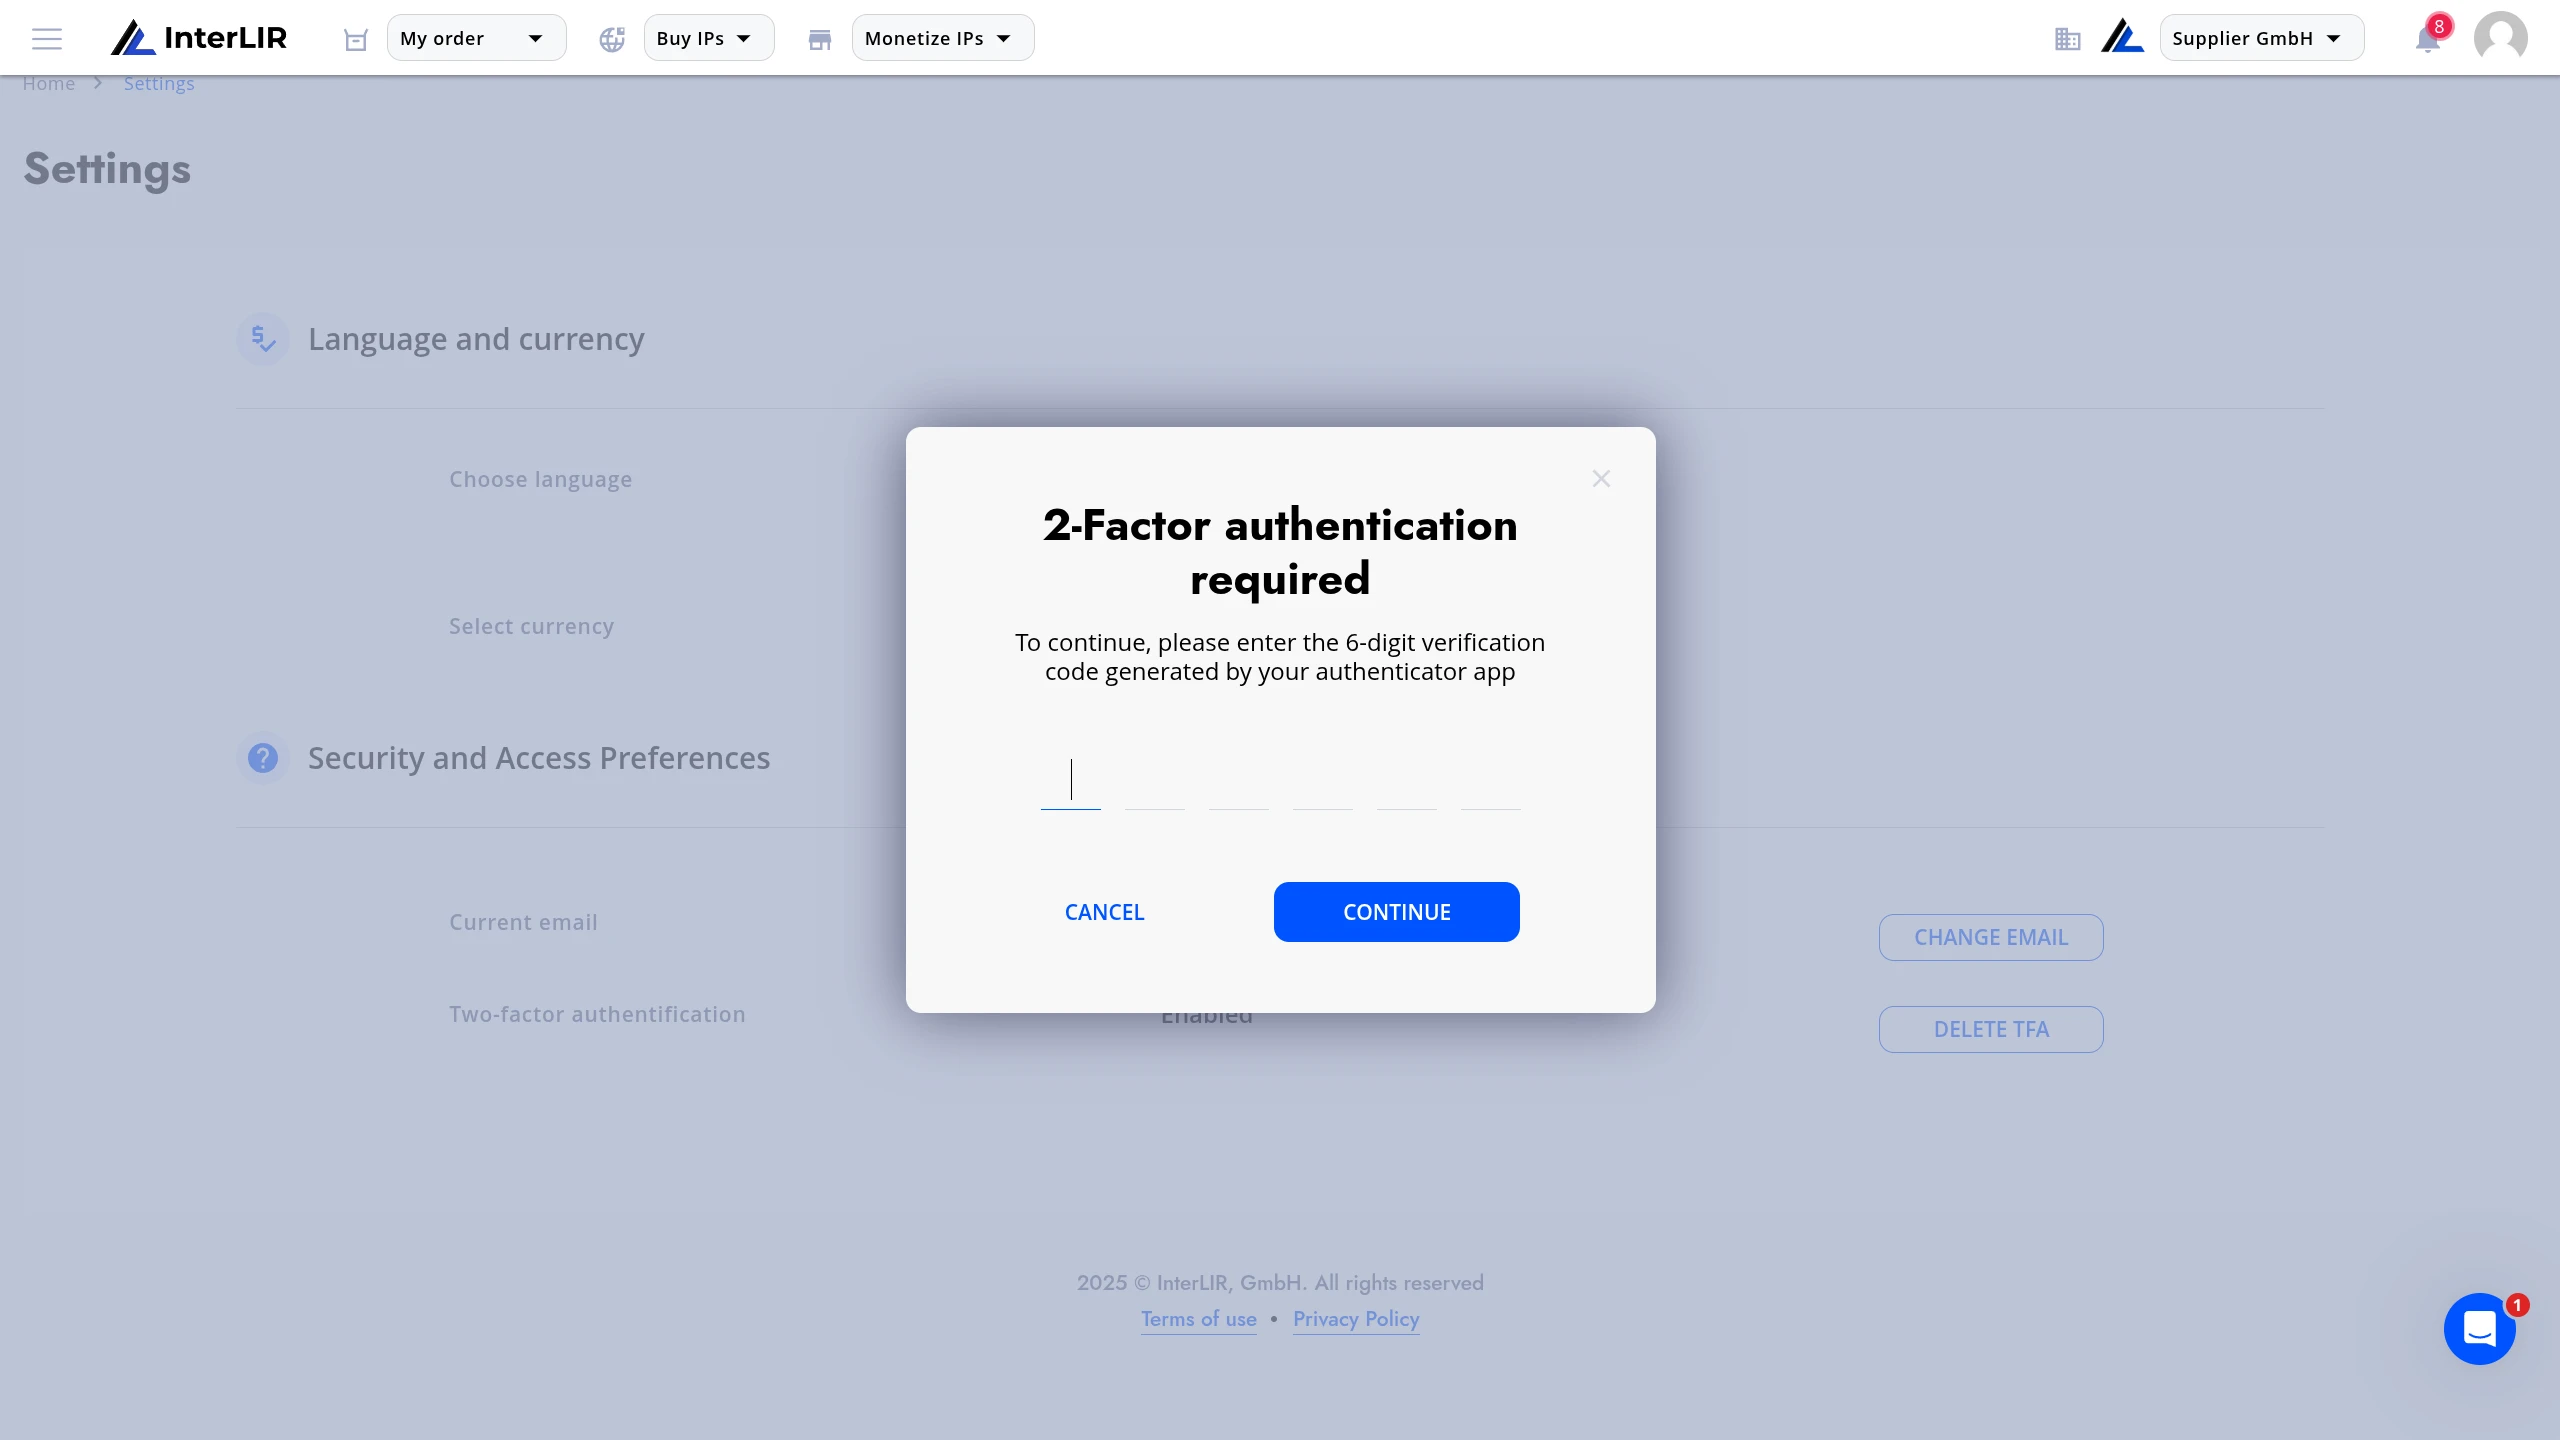
2. Confirm Deactivation
Confirm the action in the modal window.
After confirmation, the 2FA status will change to:
Two-factor authentication: Disabled