How to Reserve IP-Blocks
Suppliers can reserve their IP-blocks or any sub-blocks so they stop appearing on the Marketplace starting from a selected date. A reserved block becomes hidden from Customers and cannot be rented until the reserve period ends or the Supplier deletes the reserve.
💡 Related: Learn how to import IP blocks to make them available on the marketplace first.
This guide explains how to:
- create a reserve for one or multiple blocks
- select any block or sub-block from the hierarchy
- define the date when the reserve becomes active
- delete a reserve to return the block to the Marketplace
What is a Reserve?
A reserve is a Supplier-side action that hides selected IP-blocks from the Marketplace for future use, internal planning, migrations, or operational needs.
Once a reserve becomes active:
- The block is not visible on the Marketplace.
- The block cannot be rented.
- The block remains visible to the Supplier under My reserves.
The Supplier can delete the reserve at any time before it starts or during the reserve period.
Where to Manage Reserves
Navigate to:
IPv4 resources → My reserves
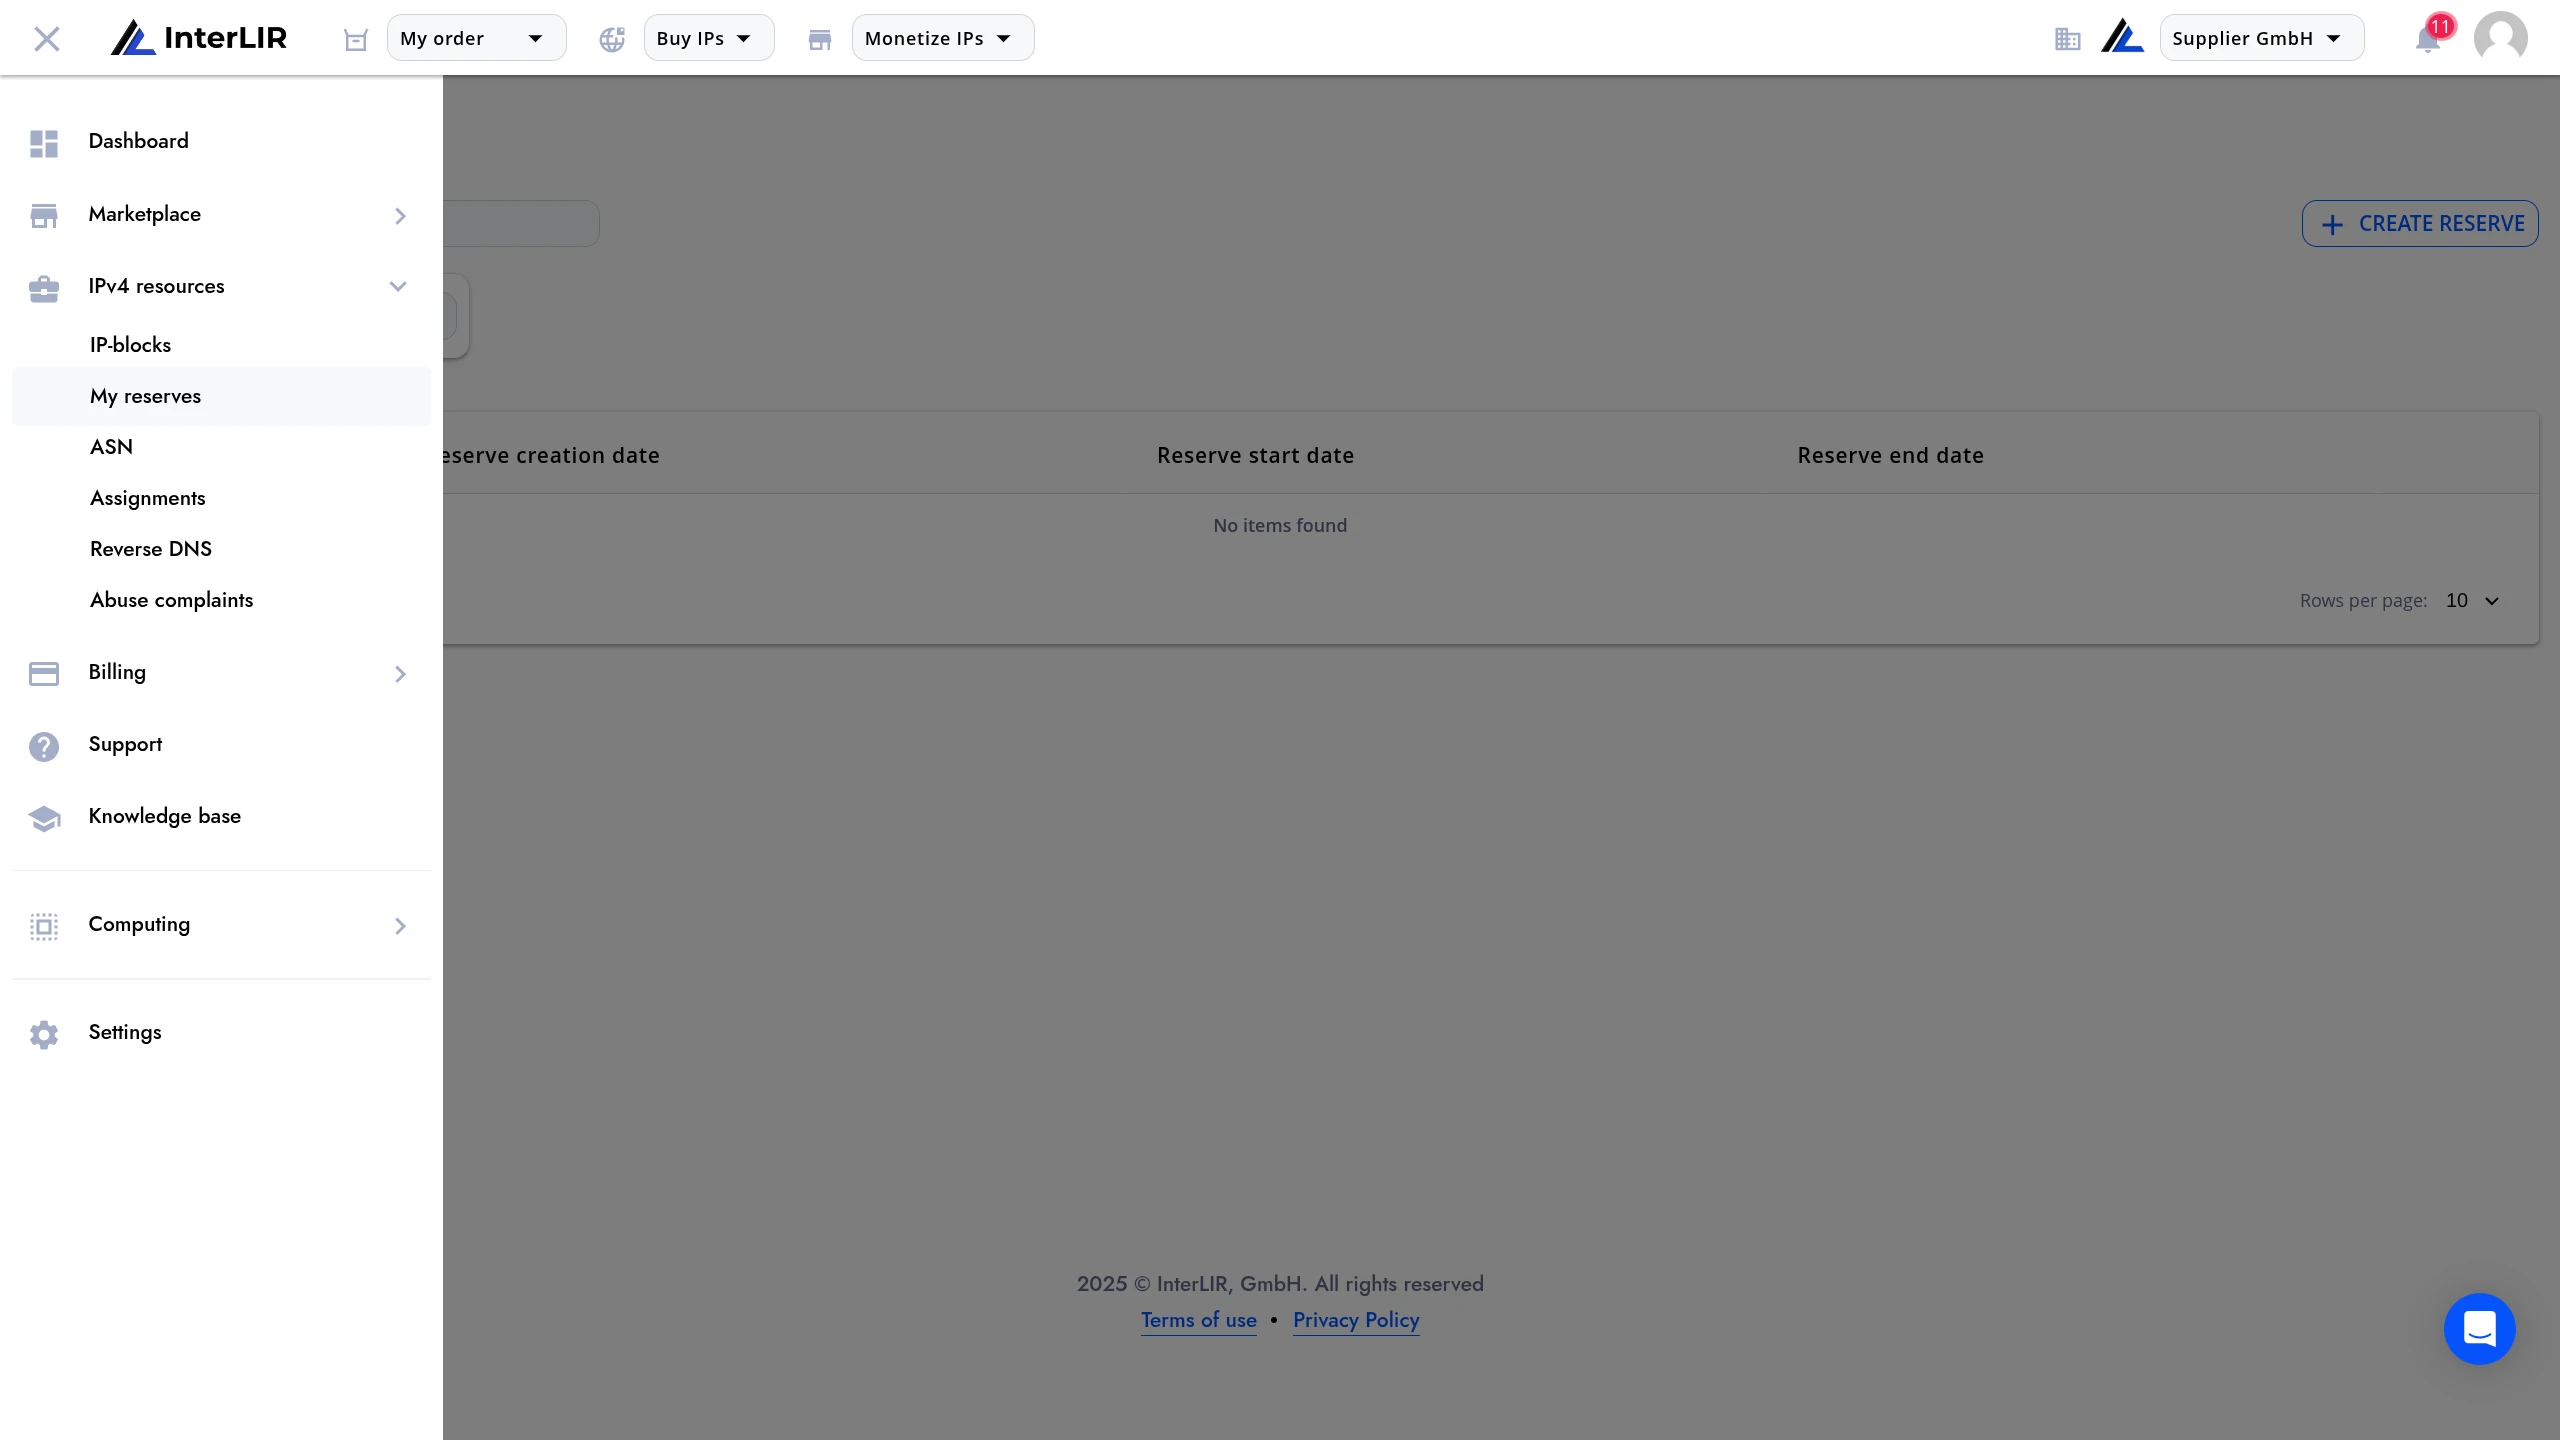
If you have no reserves yet, the list will be empty:
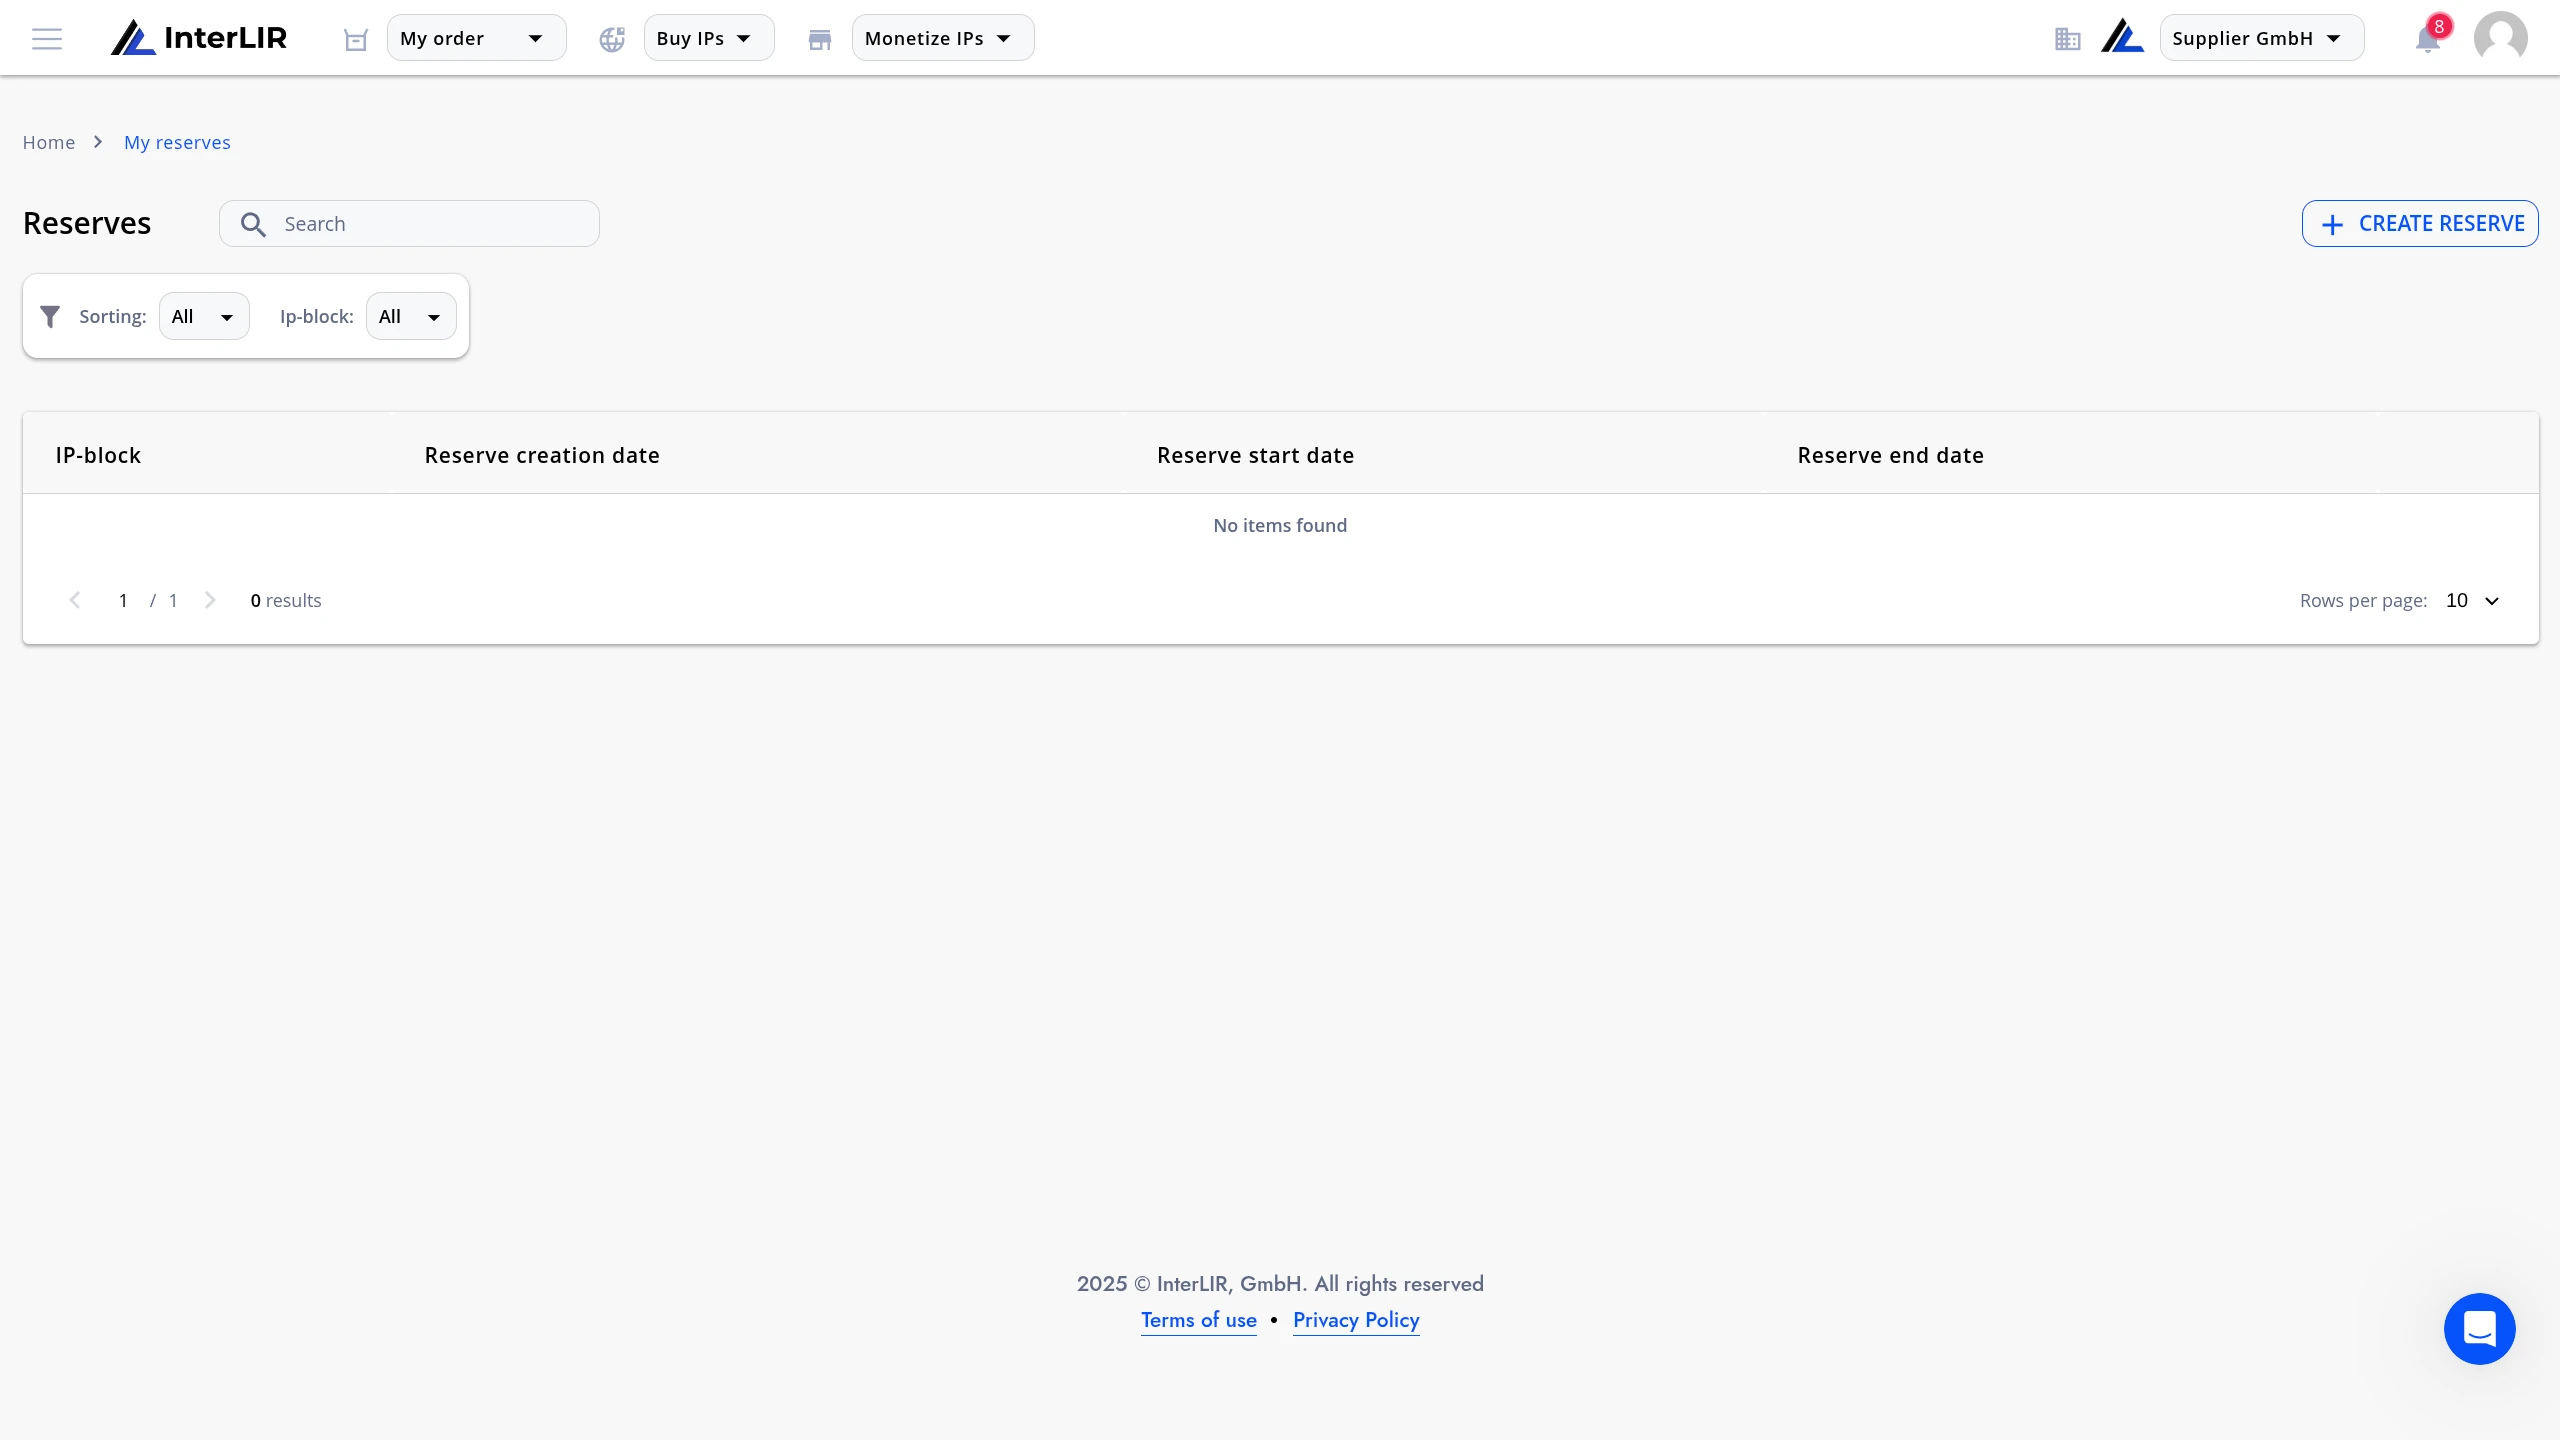
Creating a Reserve
Step 1 — Open the “Create Reserve” Dialog
Click Create Reserve in the top-right corner.
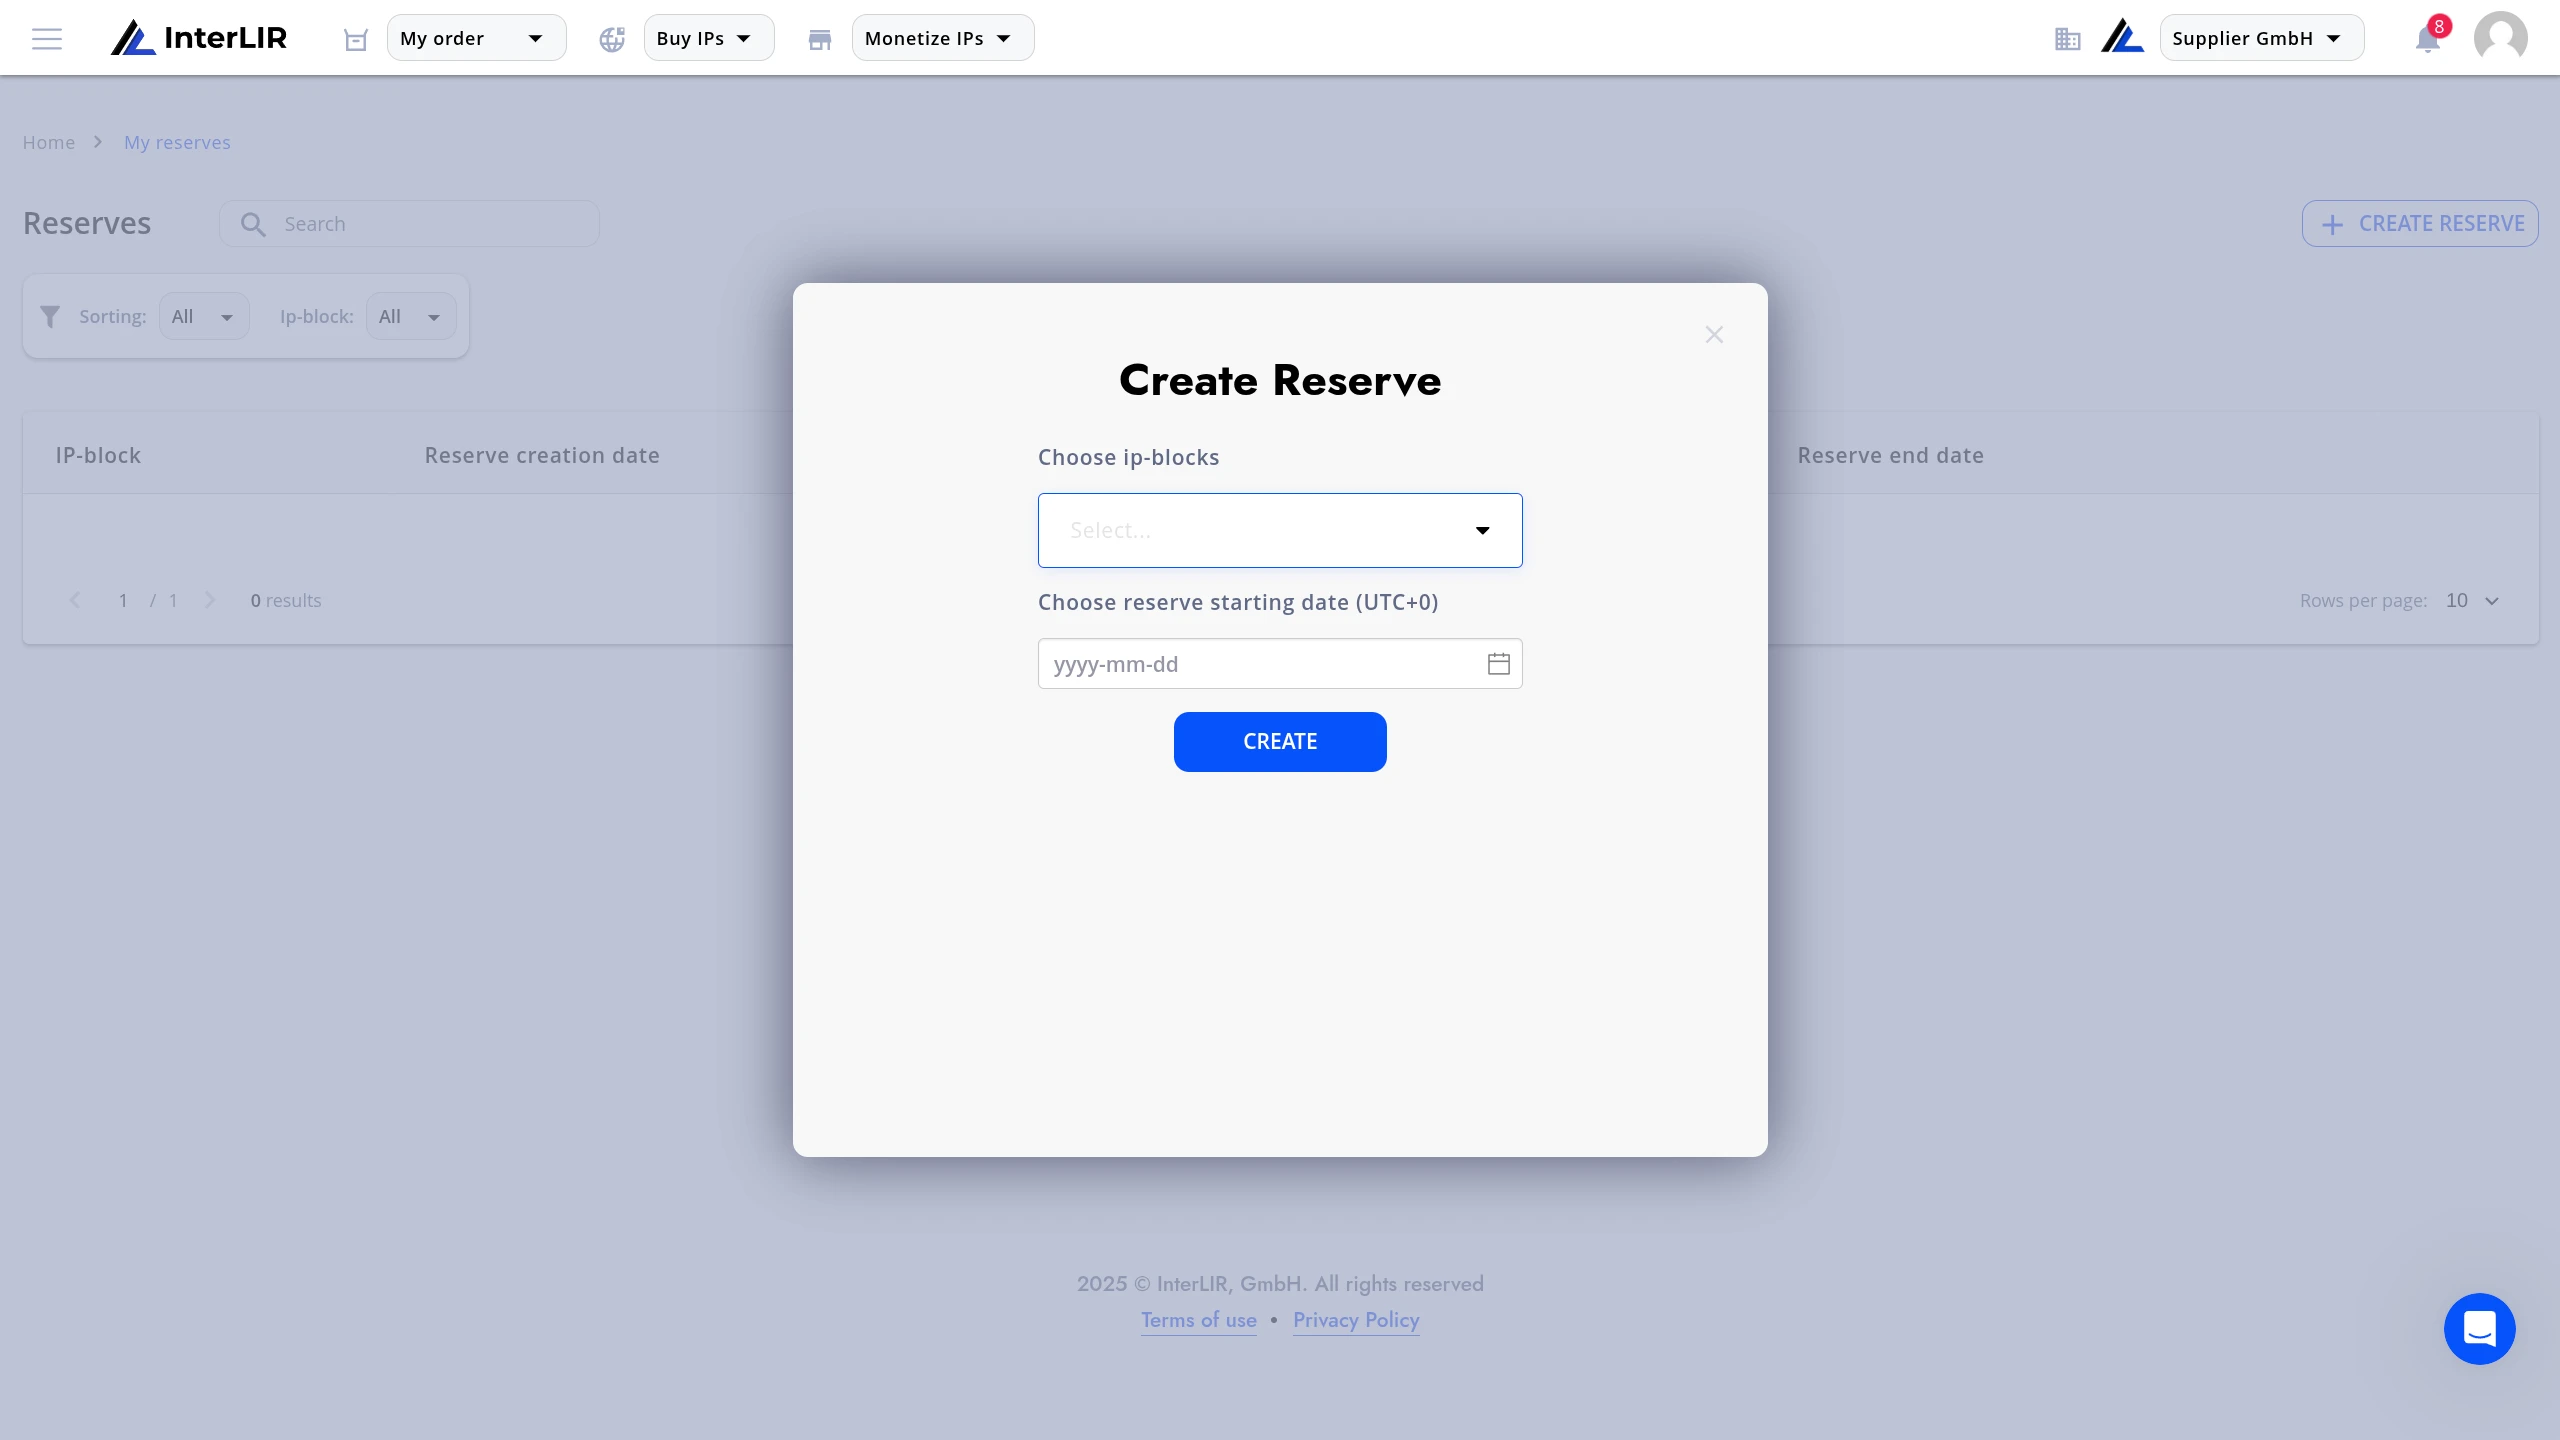
The creation modal will appear:
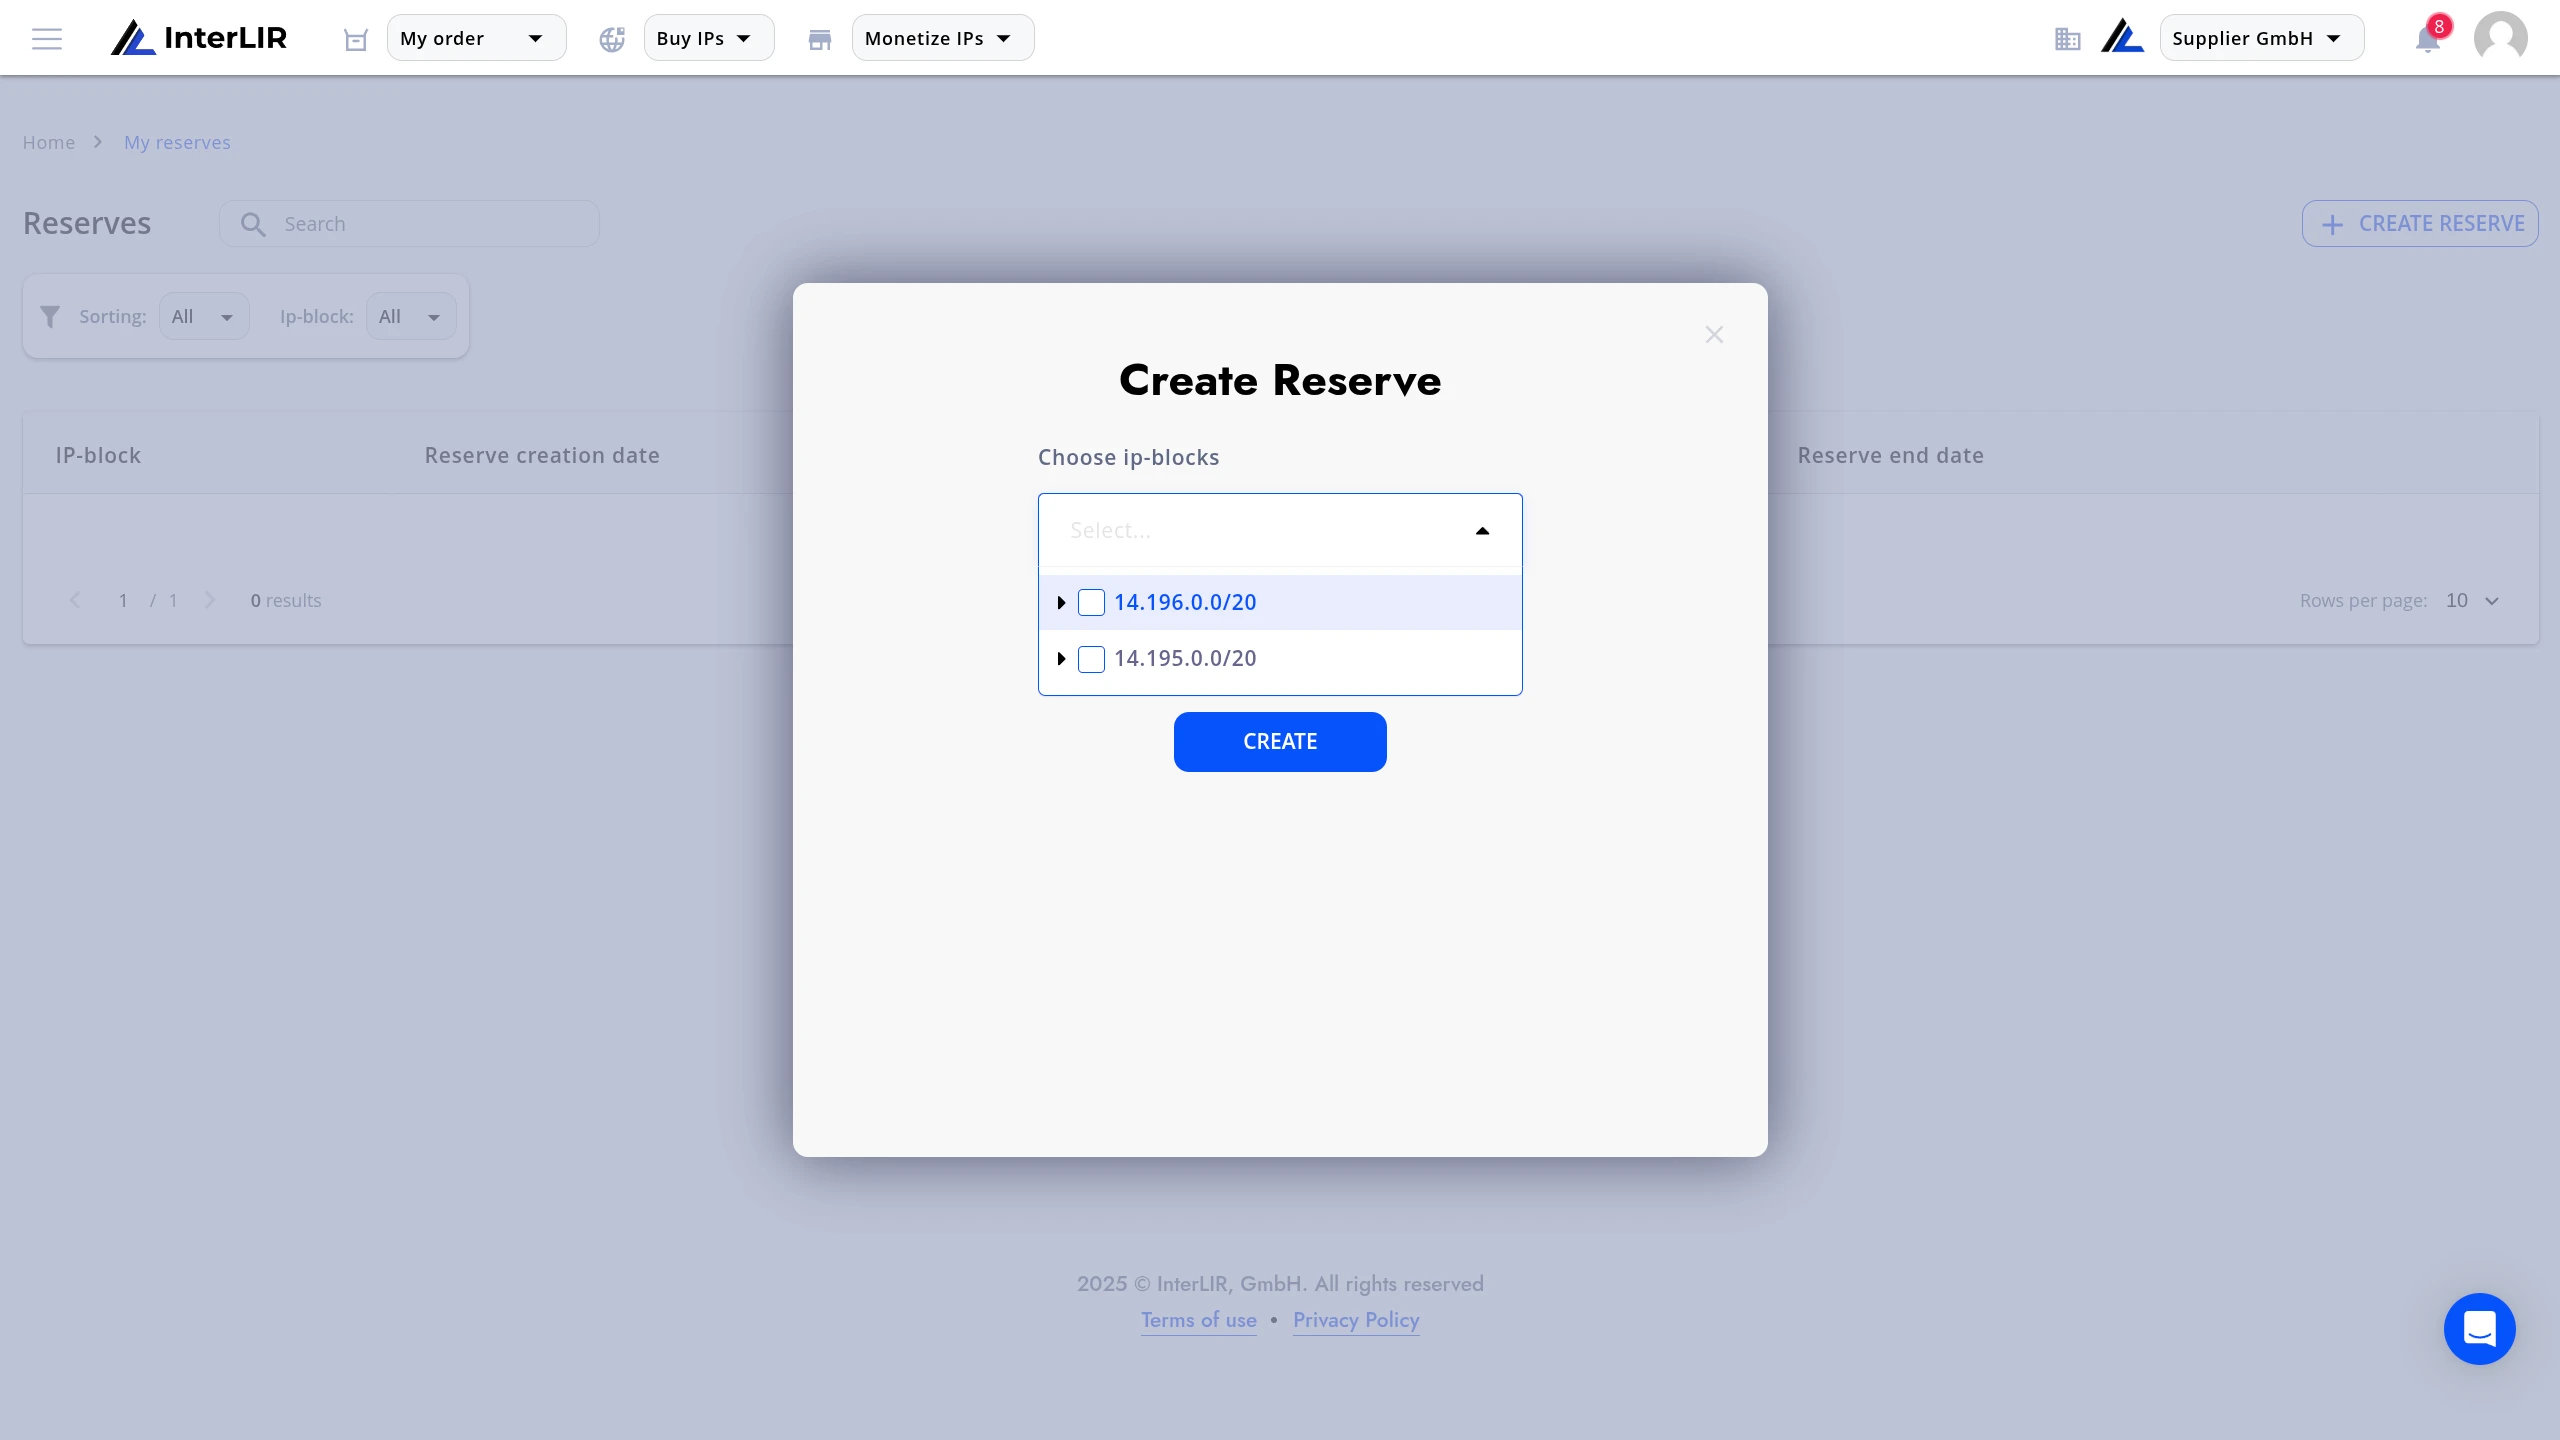
Step 2 — Select the IP-Blocks
You can reserve:
- a full block (e.g.,
/20) - individual sub-blocks (e.g., several
/24) - any combination of available blocks
Selecting a parent block automatically includes its child blocks unless manually deselected.
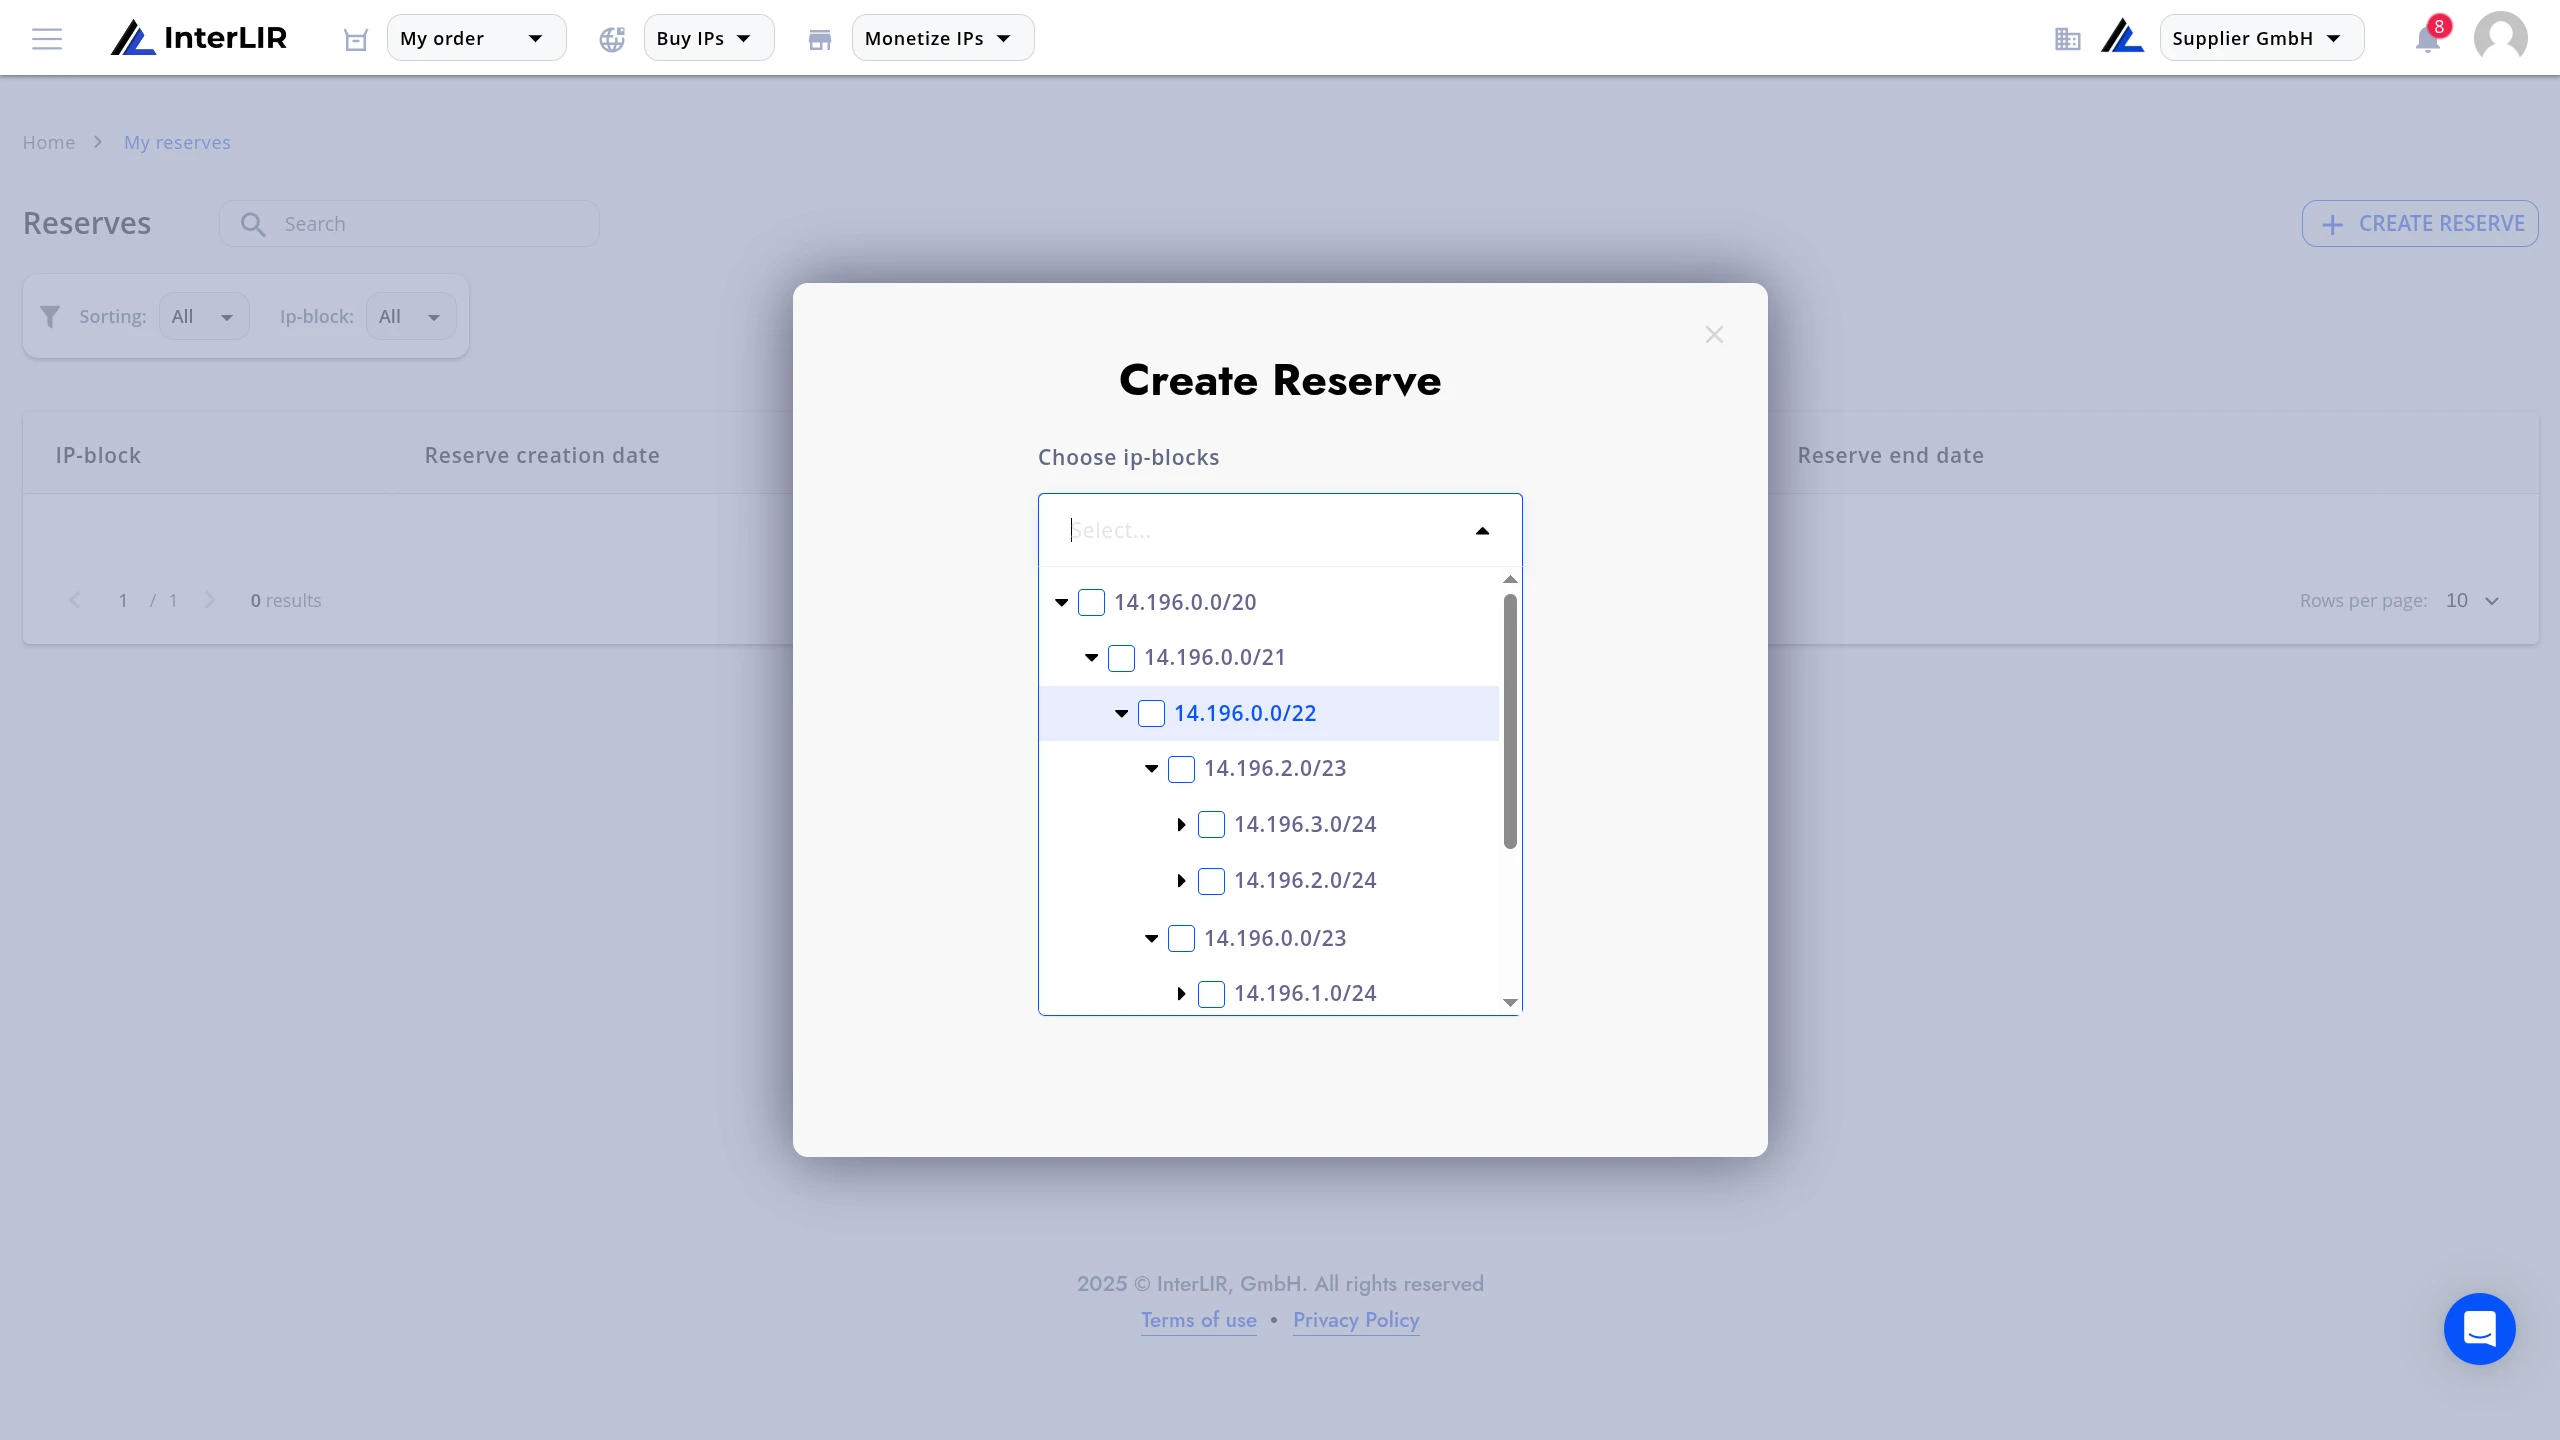
You can expand the hierarchy to choose specific sub-prefixes:
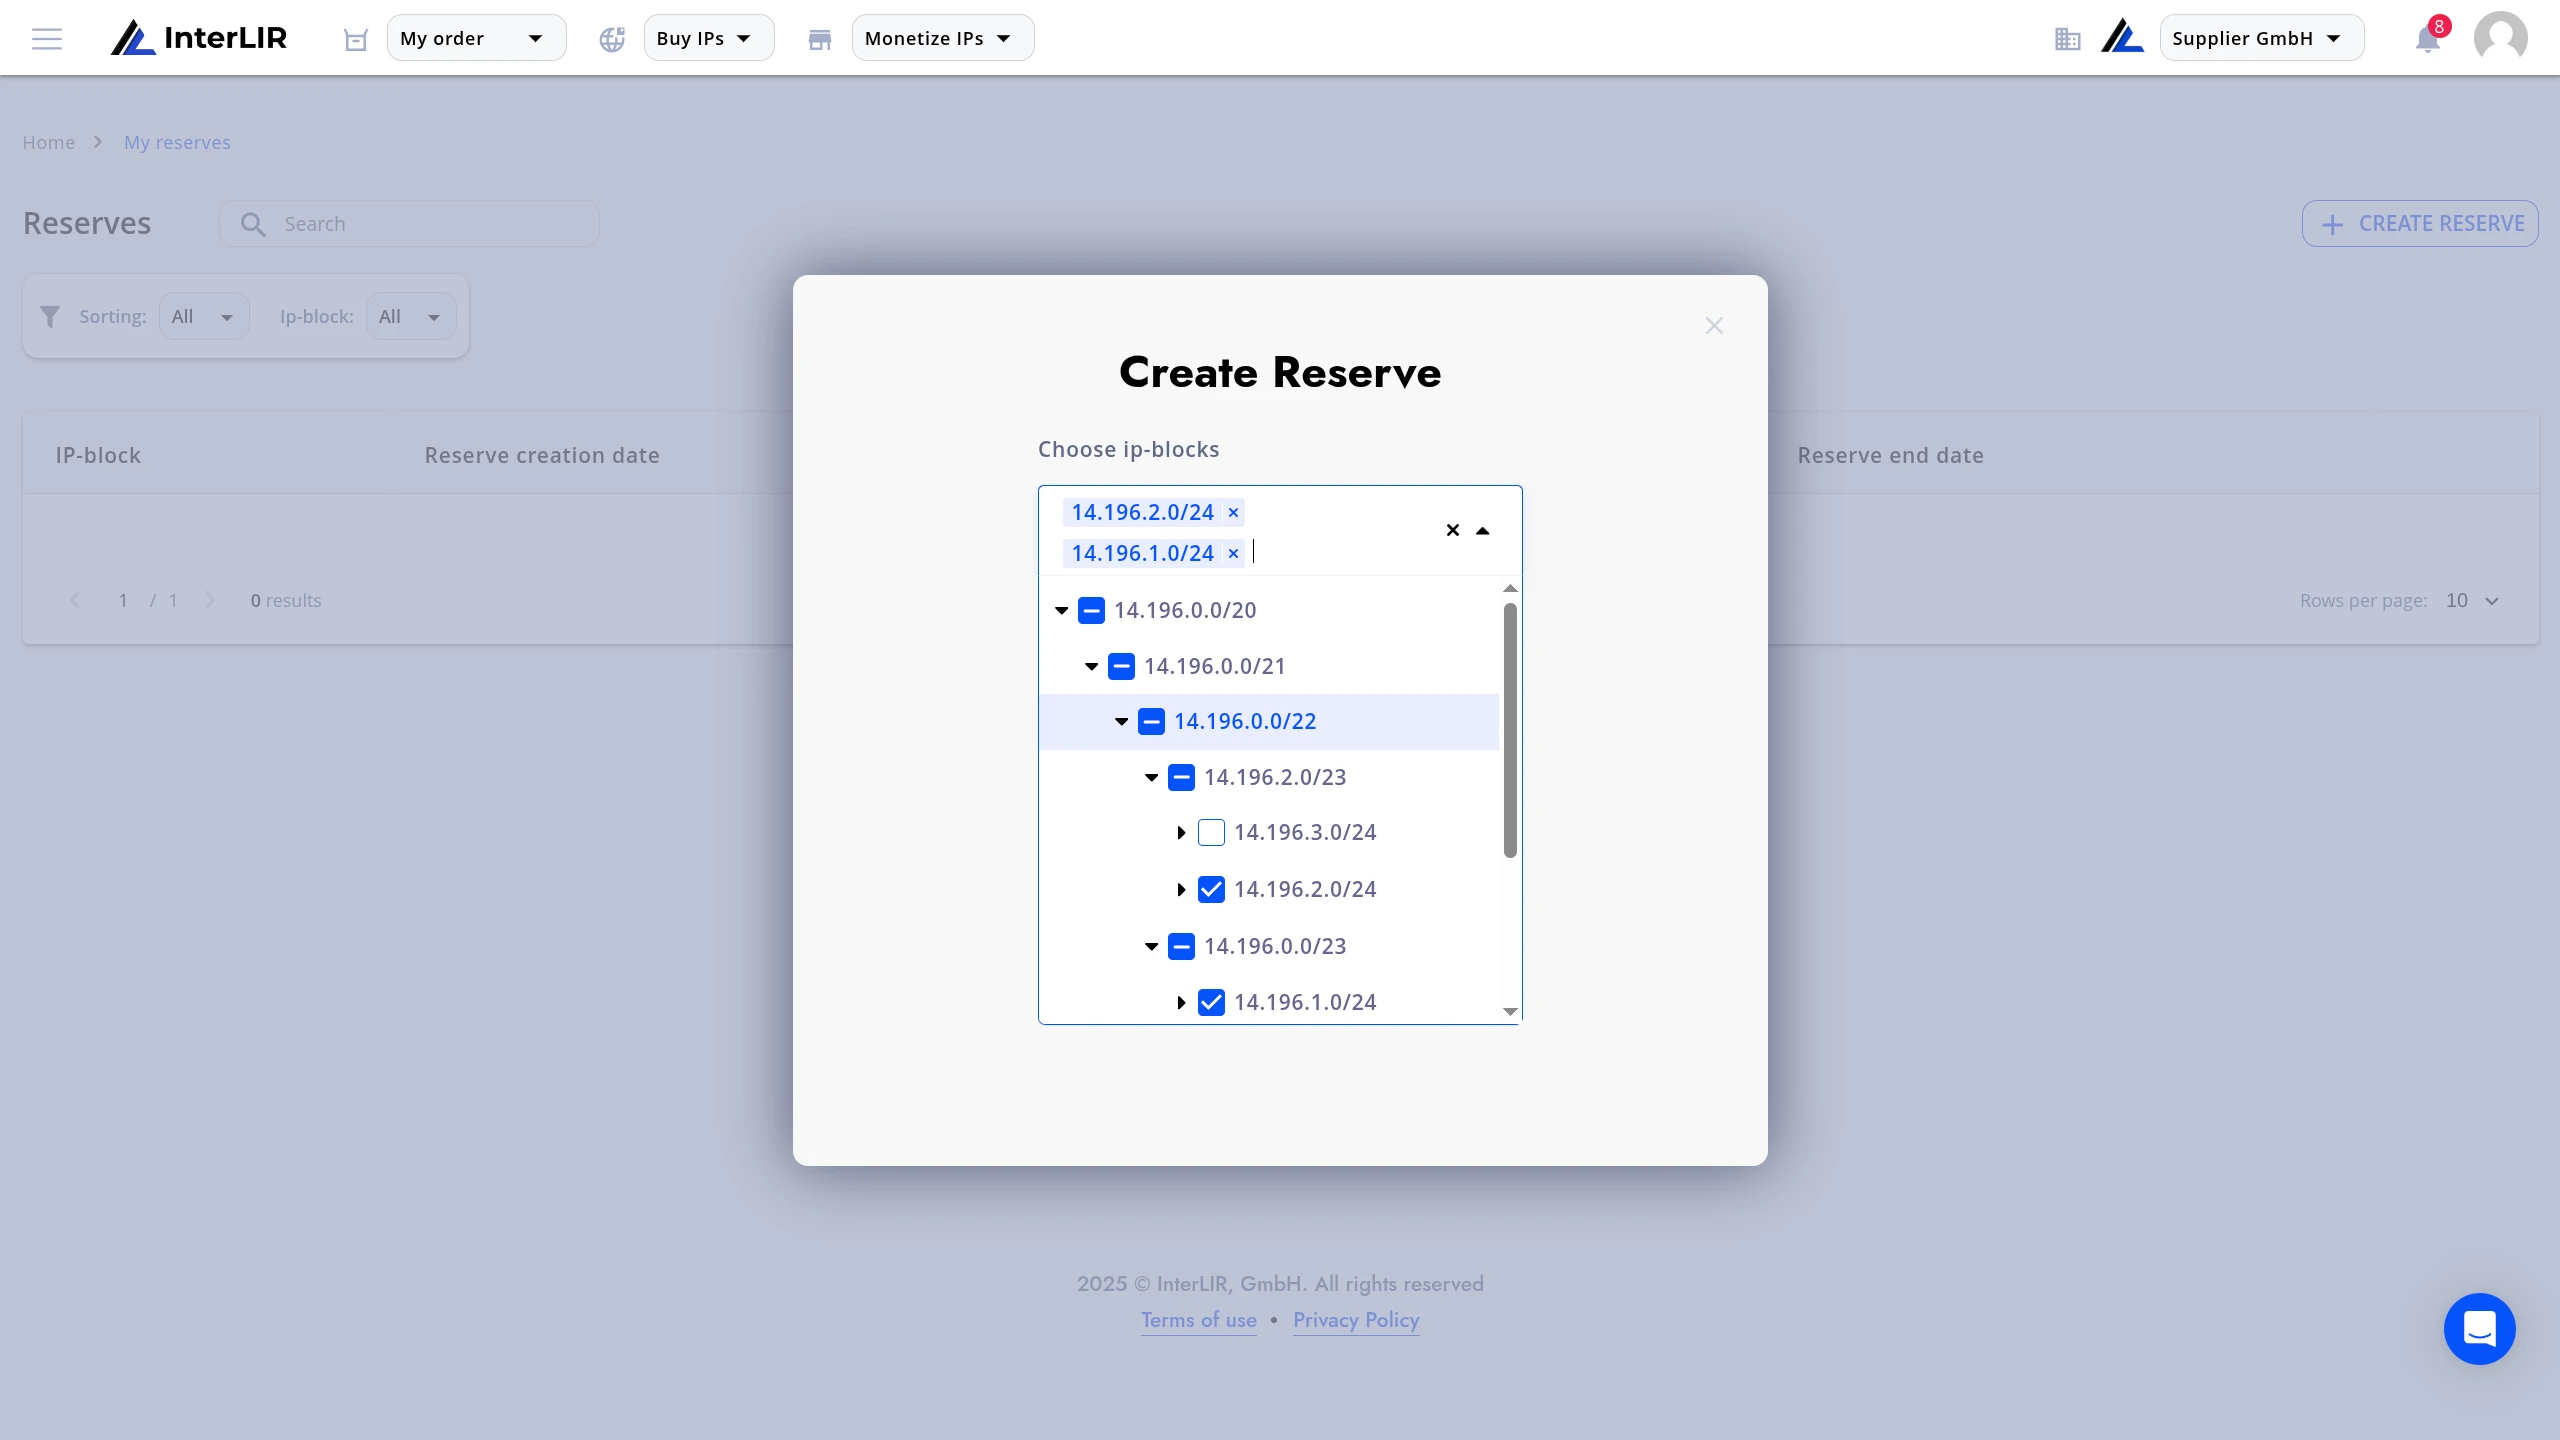
Selected blocks appear in the input field:
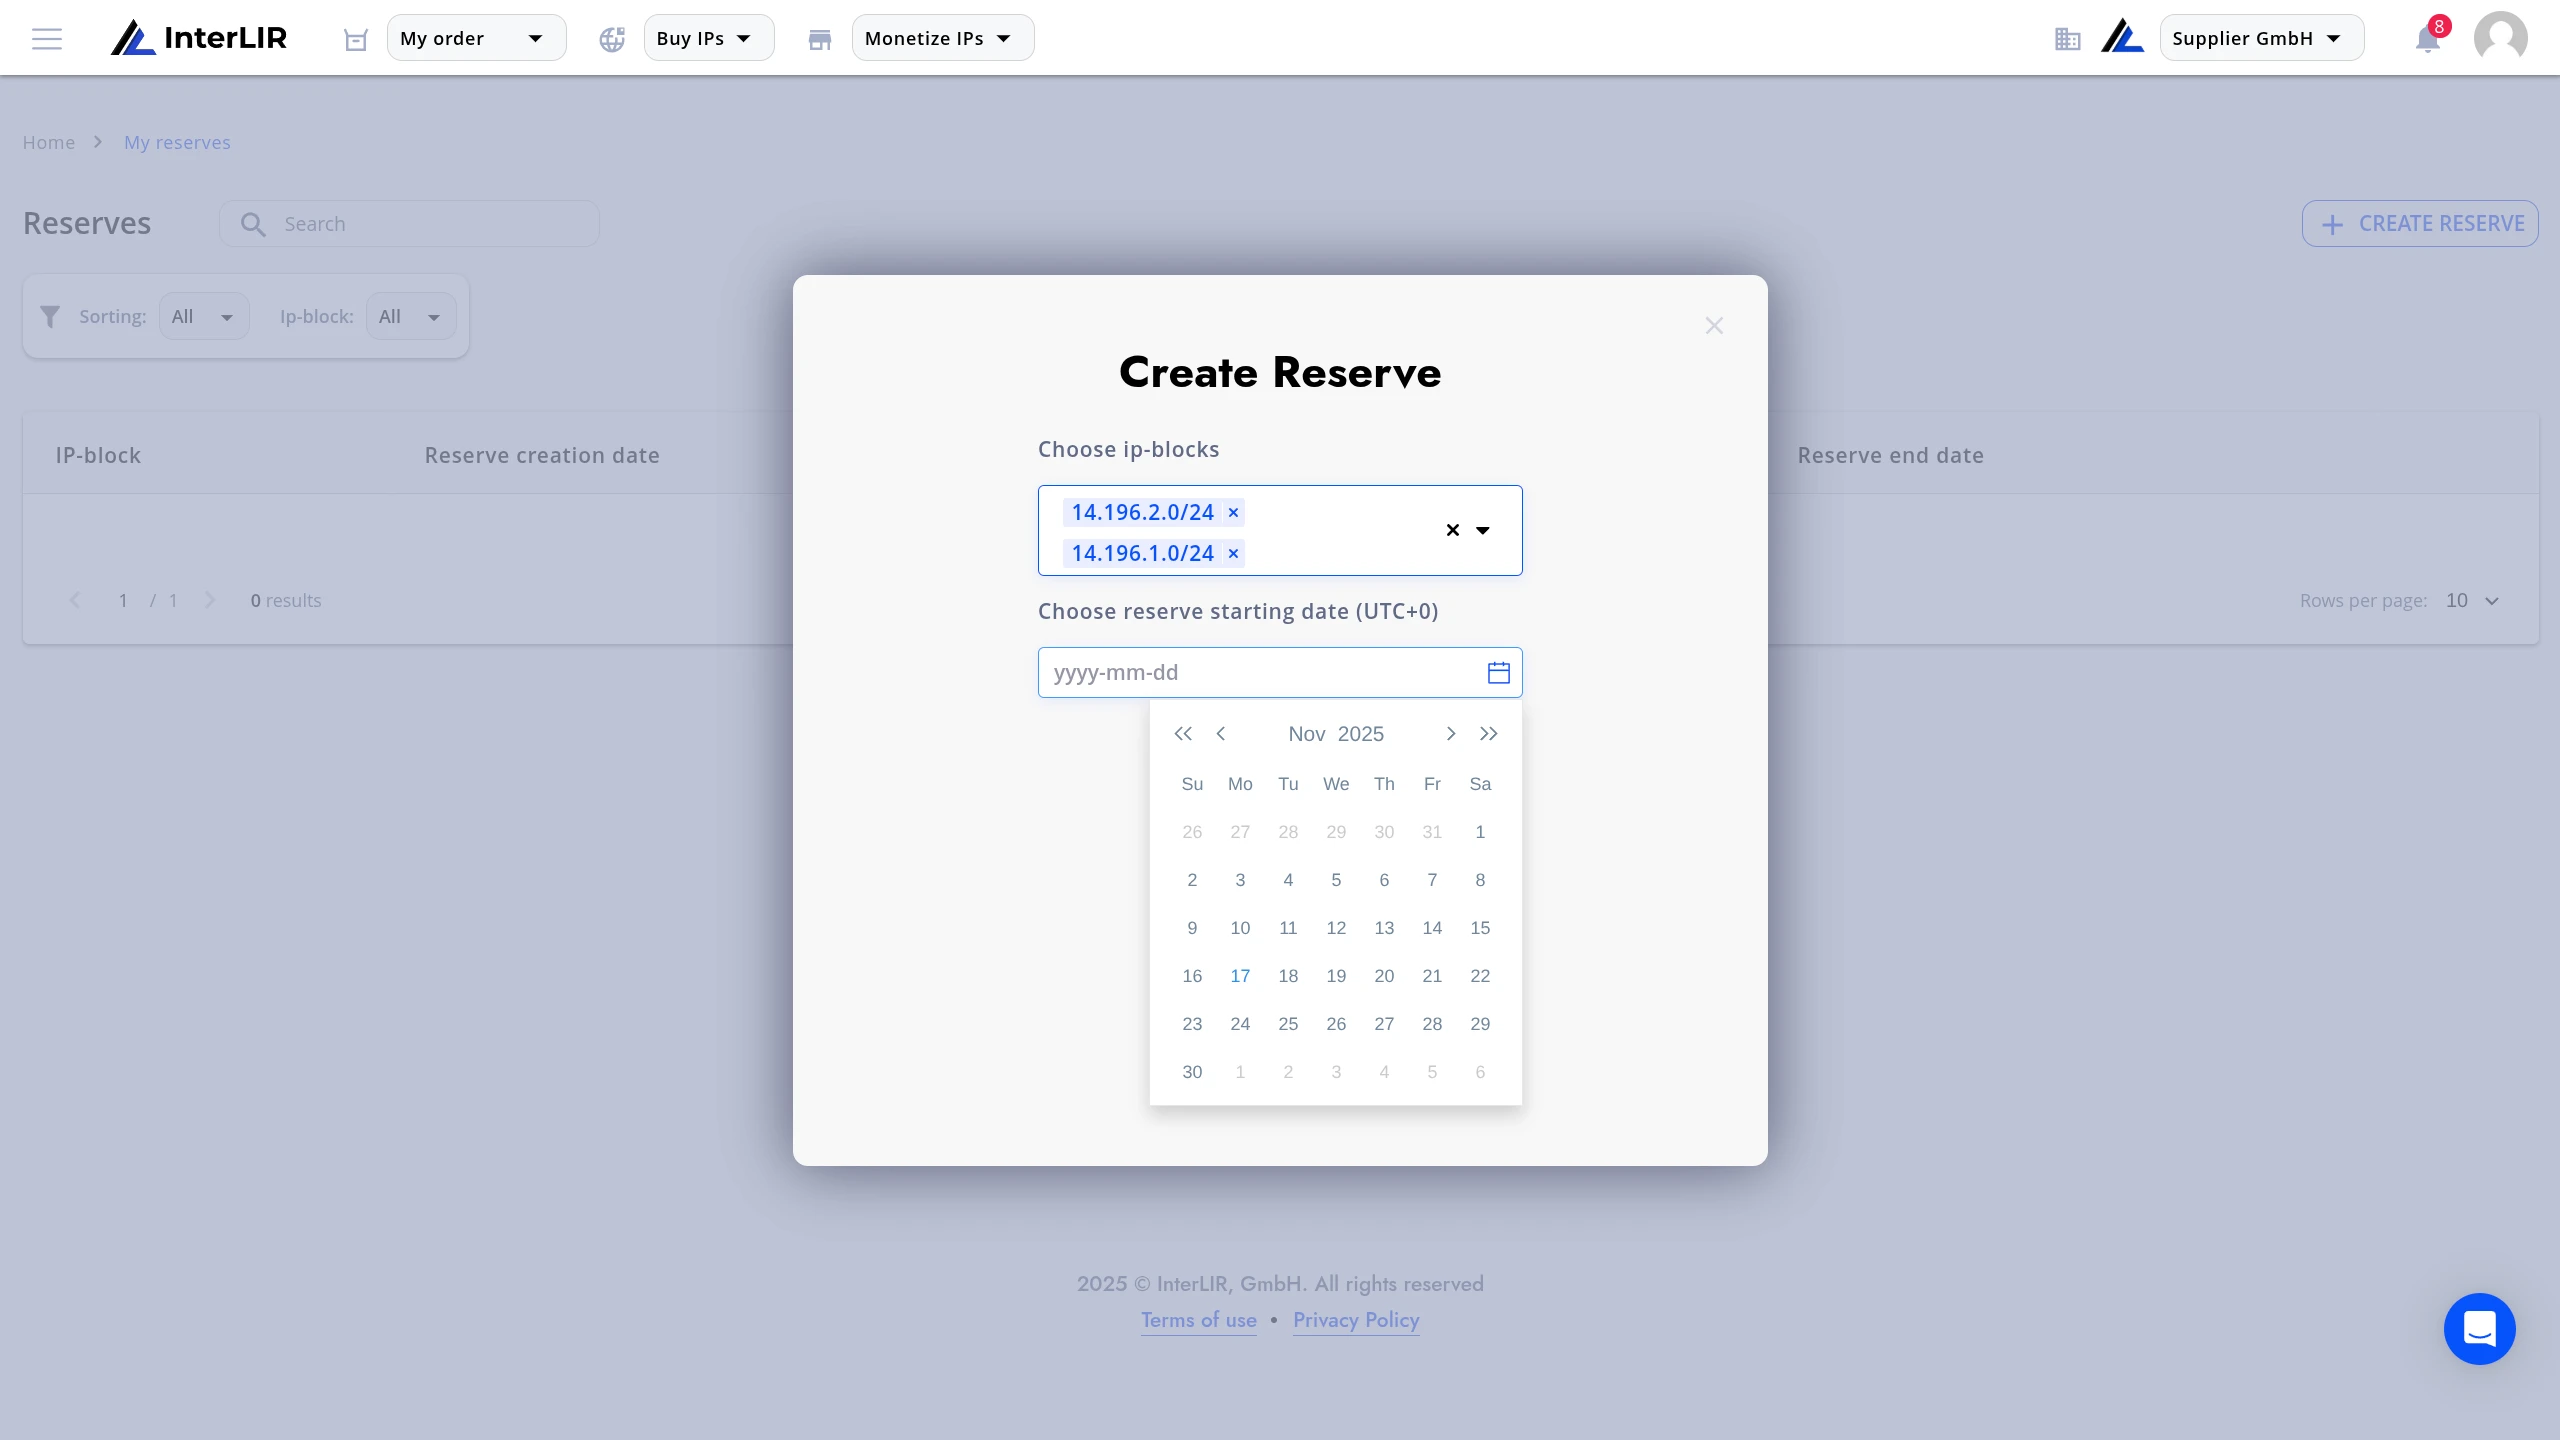
Step 3 — Select the Reserve Start Date
Choose the date when the reserve becomes active.
The date is applied in UTC+0.
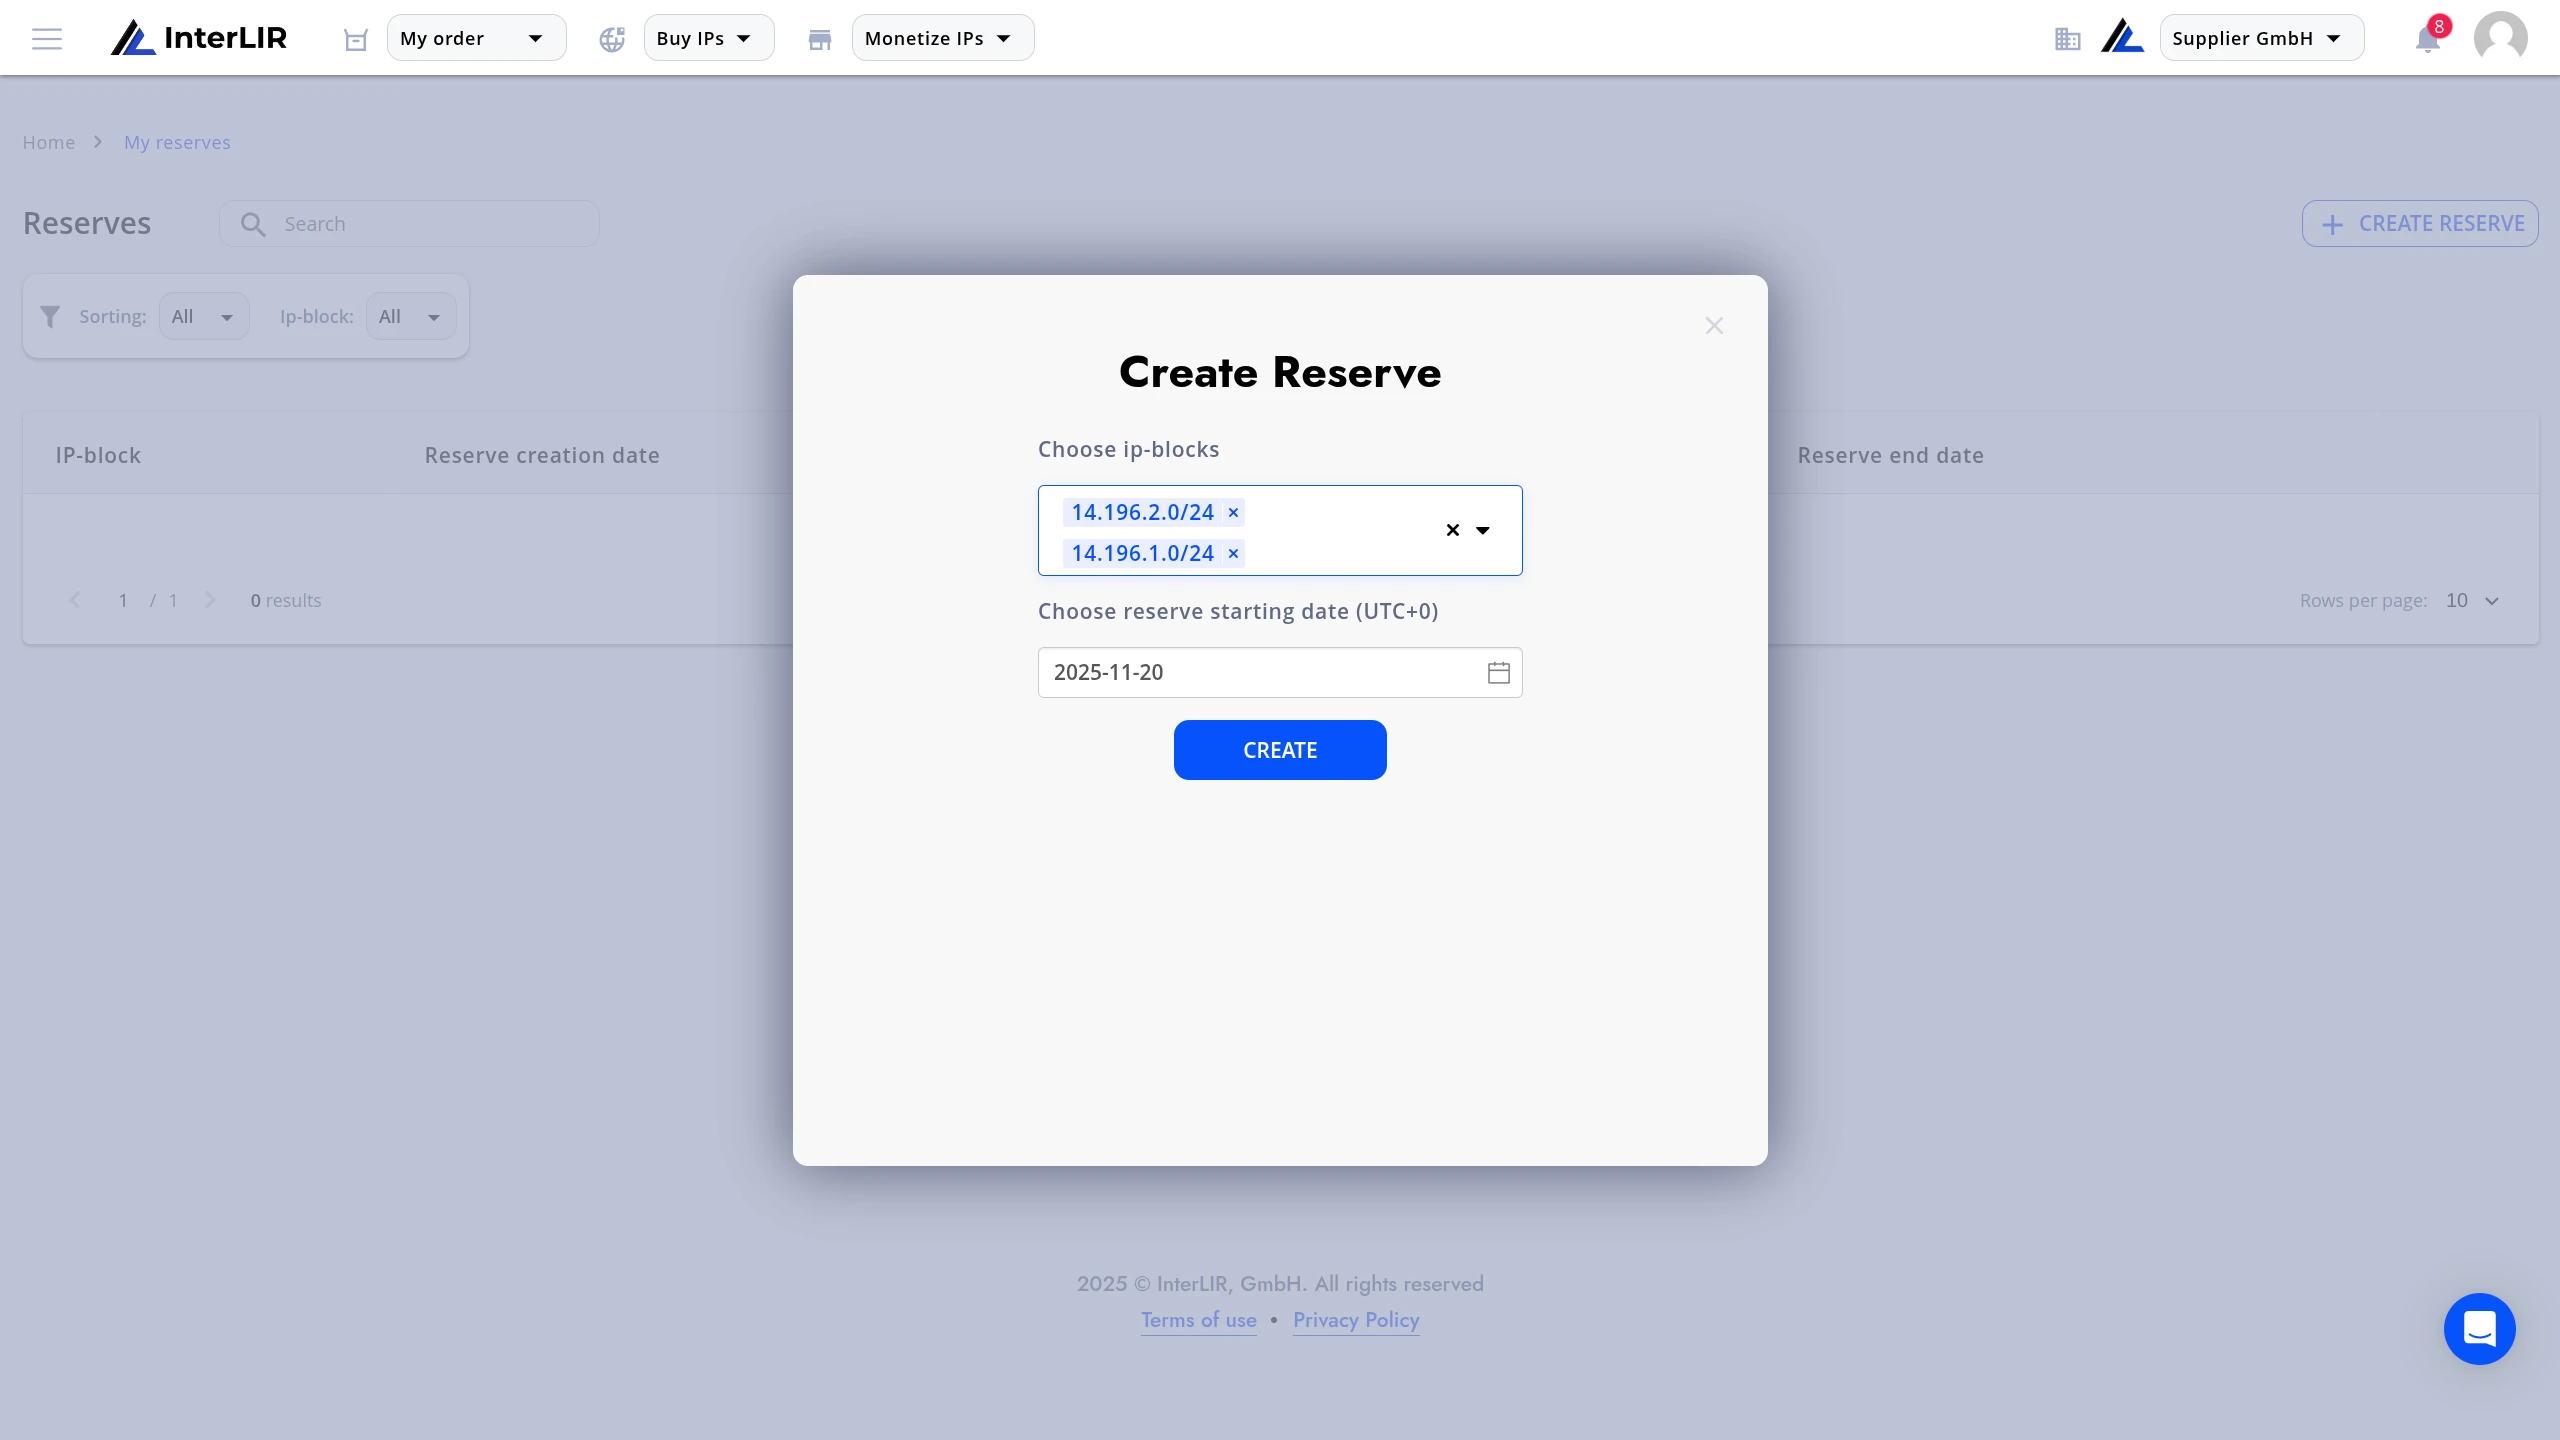
Step 4 — Confirm Creation
Click Create to finalize the reserve.
A success message appears:
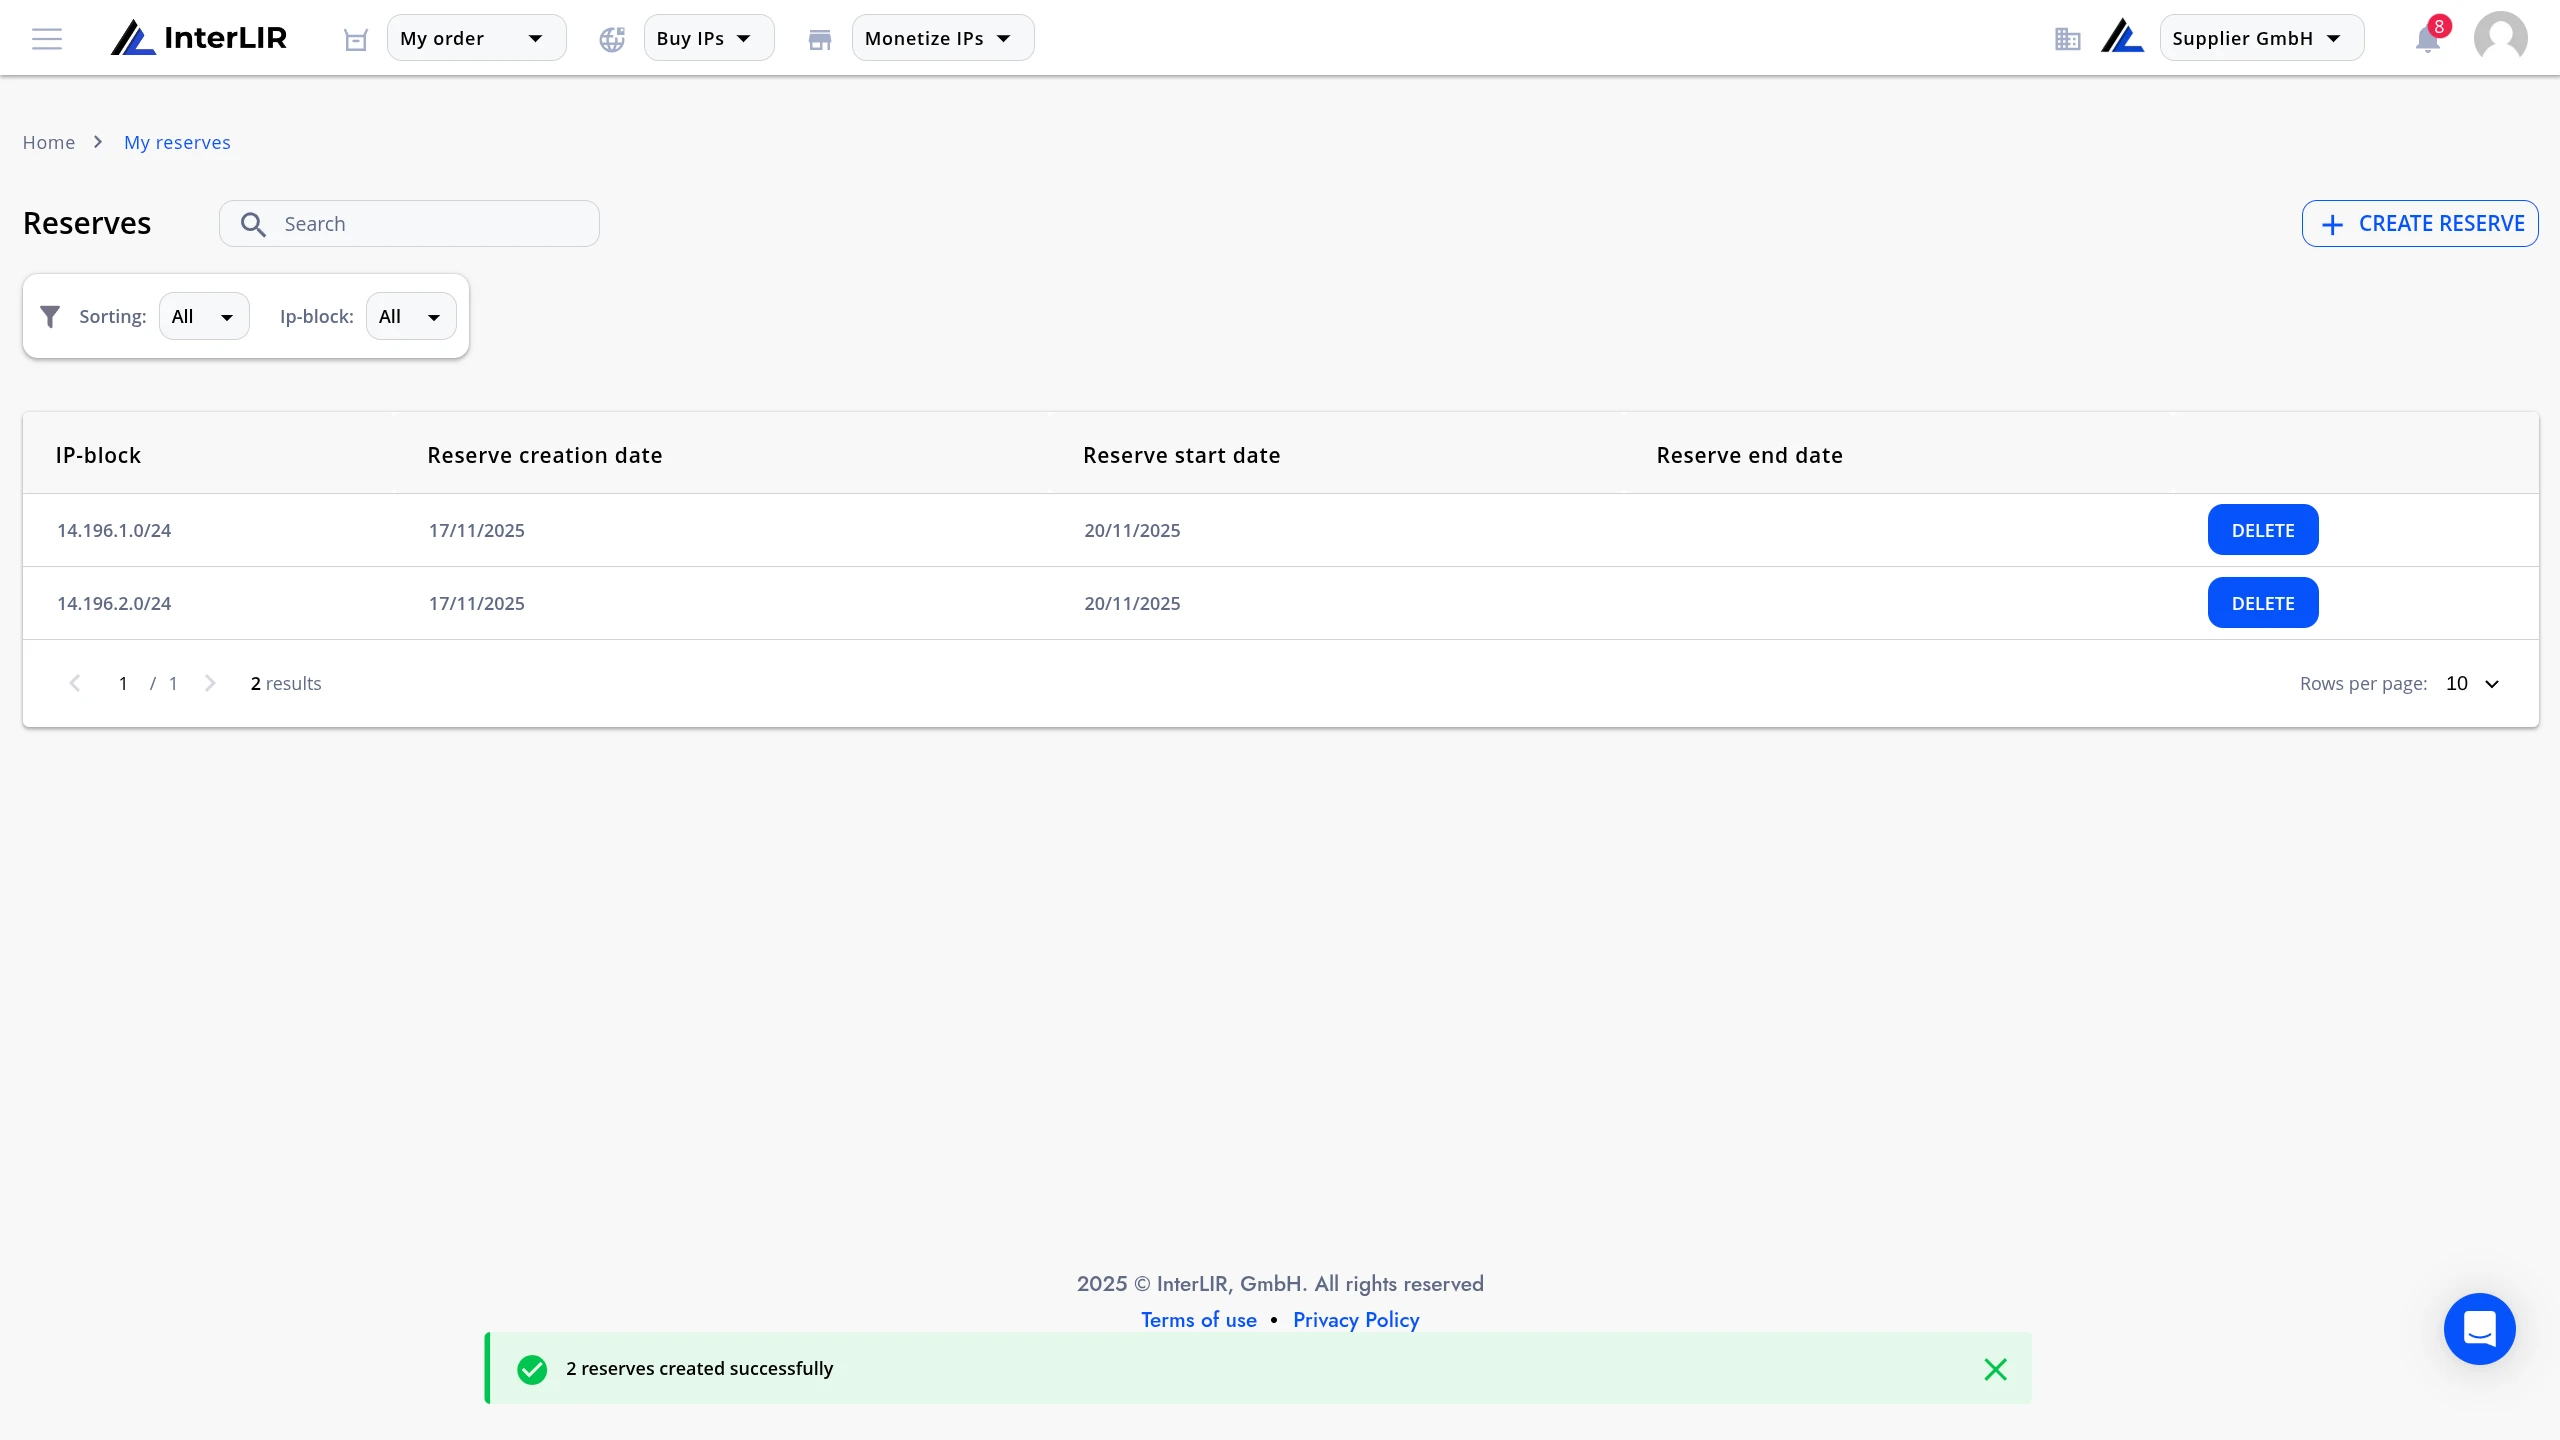
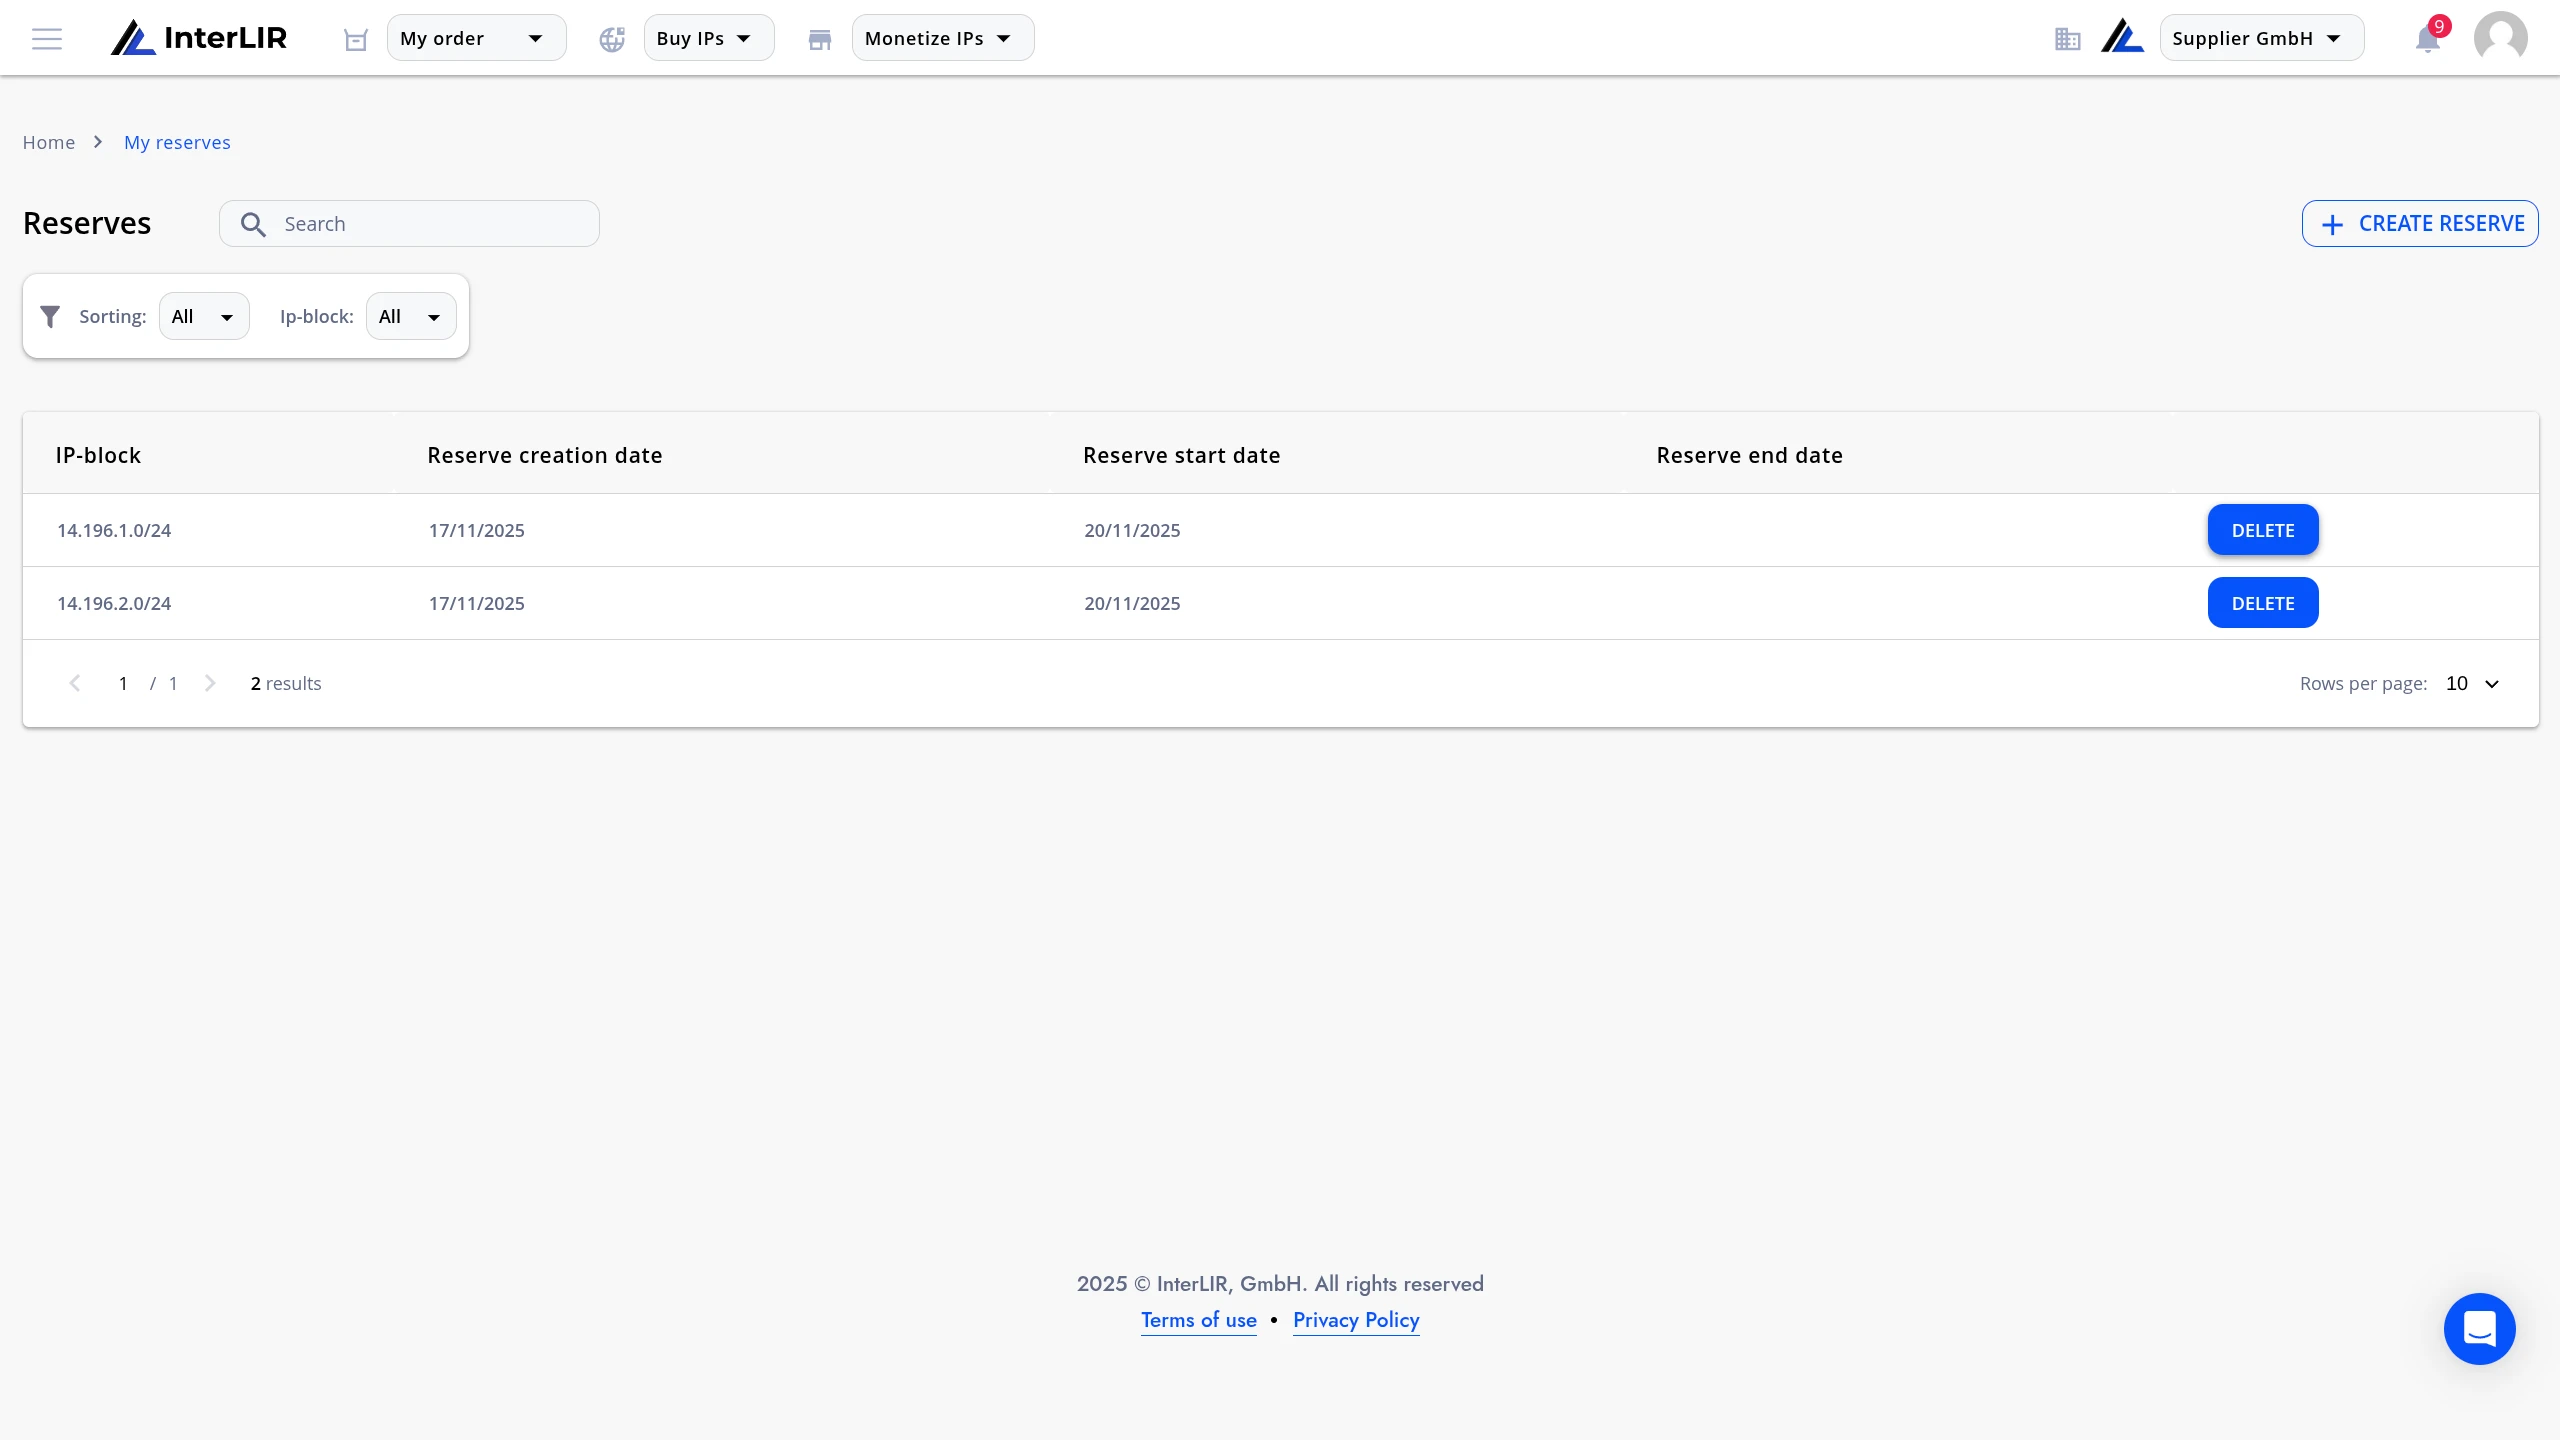
Viewing Active and Scheduled Reserves
All reserves are displayed in a list with:
- Reserve creation date
- Reserve start date
- Reserve end date (if applicable)
- Delete action
Deleting a Reserve
To remove a reserve and return the block to the Marketplace, click Delete.
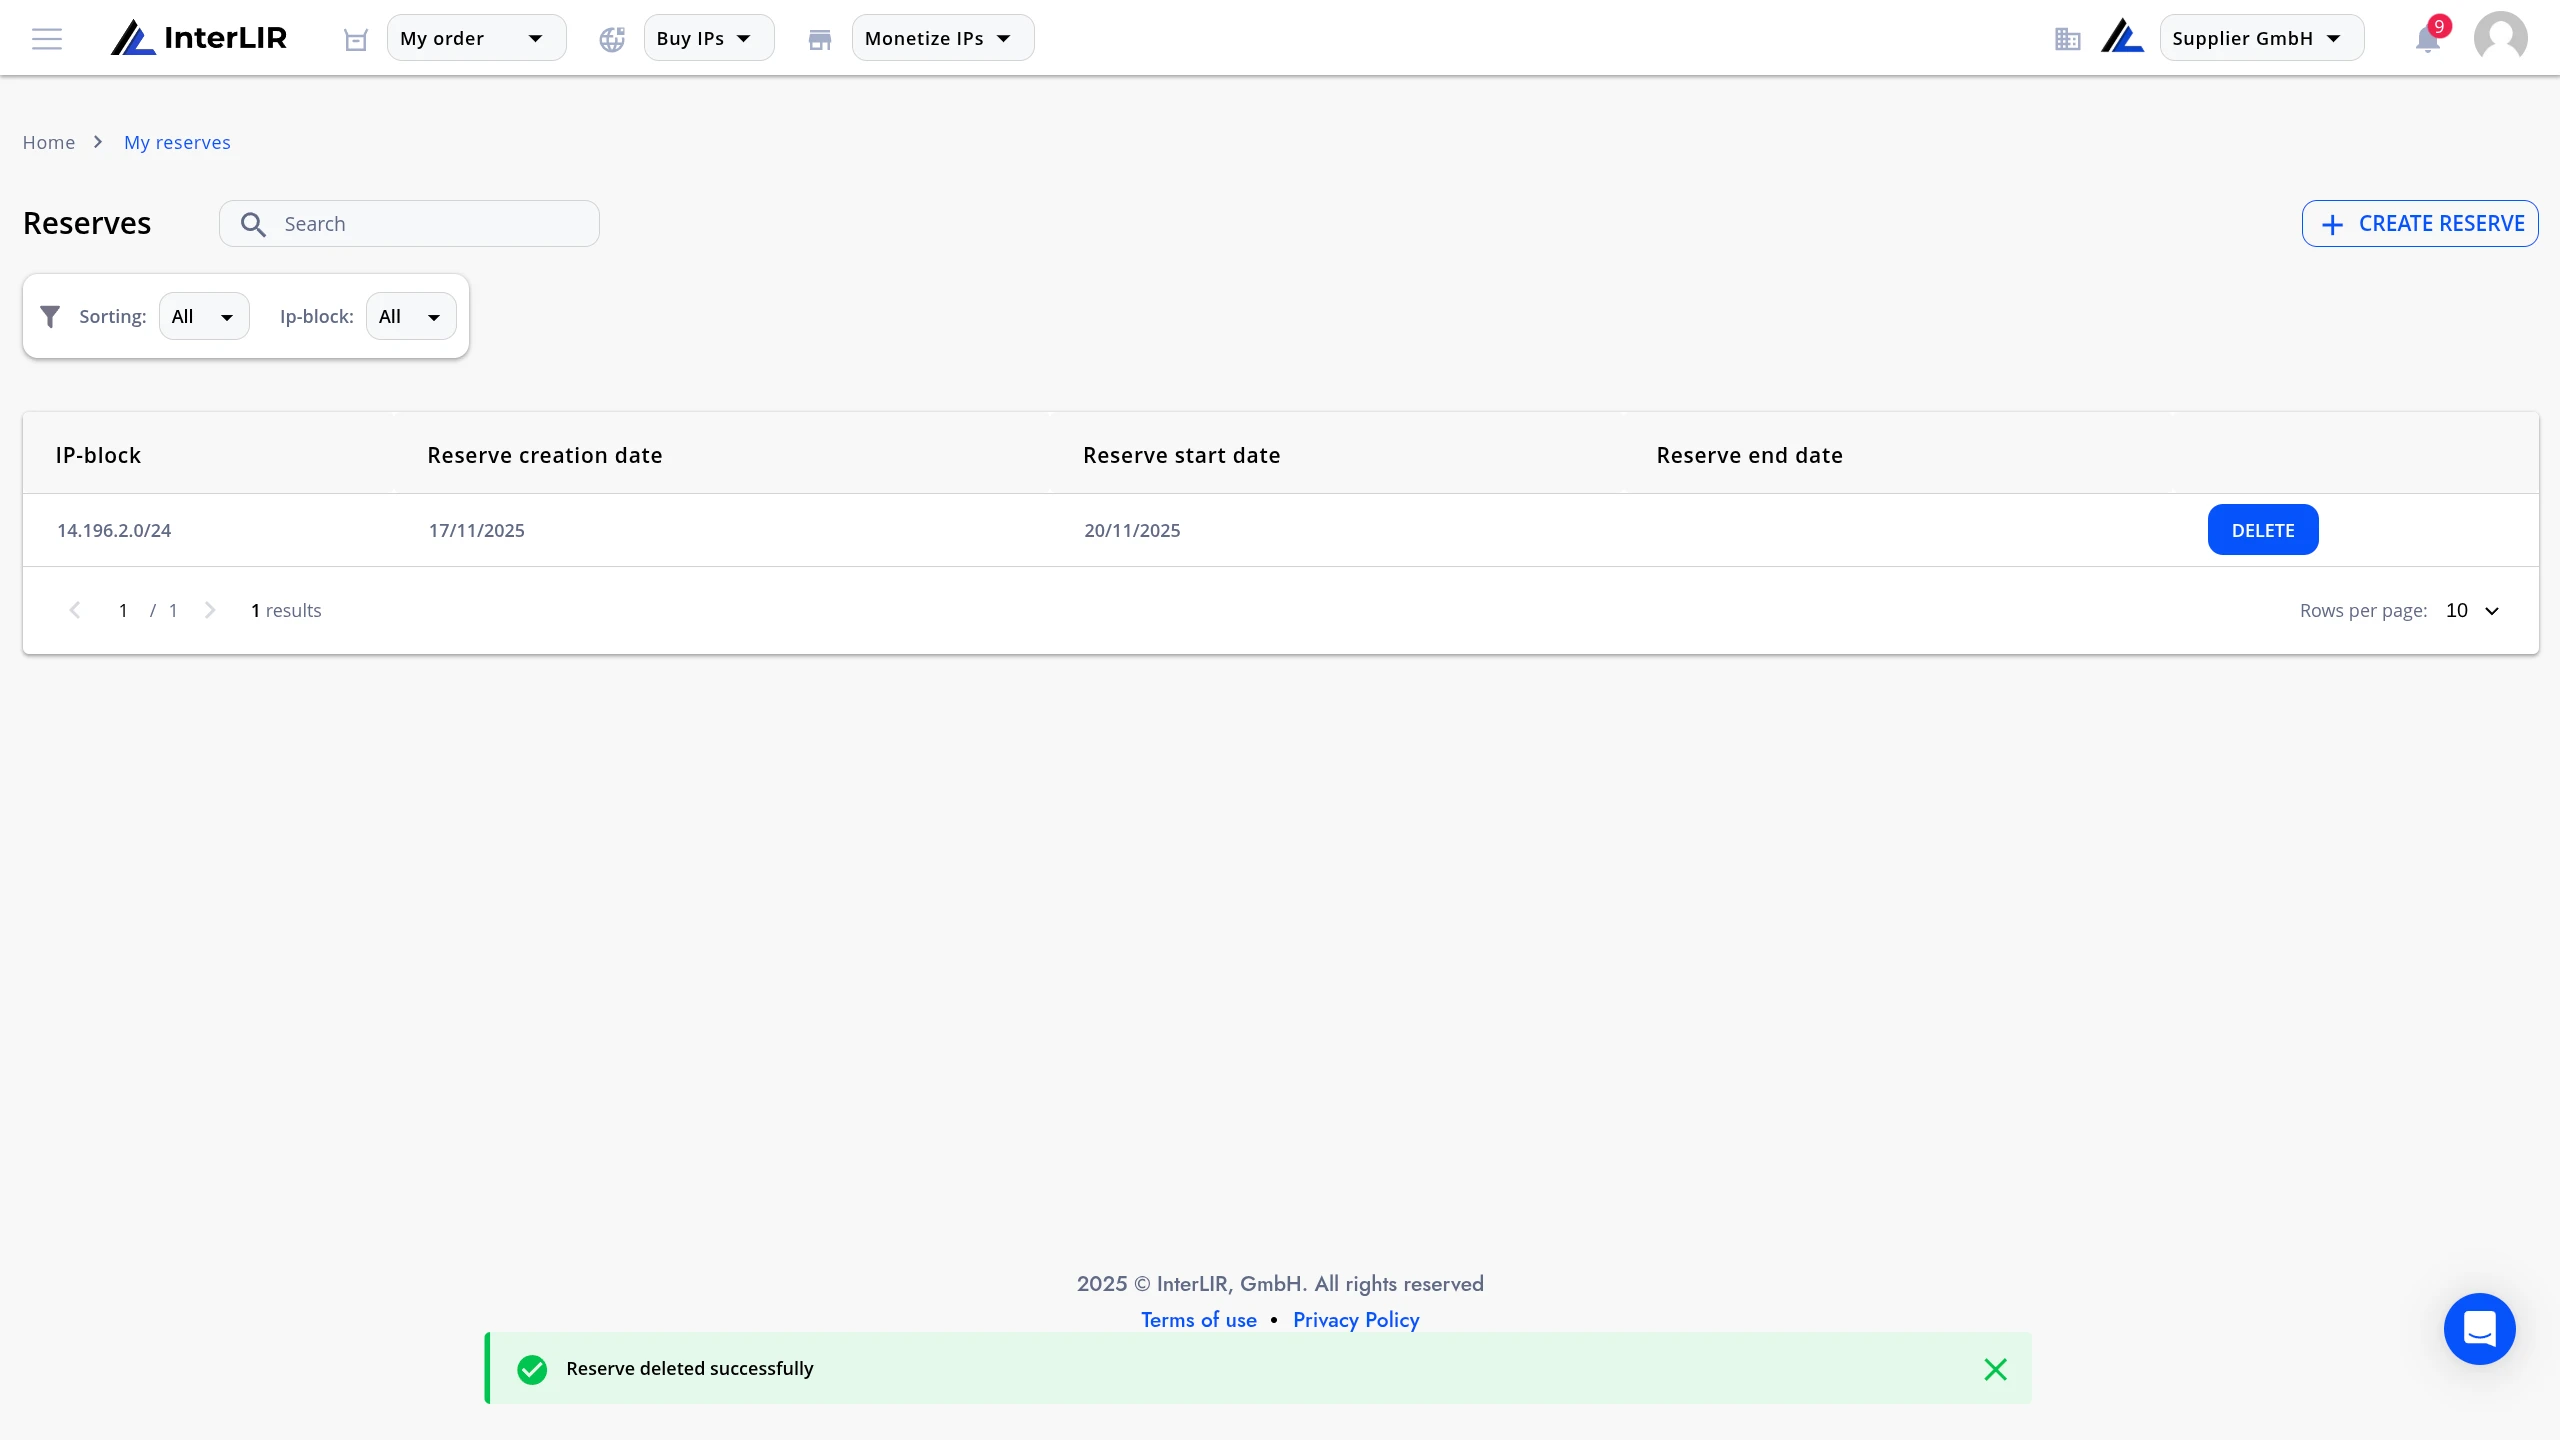
After deletion The block immediately becomes visible on the Marketplace again/
See also
- How to Import an IP Block - Make your blocks available for rent